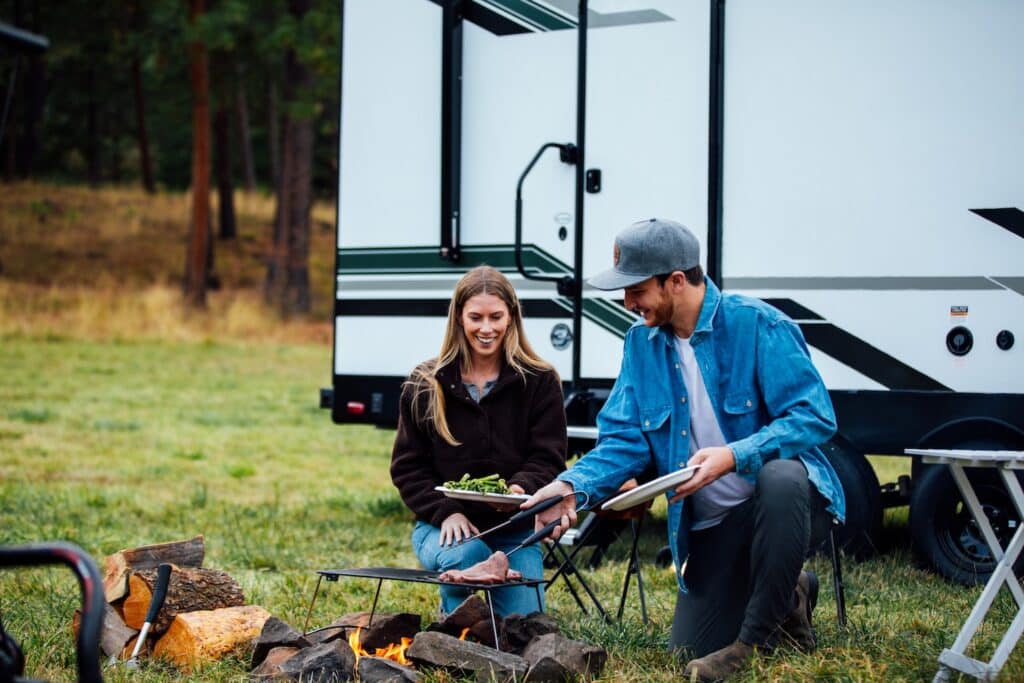
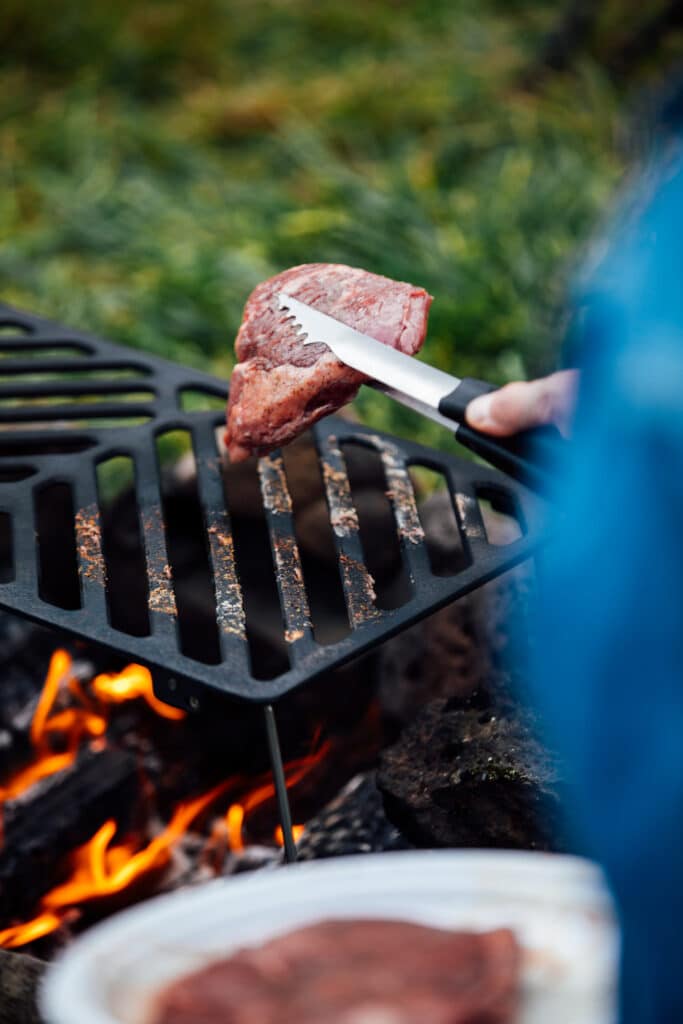
In theory, the second dinner we planned on our shakedown camper trip was simple. Veggie and steak skewers with toasted French bread. My wife would prep inside our 17-foot Casita Spirit Deluxe, and I would cook on our new propane grill set up on the nearby picnic table in a pleasantly wooded campground. In reality, this “easy” meal became a marathon. I made so many trips between camper, truck, and grill—while navigating a slalom course of stumps and equipment—that I possibly burned more calories than I eventually consumed. Fortunately, the skewers turned out great. But what normally took an hour or so at home lasted over three.
Clearly, we had plenty to learn about RV cooking—and we needed to up our game fast. Several months on the road were ahead of us.
Cooking in the Backcountry
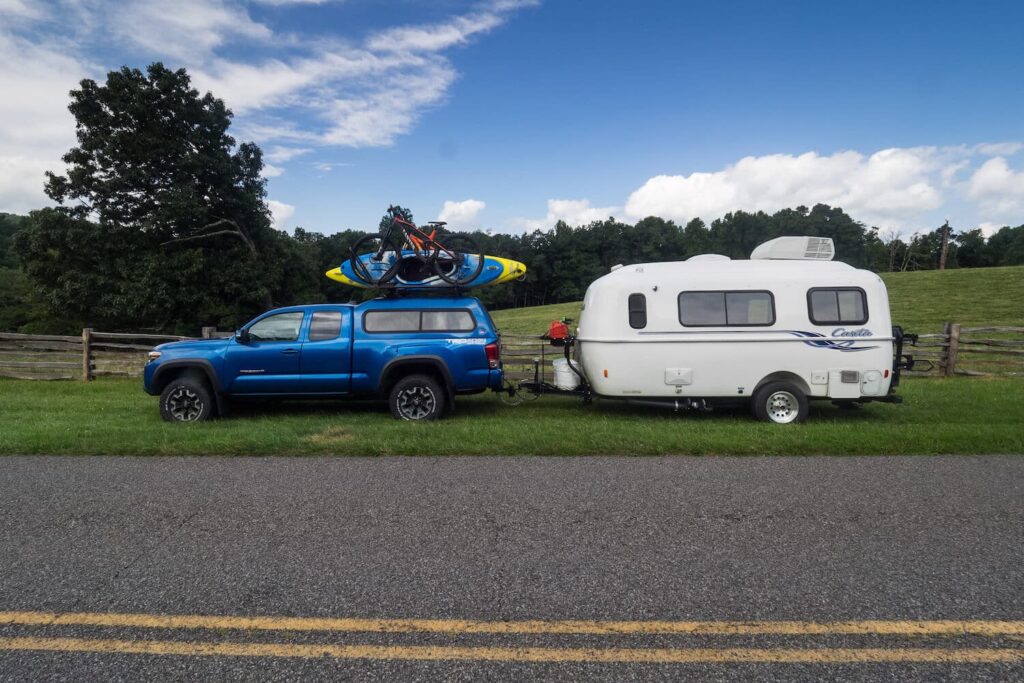
When we decided to make the leap into camper life, the topic of food was fresh on our minds.
For years, we’d been making long road trips around the country, mostly sleeping in tents. Our days included plenty of hiking, paddling, and biking adventures, so we often returned to camp hungry, and our outdoor kitchen setup had become fairly involved. We had a Coleman two-burner camp stove running off a 5-gallon propane tank, plus a single-burner butane stove. A large plastic box filled with cookware, utensils, and rugged dining sets. A five-gallon bucket for dishwashing. A small Dutch oven for making pizza for camping. Our set-up looked like a chuckwagon crashed and dumped its contents onto a picnic table.
When inclement weather hit, we often jumped in the truck and started looking for a restaurant. Given that we camp in some pretty remote places, this could mean driving for thirty to sixty minutes only to find chain restaurants or fast food. A mobile kitchen was one of the biggest reasons we wanted a camper. Once we bought our Casita, we had to figure out how to adapt our favorite recipes and tent life techniques to the new camper set-up. We tried three methods. Each required different camping kitchen gear, cooking approaches, and levels of patience:
- Outdoor BBQ grilling
- Inside stovetop cooking
- Outdoor Dutch oven cooking
Here are some hard-learned lessons and easy recipes to get you started.
Charcoal or Propane?

Our camper was on the small end, so we would still rely on cooking outdoors for many of our meals, which would often mean grilling.
Traveling with charcoal has benefits, but it can be messy. On longer trips with rougher roads, the paper bags often rip, spewing black dust everywhere. Plus, you need to resupply regularly or carry several bags, ideally in a plastic tub – not ideal. Finally, it takes a while for the coals to heat up, which is not great when you’re tired and hungry after long days of exploring.
We wanted our new grill to be fast and ready to cook in minutes. Propane was the logical choice. We carried two refillable five-gallon tanks on our camper’s A-frame. Plus, I had an exchangeable tank from the tent-life days. While some people will run a splitter and hose from their onboard tanks, I decided to continue carrying the third tank. This could serve as a backup in the backcountry while allowing me to set up the outdoor grill further from the camper, say on a picnic table inside a screen shelter.
Suggested RV Cooking Equipment
After researching various options, I went with the Weber Q1000 liquid propane grill, which is the brand’s smallest table-top option. It’s perfect for camper couples like us, though Weber has five larger models for cooking bigger meals. I like the sturdy build and size. Despite the compact size, only 27 inches long, it has a solid grilling area of 189 square inches and weighs just 27 pounds. I’ve found that the 8,500 BTU burner heats up fast, is fuel efficient, and has decent temperature control.
You can use a 16-ounce propane bottle for fuel or a 20-pound tank with an adapter hose, like we do. With the Weber Q series, you also need a package of disposable aluminum drip pans to catch the grease. Some recommended items include BBQ tongs and a soft-bristle grill brush for Q1000’s porcelain-coated grill grates. I also have a rainproof cover and a griddle insert. The latter item allows you to swap one of the two grill grates with a camping cast-iron pan for making pancakes, eggs, and bacon.
Biggest Lesson
The easiest dinners we made during year one of camper life were mostly simple grill meals with a twist. I initially got away with keeping re-packaged raw meat in the fridge (just for me, as my wife’s a vegetarian). However, I learned a messy lesson on a month-long odyssey around the Southeast.
We departed with a freezer filled with individually sealed chicken breasts and carefully repackaged burger patties. These worked great until the weather warmed, the freezer began defrosting, and the meat started leaking. A major cleanup involved trashing contaminated items and sanitizing the fridge. I fully converted to my wife’s plant-based “veggie meats,” which was an easy switch given the quality of these.
Easy Outdoor RV Cooking Recipe: Grilled Burgers and Salad
When a solid meal is needed quickly, dinner is often various types of grilled burgers or sandwiches with salad on the side.
Veggie Meats: We prefer Impossible burgers and Morningstar chicken patties. But other brands like Beyond Meat have good options, too.
Real Bread: Skip cheap, floppy buns and go for higher-quality bread that grills well, like ciabatta rolls, pretzel rolls, French rolls, and baguettes. I sometimes brush them in olive oil and heat them on the grill until lightly crisped.
Seasonings, Toppings, and Condiments: We carry a few seasonings to customize the burgers, rotating through sprinklings of sea salt, black pepper, Italian spices, smoked paprika, and/or New Mexico chili powder. When it comes to condiment options, we do not mess around. Ketchup, mustard, mayo, BBQ sauce, tabasco, sriracha, and more. Sometimes, we might make veggie meatball subs with tomato sauce and parmesan cheese. Or a pesto veggie-chicken sandwich. This way, the same foods can feel like an entirely different dinner on back-to-back nights.
Salad: Keep it simple with pre-washed lettuce in a bag and anything “baby,” as in baby tomatoes, carrots, spinach, miniature cucumbers, olives, and chickpeas. We might carry two types of dressings, and one could even be added to a sandwich.
Not So Fancy Idea: We made French fries a few times, picking up a bag of frozen seasoned or steak fries and grilling up a batch. It worked. They came out pretty good, and given our condiment obsession, we had an excessive number of dipping choices.
A Modest (RV Kitchen) Proposal
During years of road-tripping, I encountered many tear-drop trailers with an external hatch that revealed an outdoor kitchenette. That set-up didn’t seem ideal for us, given our long trips to the mountains with frequent periods of rough weather. We wanted something sheltered from the elements, a modest indoor kitchen that was more substantial than fire-cooking. But—and this is a confession—after a year of camper life, we don’t cook inside too much.
We keep it simple in the kitchenette on cold mornings and rainy evenings. Fried or boiled eggs for breakfast. For dinner: pasta, chili, soups, or rice dishes. Toss in a few veggie meatballs or chicken nuggets to supplement the dish. Sometimes, we whip up an easy salad. But for the most part, we still cook outside a lot. I think this is something many families might not fully consider when choosing an RV and only discover after the fact. Depending on how you travel, you may not need an extensive kitchen setup. Or your outdoor kitchenette may be your primary cooking spot, and you really do need to get a substantial RV outdoor kitchen. For us, the appliances and equipment make just as much of a difference.
Suggested Equipment
Appliances: At the start of year two, we still carry only three appliances: an 800-watt, 0.8-liter electric kettle for boiling water; a small 1000-watt toaster oven for bagels, bread, and more; and the built-in two-burner propane stovetop.
Cookware: we have an 8-inch cast iron skillet and a few small stainless-steel pots that very conveniently nest within each other: 18 ounces, 1 quart, 2 quarts, and 3 quarts. Plus, a variety of eating and serving utensils. The cast iron is the workhorse for us.
Biggest Lesson
One chilly night, I made a real beef burger in the skillet. Afterward, the small cabin—which is also our bedroom—smelled like a fast-food kitchen. Yes, we had flipped on the stove exhaust fan. But, no, in a silly example of absolute amateurism, I had not yet realized the need to unsnap the exterior vent cover. My buddy Boberts, an experienced RVer, showed me this mid-way through our second trip.
Easy RV Cooking Recipe: Vegetable Risotto
This simple meal is both a go-to and a backup for us. On every trip, we carry a bag or two of ready-to-cook rice meals in a variety of flavors, including roasted garlic, Spanish rice, mushroom risotto, and others. We supplement the dish with one or more freshly chopped vegetables like mushrooms, zucchini, bell pepper, broccoli, carrots, etc. Just chop them up and toss them in with the uncooked rice. When the rice is nearly done, we lightly crisp some veggie meatballs or chicken nuggets in our cast-iron skillet. As usual, we add a salad maybe half the time.
Dutch Oven Cooking: The Best of Both Worlds

By the time our fourth trip rolled around, I felt like we had the outside BBQ grill and inside stovetop dialed. However, both methods had some limitations. Tending an outdoor BBQ on a cold, stormy night is not my favorite. And our inside stovetop meals, especially the pasta, came out fairly bland. Plus, using the propane stovetop meant we needed to vent the warm cabin with cold outside air.
I thought back to the tent-life days and dusted off my Dutch oven box. When handled correctly, these simple cast-iron pots can turn the most basic recipe into a hot-meal masterpiece.
On cold nights, a Dutch oven offers the best of both worlds. Start the coals outside, but prep the Dutch oven inside. Slow-cook the meal outside, but wait inside where it’s warm. A Dutch oven works great for slow-cooking soups, stews, chilis, casseroles, and baked pasta dishes. The ingredients cook evenly, the flavors blend, and the servings steam.
Suggested RV Cooking Equipment
We use the 4-quart Camp Chef Classic 10, which is the smallest model in the series. Most people prefer one of four larger sizes, like the 6-quart Classic 12. Unless you plan to make pizzas and need a bigger footprint, keep in mind that larger just means more of everything—more ingredients, more charcoal, more prep and cooking time.
Suggested accessories include a lid lifter, a fire starter, a pair of aluminum tongs to move the hot coals, a few hot pads or oven mitts, and a stick lighter. You’ll also want a serving spoon or spatula. You need only hot water and a soft-bristle brush to clean a properly seasoned Dutch oven. Scrub it well, and the remnants wash away. Wipe dry with a paper towel.
While you can cook with a Dutch oven over a stove or wood fire, most people use charcoal briquettes. I make charcoal packs of about 30 briquettes in plastic zipper bags to keep them tidy. Then I pack everything snugly into a plastic box.
Biggest Lessons

Cooking does take longer, so this doesn’t work in a rush. And while a cold and stormy night is perfect for a Dutch oven meal, such conditions make it tricky. Ideally, you’ll want to contain embers inside a fire ring. But what if there isn’t one? Or the ground is wet? Or is it still raining?
I carry a makeshift fire pan. It’s just a steel cake pan. One with a 9-inch diameter works for our small Dutch, but you can upgrade as needed. I drilled four equal-spaced holes in the pan rim. I start the coals inside this pan.
When raining, you’ll want your Dutch oven under a high tarp or shelter. Our camper has an extendable awning. If it’s not too windy and the ground is gravel or another nonflammable surface (and it doesn’t violate any regulations), I will place the firepan under our awning.
Easy Dutch Oven RV Cooking Recipe: Baked Pasta
As opposed to pasta on the stovetop, this baked dish comes out way better and can be customized in many more ways.
Sauce options: Marinara or another type of tomato sauce works well. Two other favorites are Alfredo or pesto.
Pasta options: Instead of longer noodles, use compact shapes like corkscrew, penne, or elbow, which mix well with other fillings.
Fillings: You can add protein to this, including veggie meatballs or fake ground meat. Chopped raw veggies are great, including onion, bell pepper, mushroom, spinach, and more. Try small things like olives, artichoke hearts, and chickpeas. Baby tomatoes work well in the pesto.
Toppings: Shredded cheese, full stop. Parmesan, Italian blend, Feta, or Mozzarella are common options.
Instructions: Boil the pasta separately until firm or slightly undercooked. Sauté the denser raw veggies in a pan or the Dutch oven itself. Add cooking oil and heat on a stove, or set the Dutch oven on the full pile of hot coals. Once sizzling, toss in the chopped onions and stir occasionally for 5-10 minutes. Then toss in any other veggies for a few minutes. Leave the softest ones raw, like tomatoes and spinach.
Now mix all remaining ingredients in the Dutch oven. With the cheese, you can optionally mix some into the dish, but spread the rest on top to create a melty crust.
Now you’re ready to cook. Distribute the majority of hot coals on the Dutch oven lid—these create most of the heat inside. Leave a limited number at the bottom of the fire ring or pan. Space five to eight of the best glowing coals evenly for heat. Start with too many, and the food may burn.
Place the Dutch oven directly over these bottom coals. Typically, the contents should be done in about 45 minutes to an hour. With cold nights and big meals, you may need to add more hot coals as you go. Check it every 15 minutes or so. Remember, this is an art, not a science. The more you experiment, the better the outcome.
Each RV cooking setup requires some experimentation to lock in what works best. These three methods work well for us, and we hope you’re one or all of them on future trips. Are you thinking through what RV cooking looks like for you? Explore our complete guide to RV kitchens and cooking.
What RV cooking experiences have you had with your trailer or motorhome? Let us know in the comments below,


