
A FAILING RV AIR CONDITIONER quickly leads to uncomfortable camping as temperatures rise inside your RV. So first, find somewhere indoors with AC before you dive into this RV air conditioner troubleshooting guide!
Key Takeaways
- Common RV AC issues include power failures, tripped breakers, poor cooling, short cycling, water leaks, and strange noises or smells.
- Thorough troubleshooting requires specific tools and careful inspection. Technicians recommend letting the AC run 20–30 minutes before testing to get accurate readings.
- If DIY fixes don’t resolve the problem, schedule professional RV AC service.
Common RV Air Conditioner Problems
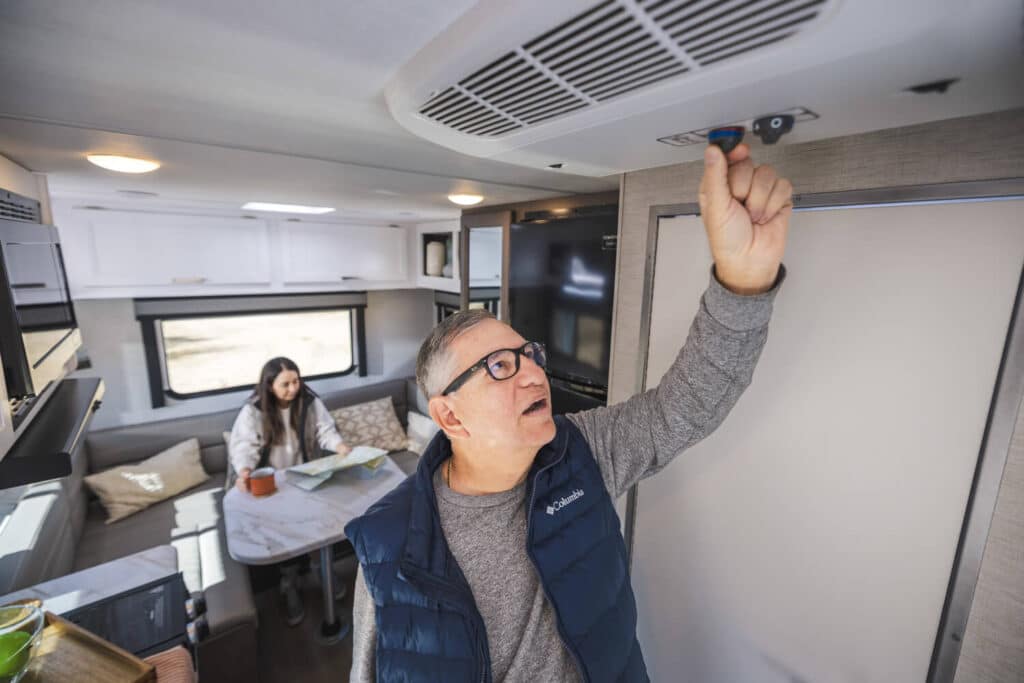
These are some of the most common RV air conditioner problems that require troubleshooting:
- Not turning on (or turns on and trips a breaker shortly thereafter)
- Lack of cooling capacity or blowing warm air
- Short cycling
- Water dripping inside
- Icing up
- Performance varies by location
- Strange noises and/or foul odors
Are you experiencing another problem? Drop us a comment below so we can provide further troubleshooting assistance!
Tools Required
Depending on your issue, you may need the following RV tools to troubleshoot your air conditioner:
- Digital multimeter with built-in AC/DC amperage clamp.
- Surge protector to guard against shore power issues.
- Anemometer to test airflow.
- Flashlight and/or mirror to inspect ductwork (can also use endoscope-style attachment for cellphone).
- 1–2 probe-type thermometers to measure discharge and return air temperatures.
- Non-contact laser thermometer
- Fin comb set and a vacuum cleaner with a duster brush attachment to straighten and/or clean coils and fins. Compressed air and a blow gun can also be used, with care.
- Small flathead screwdriver or dental pick for removing screw covers on the ceiling assembly.
- Driver/drill and drill bit set for disassembling and reassembling components.
- Calculator to accurately determine acceptable ranges.
Technician Tip: When diagnosing an A/C, we have to let it run for 20-30 minutes because as it warms up, the pressures inside it will build. This causes the amperage to climb, but it is also the point where the A/C is at peak efficiency. By allowing it to “warm up” before testing the amps, volts, and temperatures, we can be certain our numbers are extremely accurate.
How To Troubleshoot an RV Air Conditioner
Let’s start with the most obvious: a lack of power.
AC Is Not Turning On
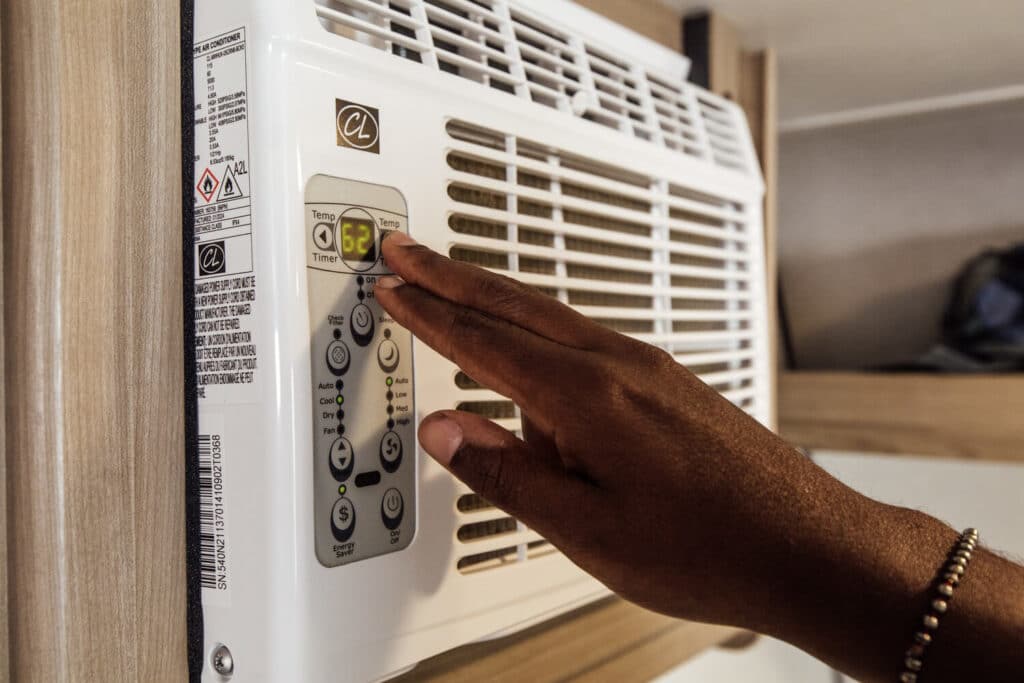
While an AC’s fan and compressor rely on 120VAC power (from shore power or a properly-sized generator), the thermostat and AC controls typically require 12VDC power from your RV’s battery bank.
For starters, most RVs must be connected to shore power or a generator to run the air conditioning system. So, first check you’re actually connected to the proper power source (30 or 50 amp or an adequately sized RV generator).
If you are connected but your thermostat isn’t turning on, or nothing happens when you change the controls directly on the interior panel, you may have a 12VDC electrical issue. This can lead us back to your battery bank, converter, fuses, or wiring.
Solutions:
- Check the power at the pedestal. Is the breaker on? Can you measure sufficient voltage according to the outlet’s power rating?
- Check the battery voltage, clean the terminals, and ensure the battery cables are secure.
- Check for blown fuses and/or tripped breakers.
- Ensure the battery disconnect is on.
- Troubleshoot issues with your RV converter.
AC Keeps Tripping a Breaker

Depending on the BTU rating and the number of AC units on your RV, it’ll be rated for either 30- or 50-amp shore power. Air conditioners with a higher BTU rating—and RVs with multiple ACs—will require more power than smaller campers.
To power your AC, you’ll need to plug into a shore power connection—or a generator—that matches your RV’s power requirements. Theoretically, you can plug a 50-amp RV into a 30-amp source or a 30-amp RV into a standard 120VAC outlet. However, don’t expect to enjoy the full benefits of air conditioning, as the RV will be limited by the outlet’s capacity. Adapters don’t increase the available power; they only allow a plug to fit into a different-sized outlet.
If your AC turns on but trips a breaker shortly after, you’re most likely overloading the system. Are you trying to run the microwave simultaneously? Did you forget to power off your AC before turning on the hair dryer? Is your gas/electric water heater set to the electric mode? Is there an issue with an A/C component? Power demands add up quickly, and RV electrical systems don’t function exactly like your home.
Furthermore, issues like a worn start capacitor, low voltage, electrical spikes, and miswired outlets can cause problems with your RV air conditioner and the entire electrical system. These unseen issues could trip a breaker at the pedestal or inside your RV.
Solutions:
- Use a surge protector to guard your RV against low/high voltage, miswired pedestals, and other electrical issues.
- Limit the use of other 120 VAC appliances while running your RV air conditioner.
- Employ a Camping World Certified Technician to inspect the start capacitor and replace it, as needed, to prevent excessive current draw.
Technician Tip: An AC start capacitor stores a lot of electricity and is designed to release it very quickly, as soon as it has a pathway to ground. If you open the protective enclosure around the capacitor and accidentally touch the terminals, YOU can become that pathway. For a deeper look at capacitor safety and what a professional replacement involves, see our complete guide to RV AC capacitor replacement and safety.
AC Doesn’t Keep RV Cool
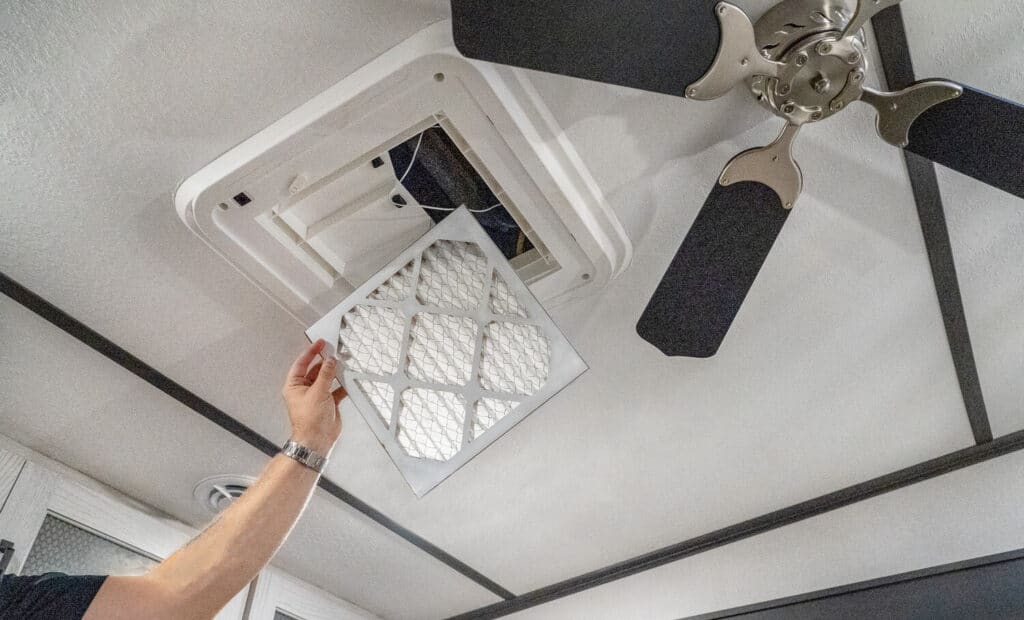
Our next potential issue is an RV that doesn’t cool or blows warm air. The fan has power and blows air, but the interior temperature never drops to the thermostat’s setpoint. It just keeps blowing warm or mildly cool air.
The first potential issue is a dirty or clogged filter, which can reduce airflow over the evaporator coils by as much as 50%. A dirty filter can also lead to dirty coils, reducing your air conditioner’s efficiency.
That dirty air filter can also cause evaporator coils to freeze due to a lack of airflow. Low refrigerant can also cause this issue, often due to a small leak in a factory-sealed rooftop air-conditioning unit.
Additionally, you may feel warm air from your A/C vents due to holes in the system. In ducted systems, foam or coil collars can leak or separate, which allows cold air to escape into the return air space or roof cavity before it’s directed through the ductwork and into the room. If the thermostat is set too low or the quick-cool vent is left open too long and the AC overcools the room, the AC can ice up, blocking airflow.
To go deeper, check out our step-by-step guide to fixing an RV AC that’s not cooling.
Solutions:
- Clean air filters to ensure adequate airflow.
- If you see ice on the coils above the filter, turn the A/C off for 30 minutes. Then, run the fan to ensure the coils are thawed before restarting and monitoring performance.
- Remove the interior A/C cover and inspect for leaks or separations where the return air supply could be mixing with warm air. Inspect the ductwork for holes, collapsed areas, or separations that allow cold air to escape or be blocked. Use HVAC foil tape to seal problem areas.
- Ensure the quick-cool vent is closed and the thermostat is set to a reasonable temperature.
RV Air Conditioner is Short Cycling
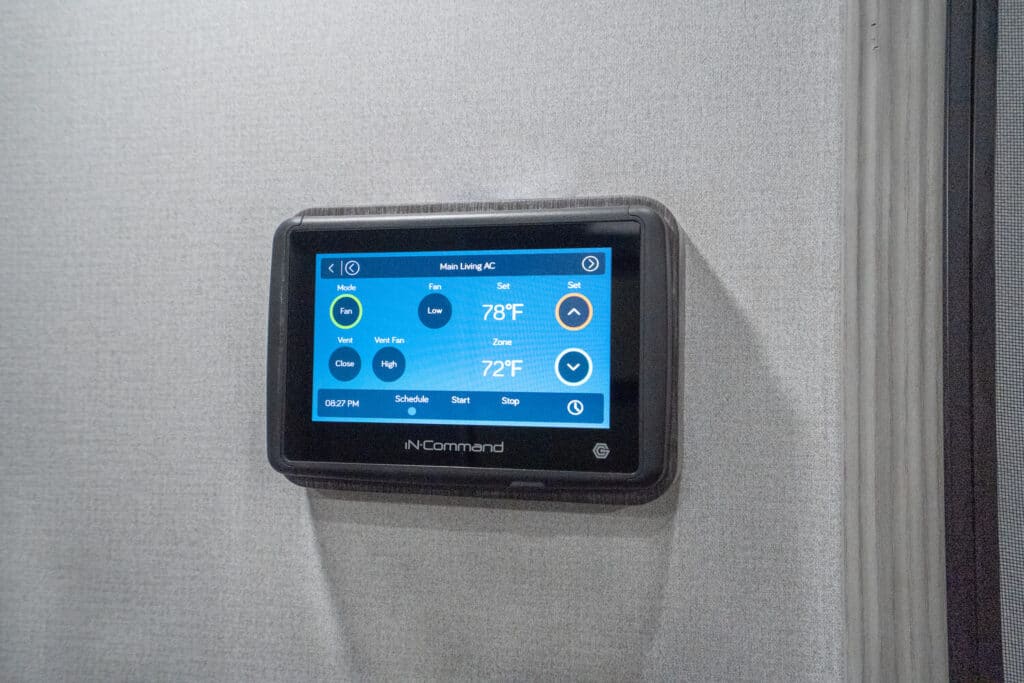
Here’s how a standard RV air conditioner normally works: the fan starts running after you turn it on and set the thermostat to a temperature lower than the current room temperature. A few seconds later, the compressor kicks in. Once your desired temperature is reached, the compressor cycles on and off periodically to maintain it efficiently.
Short cycling occurs when your compressor turns on and off more frequently than normal. It could be caused by low voltage from a campground power source, a broken or malfunctioning thermostat, a worn start capacitor, frozen coils, or a lack of airflow.
Overcooling is another common cause that’s often overlooked because it results in icing, which causes many to inspect for a dirty filter and coil issue. It occurs when the thermostat is turned down excessively. When the air temperature drops at night and everyone is sleeping, they breathe and perspire, releasing a considerable amount of moisture inside the RV. The A/C can get really cold, but it often results in significant ice buildup.
Technician Tip: Overcooling can also occur during the day on RVs with a second A/C, especially if the largest A/C possible was installed instead of the best size for a given application—more common in aftermarket or DIY installations.
On especially hot summer days, campground voltages have been known to drop below 105 volts, which can overheat your compressor and cause it to shut down.
Solutions:
- Use a digital multimeter to check campground voltage to ensure it’s above 108 volts. If it is not, consider switching parks or using an autoformer.
- Maintain your RV battery monthly and replace the batteries in battery-powered AC thermostats at least twice a year.
- Consider relocating the thermostat if it’s on an outside wall. It can also be moved if it’s positioned near a hot appliance, such as the stovetop, or in a location where an AC vent blows directly on it.
- Redirect AC vents to ensure they are not blowing directly at the thermostat or the return air vent.
- Remove the interior A/C cover and inspect for leaks or separations where the return air supply could be mixing with warm air. Inspect the ductwork for holes, collapsed areas, or separations that allow cold air to escape or be blocked. Use HVAC foil tape to seal problem areas.
Water Drips Inside from the AC
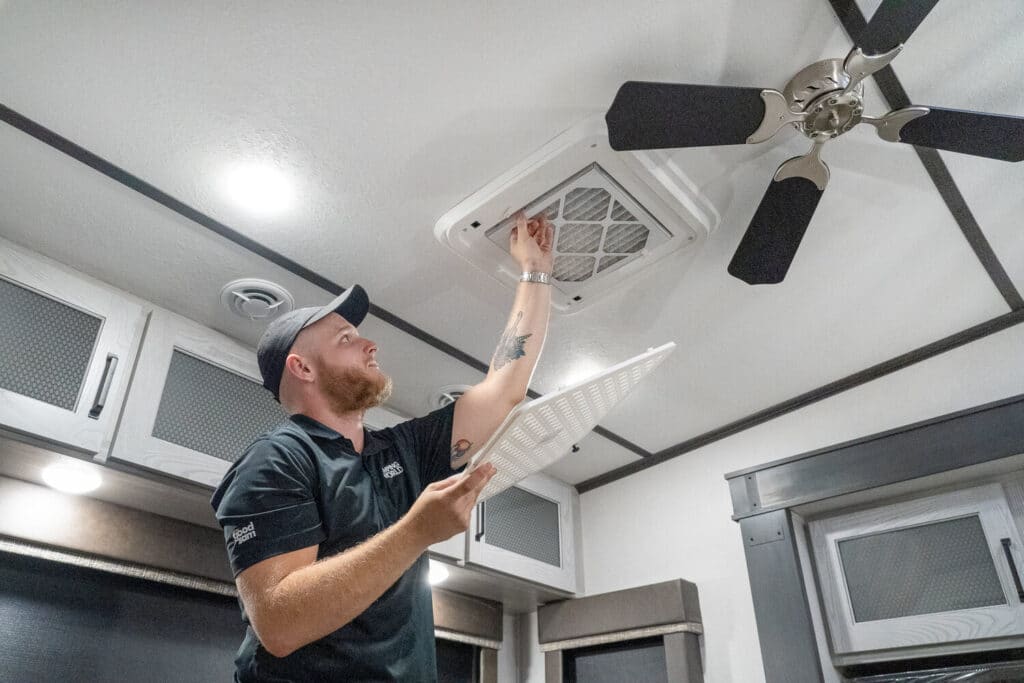
You walk through your RV and feel water drip on your head. No, you’re not imagining things. This is an unfortunate issue that requires RV air conditioner troubleshooting, but the cause is typically one of four possibilities: a dirty or clogged filter, an impacted drain pan or line, improper installation, or a broken pump.
Ductwork leaks, separations, or impingements can also cause condensation and dripping when cold air enters the return air plenum. On some models, a worn-out or overtightened gasket presses the drain hole into the rubber roof membrane, preventing water from passing through.
Solutions:
- Clean air filters and coils to ensure adequate airflow.
- Inspect the drain pan and line. Remove dirt and debris that is preventing proper drainage.
- Ensure the exterior gasket is properly aligned over the roof opening to prevent leaks.
- Check that the compression of the exterior gasket meets the manufacturer’s recommendation—typically 50% compression.
- Remove the interior A/C cover and inspect for leaks or separations where the return air supply could be mixing with warm air. Inspect the ductwork for holes, collapsed areas, or separations that allow cold air to escape or be blocked. Use HVAC foil tape to seal problem areas.
- Schedule an AC inspection to have the pump, gasket, drain pan, and other components professionally inspected.
Read our complete troubleshooting guide for this issue:
Technician Tip: Most drain pans are integrated into the A/C chassis, which means damage may require replacement of the entire roof unit. Alternatively, Tiffin and Airstream are two manufacturers known for using A/C drain pans with hoses or pumps.
AC Makes Strange Noises and/or Emits Foul Odors
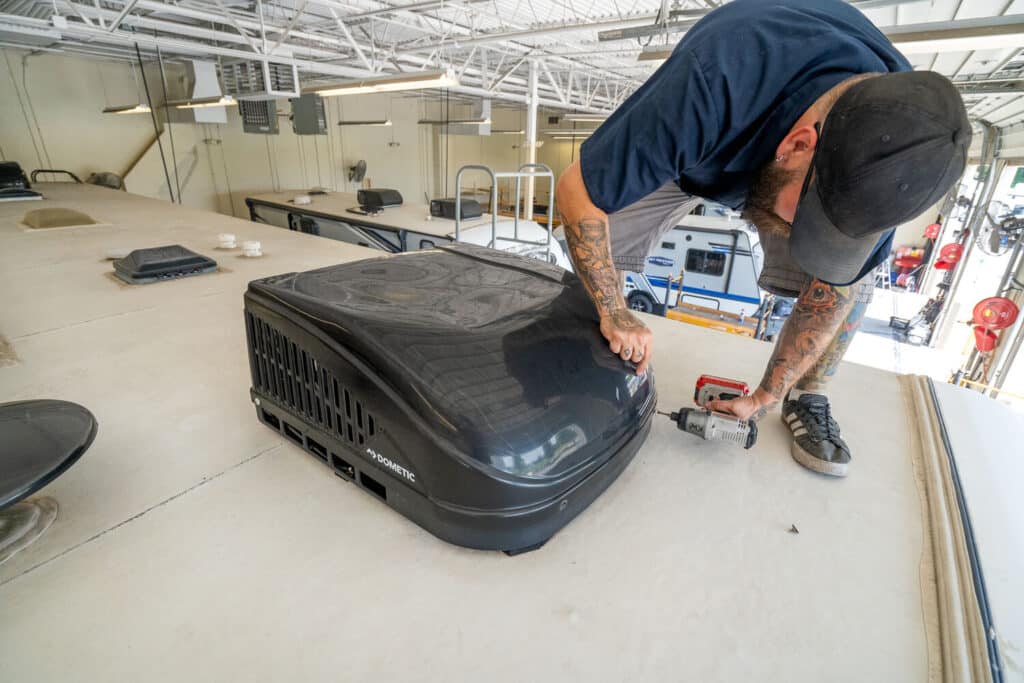
RVs are subject to significant bumps and vibrations as you drive, not to mention the environmental exposure when camping, driving, or in storage. Bolts and screws can come loose, bearings can dry out, mold or mildew can grow, and wasps, mud daubers, rodents, and others can nest in the A/C.
All these things—and more—can lead to strange noises, vibrations, foul odors, or even complete RV air conditioner failure.
Solutions:
- Check/tighten mounting bolts, adhering to the manufacturer’s torque specifications. Some tighten from above, requiring the removal of the A/C shroud. Most tighten from the inside, requiring the removal of the entire ceiling assembly cover to access the bolts.
- Ensure the fan blades aren’t rubbing against the housing and realign the set screw as needed.
- Listen for a high-pitched squeal signaling dry motor bearings. Consult the A/C manufacturer about the proper oil type, amount, and lubrication method.
- Flush the drain pan with a 50/50 diluted white vinegar solution and rinse thoroughly with clean water to remove algae.
- Spray a non-corrosive coil cleaner on the fins and rinse with water at low pressure to remove mold growth—AKA “black crud.”
Technician Tip: Non-toxic automotive antifreeze, propylene glycol, actually has cleaners and protectants suitable for aluminum, copper, and brass. This makes it a great cleaner and protectant for cleaning fins. It also lubricates them, making combing much easier.
If you’re hearing something unusual rather than a performance issue, our dedicated guide to RV AC making noise breaks down each sound by type.
When Should I Get My RV AC Issues Diagnosed?
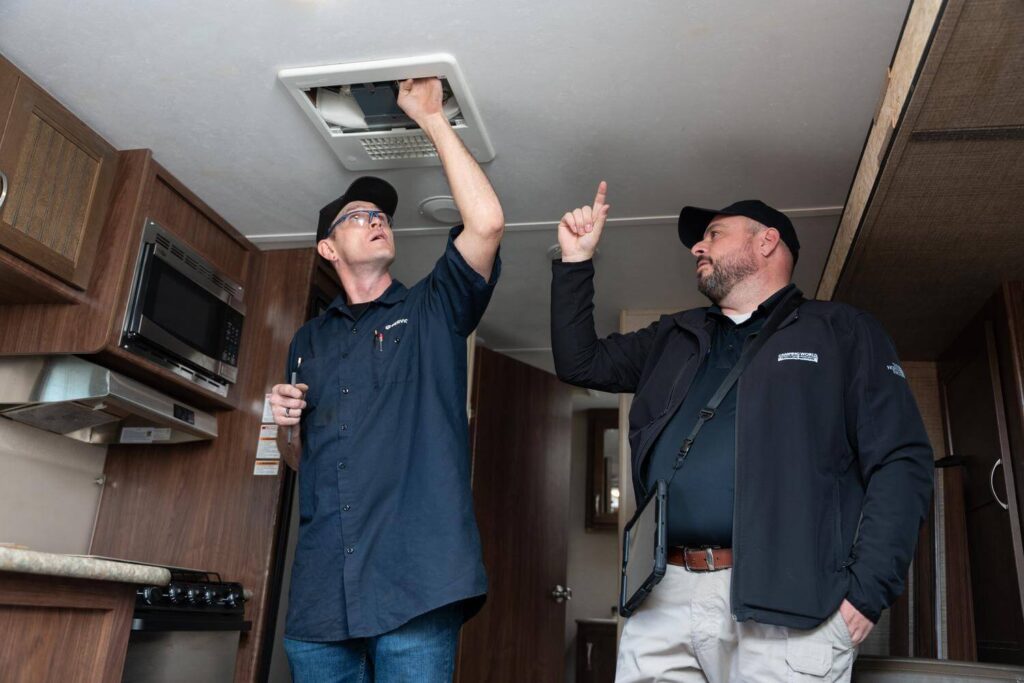
Regular cleaning and inspection are the best ways to keep the air conditioner in your RV working at peak efficiency. A diligent air conditioner maintenance routine will catch many minor issues.
However, if you’ve neglected maintenance or tried your share of RV air conditioner troubleshooting without success, it’s time to contact a Camping World Certified RV technician. But let’s also summarize the most common issues mentioned above that require additional attention.
After some testing, you suspect:
- A worn start capacitor
- A refrigerant leak
- A broken pump
- An under (or over) compressed gasket
- Drain pan or A/C chassis damage
- Suspected compressor issue or motor failure
- Burnt wiring smells
In truth, any air conditioner problems in your RV could require professional assistance. If you are outside your comfort zone for DIY troubleshooting and repairs, contact a certified technician to inspect your air conditioning system.
Is There a Reset Button on an RV Air Conditioner?
Most rooftop RV air conditioners do not have a labeled reset button, unlike a GFCI outlet. The reset process instead involves cutting power at the source. On some Dometic units, a small recessed reset button is located on the control board inside the unit. But for most brands, the procedure below applies.
How To Reset Your RV Air Conditioner (Step-by-Step)
A reset clears minor electrical faults and is the fastest first step when your RV AC stops cooling or won’t respond to thermostat commands.
- Turn the AC off at the thermostat or interior control panel.
- Turn off the AC circuit breaker inside your RV’s electrical panel.
- If connected to shore power, turn off the breaker at the pedestal.
- Remove battery power from the circuit.
- Wait a full 3-5 minutes. This allows capacitors to discharge and the compressor’s internal thermal overload to reset.
- Restore power in reverse order: pedestal breaker first, then RV panel breaker, then thermostat.
- Set the thermostat 5°F below the current ambient temperature and allow 20-30 minutes of runtime before evaluating cooling performance.
If the AC still doesn’t cool after a reset, the fault is likely a failed capacitor, a compressor issue, or a refrigerant problem, none of which a reset can fix. Schedule an AC diagnostic at a Camping World Service Center.
Does an RV AC Have a Fuse? (and How to Check)
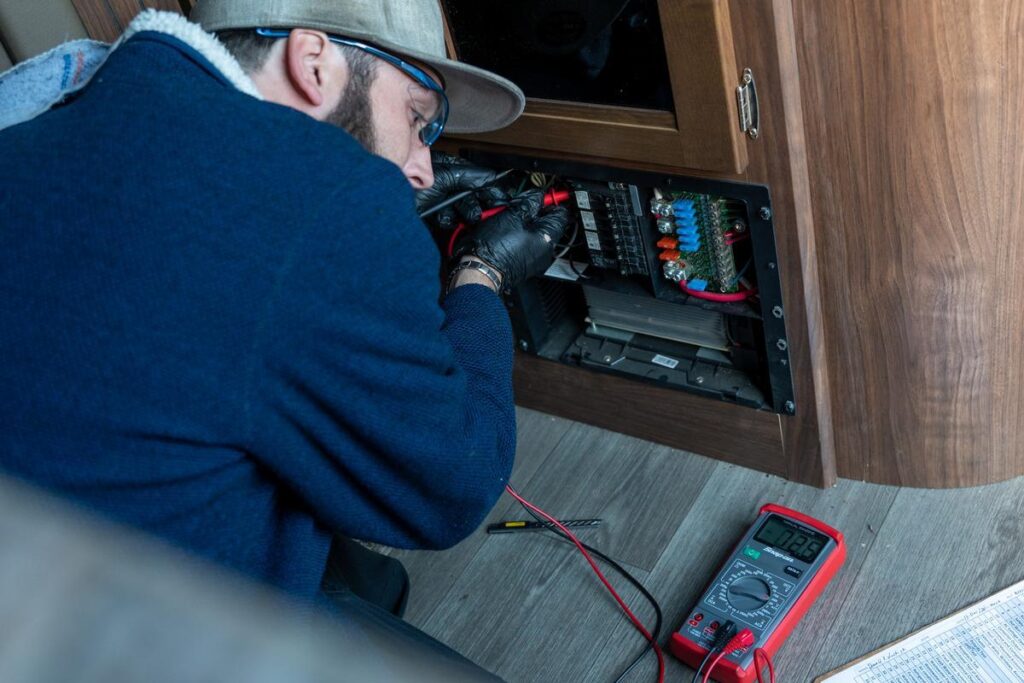
Yes, most RV AC systems are protected by fuses in two places: the main 120VAC circuit (typically a 15-20A fuse or breaker in the RV’s power panel) and the low-voltage 12VDC control circuit (a 3-15A fuse in the RV’s 12V fuse block, depending on the thermostat and control wiring).
A blown fuse is one of the most overlooked causes of an RV AC that won’t turn on. Thankfully, it’s also one of the easiest to check and fix before calling a technician.
How to Tell If Your AC Fuse Is Blown
- Locate your RV’s fuse block (often under a dash panel, in a cabinet near the converter, or behind a wall panel—consult your owner’s manual for location). Some models have an additional fuse on the AC control board.
- Identify the fuse labeled for AC, thermostat, or HVAC controls.
- Remove the fuse and inspect visually—a blown fuse will have a broken filament or dark discoloration inside the glass.
- For certainty, test with a digital multimeter in continuity mode. No continuity = blown fuse.
- Replace with a fuse of the same amperage rating. Never use a fuse of a different rating, as they won’t provide adequate circuit protection.
If the replacement fuse blows immediately or repeatedly, there is a short circuit or overload in the wiring. Stop troubleshooting and schedule a professional AC diagnosis.
Why Does My RV AC Shut Off After a Few Minutes?
If your RV AC runs briefly and then shuts down (i.e., the compressor cuts out while the fan continues, or the whole unit goes silent), this is called short cycling. The section above on RV AC short cycling covers the most common causes. But one scenario deserves specific attention: the compressor thermal overload.
Compressor Thermal Overload Shutdown
Most RV AC compressors have a built-in thermal overload protector. When the compressor overheats, the thermal overload trips, shutting the compressor off to prevent damage. Overheating can be caused by low campground voltage (below 108V), an overworked compressor on a very hot day, or a failing start or run capacitor that makes the compressor work harder than normal.
What to do:
- Turn the AC off completely and let the compressor rest for 30-60 minutes.
- Check campground voltage with a digital multimeter or plug-in voltage monitor. Voltage below 108V is a common cause.
- If voltage is adequate and the thermal trip keeps recurring, the start capacitor is likely failing and drawing excessive amperage. Schedule an AC capacitor diagnostic.
Dometic & Coleman Mach: Brand-Specific Troubleshooting
Dometic® and Coleman Mach® are the two most common RV AC brands, and each has some brand-specific quirks worth knowing—from where the reset button is located to which failure patterns show up most often. Rather than duplicate that detail here, we’ve covered it in full in our dedicated guide.
See our Dometic® & Coleman Mach® RV AC Repair Guide for brand-specific reset steps, common problems by brand, and when to call a technician for Dometic® or Coleman Mach® repairs.
When to Call a Technician for RV AC Repair

If you’ve worked through the steps above and your RV AC still isn’t performing correctly, the fault may not be fixable by DIY troubleshooting. The following issues require a certified RV technician:
- Compressor failure. Running the AC with a failing compressor can cause further damage and void the manufacturer’s warranty.
- Refrigerant leak. Factory-sealed RV AC units are not designed to be recharged in the field. A refrigerant leak requires a certified technician with EPA Section 608 certification.
- Capacitor failure. Capacitors store lethal electrical charge even after power is disconnected. Safely testing and replacing a capacitor requires a trained technician.
- Burnt wiring smell. Do not continue running the AC. Shut it off immediately and schedule an inspection.
- Drain pan or A/C chassis damage. Most drain pans are integrated into the chassis and require full unit replacement.
- Persistent short cycling after voltage check. Indicates compressor or capacitor degradation.
When DIY troubleshooting reaches its limits, Camping World can help. Contact our Customer Call Center for further assistance or use the link below to make a diagnostic appointment.
Having other RV issues? Use these other troubleshooting resources:
Did these RV air conditioner troubleshooting tips resolve your issue? Let us know if we can provide further assistance in the comments below!



The AC after it’s on for a bit, a “fire alarm” sound goes off. Where should I start looking? It is an Ice Castle RV edition. 2013 I think.
Hi Jeff,
What is your AC’s make/model? Have you also checked that this sound isn’t coming from your CO/LP Leak Detector? This detector could require a reset or a battery replacement.
Looking forward to your reply.
thank you
good info
You are most welcome!