That familiar itch to hit the open road is back! (For some, it never leaves). But if your RV has been stored for the offseason, spring cleaning is inevitable. Now, most RV spring cleaning tips include valid, albeit a bit “vanilla” advice like vacuuming the return vents or wiping down the dash. But protecting your investment requires more than surface cleaning. It requires knowing where problems start—and how to stop them before they turn into four-figure repairs.
In this guide, we’re skipping the obvious and diving into expert RV spring cleaning tips. While we’re staunch supporters of thorough RV dewinterization, we’ve distilled it down to five high-impact moves.
These ensure your first trip of the season isn’t cut short by a preventable breakdown. Let’s get your camper out of hibernation the right way.
Key Takeaways
- Prioritize Structural Preservation: Shift focus from surface dusting to high-impact maintenance—like conditioning rubber seals with dry silicone and auditing water heaters—to prevent “silent” water damage and four-figure repair bills.
- Avoid “Common Wisdom” Chemical Damage: Steer clear of acidic “brighteners” at commercial truck washes and petroleum-based products (like Vaseline) on seals; these can degrade gelcoats and literally melt rubber components.
- Audit Your Rolling Gear: Don’t just “kick the tires.” Verify the manufacture date via the DOT code (replace every 5–7 years) and re-torque lug nuts to account for metal contraction caused by winter temperature swings.
Tip #1. The “Deep Burp”: Beyond Just Opening Windows
When your camper sits closed up for months, the air inside gets stale and stagnant. Truly airing out your camper requires a mindful approach—it’s more than leaving a door propped open as you load supplies for your spring shake-down trip.
This tip is best performed on a warm day with a light breeze. You don’t want to be uncomfortable, and you don’t want too much wind blowing dust inside. It’s also best when you have other tasks to perform, and it’s relatively simple to do:
The Hack: Open it ALL up! That includes doors, windows, and roof vents to promote airflow. Open all cabinets, pantry spaces, drawers, wardrobes, interior access panels, refrigerator and freezer compartments, and basement storage doors. Don’t forget to lift up and flip your mattress and open the storage areas under your bed, dinette, and/or furniture.
Why It Helps: It prevents “closet mold” and allows you to sniff for propane leaks or ammonia (fridge leaks) that might have pooled in low-lying cabinetry while the rig was dormant.
Tip #2. The Truck Wash Strategy
Growing up, my brother and I always groaned when we saw Dad set out those RV exterior cleaning products for our motorhome. We were small, and it was big. But now that I can’t store my trailer on my property, I realize how much easier it was to clean the RV right there in our driveway.
For owners who can’t store their RV at home or those with HOAs that forbid RV cleaning, the question is, “Where can I take my RV to wash it?”
When I owned a sub-20-foot travel trailer, the self-service car wash was a fine option. I just needed to avoid too much water pressure around seams and seals, backing the pressure washer away from the camper. But even with a small trailer, I often had to pay for two cycles to complete a thorough exterior cleaning.
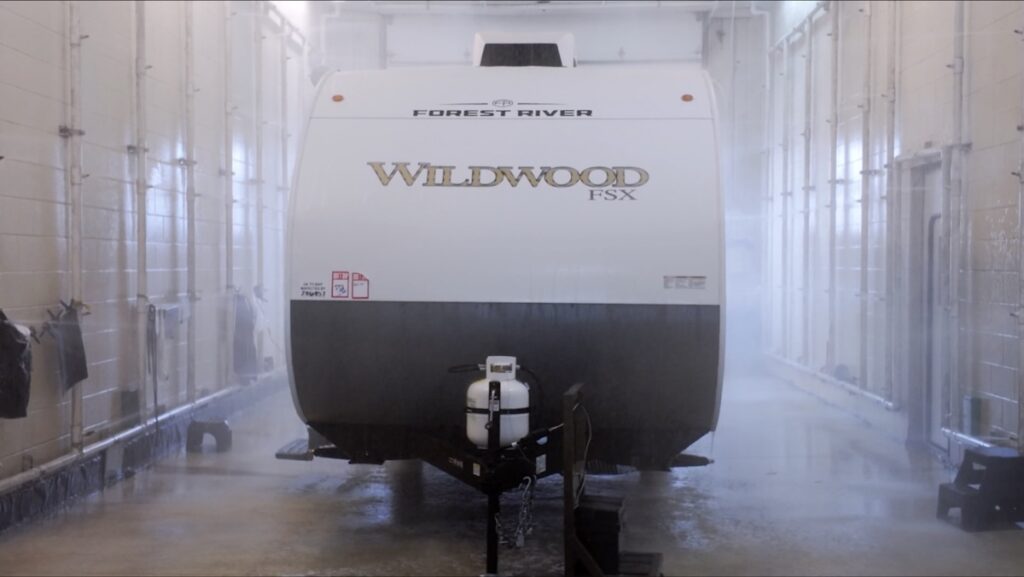
The Hack: Use a commercial truck wash or a mobile detailing service, but with some caveats. You’ll want to skip any “Brighteners” or acidic cleaning agents typically offered. You may also request a lower pressure setting and milder soaps, depending on what they standardly use.
Pro Tip: The “acid wash” or brighteners used for metal trailers will wreak havoc on RV gelcoats, decals, and seals. Specifically request “no brightener or acidic cleaning agents, milder soaps, lower pressure settings, and hand-brush only” to get a professional clean without the damage.
Tip #3. The Black Streak “Eraser” Method
Getting onto my camper’s roof isn’t the easiest—nor does it always feel safe. That leads me to neglect a regular RV roof cleaning. And if you’re unaware, a dirty roof inevitably leads to dirty sidewalls, as runoff bringing dirt and debris off the rubber roof membrane ultimately forms those black streaks on the sidewalls.
Once formed, they are notoriously stubborn to remove. Your best efforts with an RV exterior cleaner and a soft-bristled brush will often come up short, and even a self-service or commercial wash might not be enough.
The Hack: After thoroughly cleaning your RV roof to remove buildups that will inevitably lead to more streaks, use a dedicated “RV-safe Black Streak Remover” or approved alternatives (like Simple Green, vinegar mix, or dish soap) and a soft cloth or brush to “spot clean” streaks. Use a drying cloth to finish the process.
The “Expert” Twist: After cleaning, apply a high-quality, RV-safe UV protectant to the roof edges and gutters. If the source (the roof oxidation) is sealed, the streaks won’t return by your second trip of the season.
Learn more about RV black streak removal.
Tip #4. Condition Your Seals
I like to call this tip “The Silent Savior.” Let me explain. Rubber seals are arguably the most easily neglected component of your RV—but they are silent killers because it’s incredibly hard to detect water penetration until it causes significant enough damage to become noticeable, at which point you’ll be looking at expensive repairs.
These seals around slide rooms, windows, and doors invariably dry out. So, it’s time to treat that rubber before it roasts in the mid-summer heat.
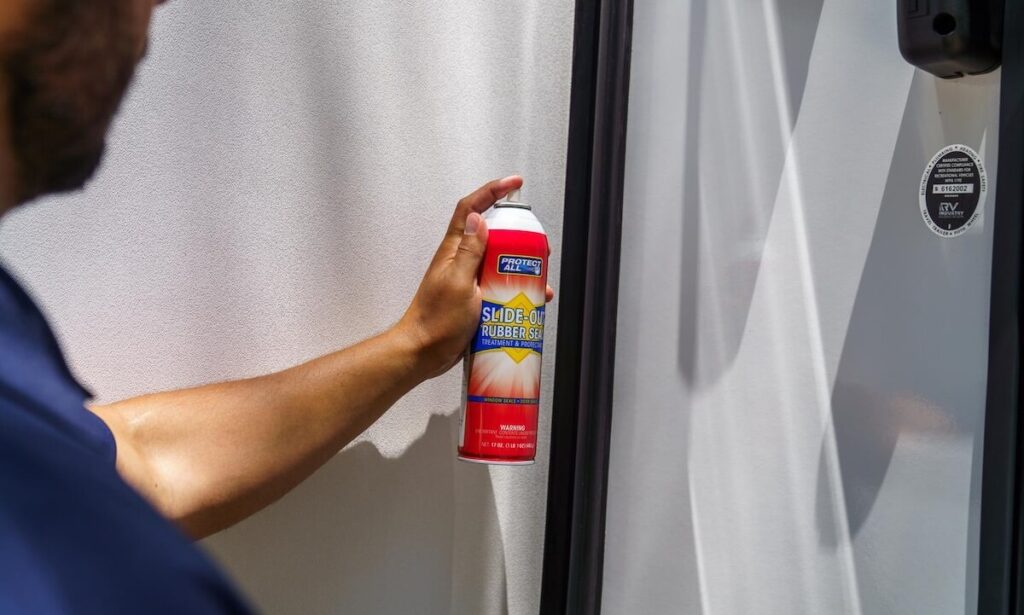
The Hack: Open slide rooms, doors, and windows and apply an RV-safe dry silicone lubricant to all exposed rubber seals. Run slide rooms in and out, and slide windows open and closed.
Technician Tip: Campground wisdom may suggest using Vaseline, but petroleum products will essentially melt the rubber seals, so they should never be used.
Why It Helps: Most people wait until seals squeak, tear, or noticeably degrade. Treating them in the spring keeps the rubber supple so it doesn’t “weld” to your RV during the hot summer months, saving you a multi-thousand-dollar repair bill. For slide rooms and windows, lubricating seals also reduces friction, keeping them operating smoothly and reducing wear on the slide motor. For doors, it extends the life of the seal and prevents water damage.
Tip #5. The Water Heater Audit
Regardless of the type of water heater in your camper, there’s a spring cleaning hack to keep it working optimally for your next camping season.
Traditional tank-style water heaters have a sacrificial rod inside that “eats” minerals to prevent the tank from rusting. That sacrificial rod should be inspected during your other spring cleaning checks.
The Hack for Tank-Style Water Heaters: When performing other water system prep (i.e., removing antifreeze, flushing and sanitizing, etc.), remove the anode rod and inspect it. If it’s more than 75% depleted, it’s time for an anode rod replacement.
Why It Helps: When that rod gets depleted, it’s no longer keeping minerals from rusting the tank itself. The anode rod is typically a relatively inexpensive part that can save you from a more expensive full water heater replacement.
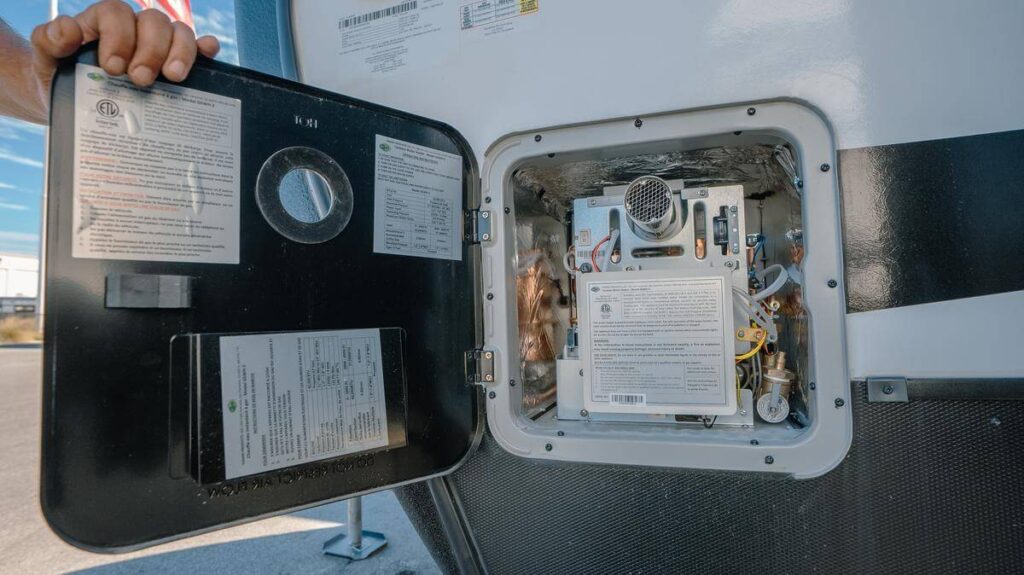
But so many RVs (like mine!) now have tankless water heaters. These don’t have traditional tanks or anode rods, but they are subject to calcium buildup.
If you have a “K-Cup” coffee maker at home, you likely know it needs to be descaled regularly. The same applies to on-demand tankless water heaters. Some have a signal light that indicates when it’s time; others may experience reduced water flow, difficulty reaching temperature, or unusual noises from the heater unit.
The Hack for Tankless Water Heaters: Check the heater manufacturer’s recommendations for descaling techniques. This typically involves pumping a 5% distilled white vinegar solution through the heater to remove calcification.
The “Expert” Twist: Most manufacturers will recommend descaling their tankless water heaters annually. If you RV full-time or frequently camp in areas with hard water, you may need to descale more frequently. However, an upgraded water softening system can reduce calcium buildup in your water heater and plumbing.
Watch our video on how to descale a tankless water heater.
Bonus Tip #6: Torque & Tire Check
There’s arguably no more precarious situation to be in as an RVer than on the side of the highway trying to change a blown tire. I’ve been there more than I’d like to admit—partly because I haven’t always kept up with tire care.
I’ve “kicked the tires” and given them a quick look at the start of every season, but the temperature swings of winter and the stationary weight of your RV sitting on them throughout the offseason require a bit more.
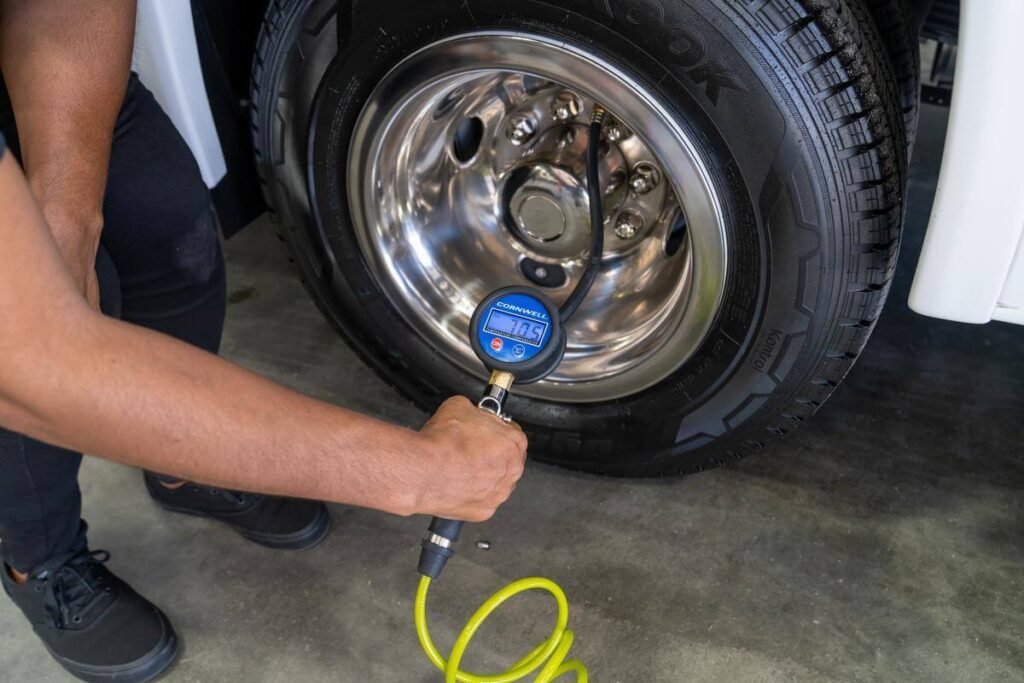
The Hack: Be thorough! Tire pressure should be within the recommended ratings on the RVIA certification label in your camper. Minimum legal tread depth is 4/32 of an inch in most US states. Tread should be worn evenly. Look for significant differences in tread depth from the inside to the outside of the tire. Look for sidewall bulges and cracks that can increase the odds of a blowout. Locate the four-digit DOT code on the sidewall (e.g., “1221” means the 12th week of 2021) to ensure tires aren’t out of their usable date range.
The “Expert” Twist: Check and re-torque those lug nuts! Metal expands and contracts significantly during winter freeze-thaw cycles, which can actually “relax” the tension on your wheel studs. Use a calibrated torque wrench to reset them to your manufacturer’s specs (usually found in your manual or on a sticker near the A-frame) and ensure you don’t lose a wheel on the interstate.
The Pro Rule: Some RV experts call tires that are 5 years or older “May-Pops”—as in, they may pop at any second. Even if the tread looks new, UV exposure and internal dry rot can compromise structural integrity over time. Replacing them on your terms in the driveway is much cheaper than an emergency roadside call and a shredded wheel well.
Technician Tip: Our technical team recommends replacing tires every 5-7 years, no matter how much tread remains. A new set of tires often costs hundreds of dollars, compared to the average cost of blowout damage being thousands!
Because maintenance plays such a pivotal role in RV longevity—or eventual trade-in value, here are a few more helpful resources:
- Travel Trailer Maintenance Checklist
- Pros and Cons of RV Covers
- How To Keep Mice Out of Your Travel Trailer
- Best Way to Clean RV Interior Surfaces
What expert spring cleaning tips would you share with your fellow RVers? Let us know in the comments below!


On pots and pans. Nothing else needed. My present MH has a combo microwave & conventional oven. With 3 corning ware pans, pizza pan (it fits the turntable) Now the 3 corning ware, pizza tray, muffin tin, do it all. Also have two 8 inch skillets.
We’ve camped using a van for several years now. This past summer we bought our first Class A motor home, a Brave Winnebago. I’m working on learning how to utilize the space in it. I’m curious, do most people buy pots and pans and dishes for their motor home and leave them there? If so, what are the most important ones to have? Thanks for the GREAT tips!
Need to know where I can find 19 1/2 inch wide rugs to use in RV when traveling and all slides are in?
Love your suggestions on making an RV more homey. Will be living in my just purchased fifth wheel as soon as I sell my house. Can’t travel with it because I can’t drive a big truck. Looking forward to your future post on RVing.
Any suggestions for what to do with a litter box? We’ll be traveling with our cat!
Such helpful ideas! I’m ordering a few of them! I have two 13 yr old boys that sleep in rear bunks. There is no storage for their clothes. Do you have any ideas?
Some great tips, but things hanging Inside cabinets take up space, too. I had the drawer added under my table!!
I WOULD LOVE TO RV,I HAVE PROGGRESSIVE MS AND CAN’T AFFORD TO BUY ONE.I ENTER TRYING TO WIN ONE!!!!
Love your story
Motivating
we bought a very inexpensive RV., learning how to use it. I especially love being cozy inside and having lunch
We have an angled kitchen counter with a small cabinet door near our entry door. I removed the cabinet door, put the litter box inside and made a curtain which I hung over the opening. No one could see the box and she could go in and out at will!!
During travel I store under the table and if entertaining guests, move it to the shower and cover the drain. Works great!
We also put our litter box in the shower but use an old yoga mat in shower floor to keep litter from going down the drain. The yoga mat is easy to sweep or vacuum tracked litter off of. We also put the cheap formats from dollar tree in front of the box to cut down on litter being tracked to other parts of the RV. These are easy to take out several times a day and shake if necessary
We removed washer from bathroom closet. Added doggie door from bedroom side. Perfect since she stays in bedroom mostly. Cleaning easy from bathroom side. Added shelf right above dryer vent so litter box even has a vent. lol perfect!
While parked, hide under the stowed steering wheel, with the driver’s chair facing the living area. Place table cloth over steering wheel to hide box.
We put it in the shower and remove when showering. We also line the shower floor with a towel so no litter goes down the drain.
Hi Terry—here’s one option from our Parts and Accessories store: https://www.campingworld.com/runner-20-x-60-aqua. You can find more options here.
We also put it in the shower. Just got a covered litter box. Less messy. We tape the shower drain with duct tape until we need to use it
If you do not use your shower, put something flat over the top of your tub, and then put plastic drawer units on top of it. And a bar across the back of the shower.