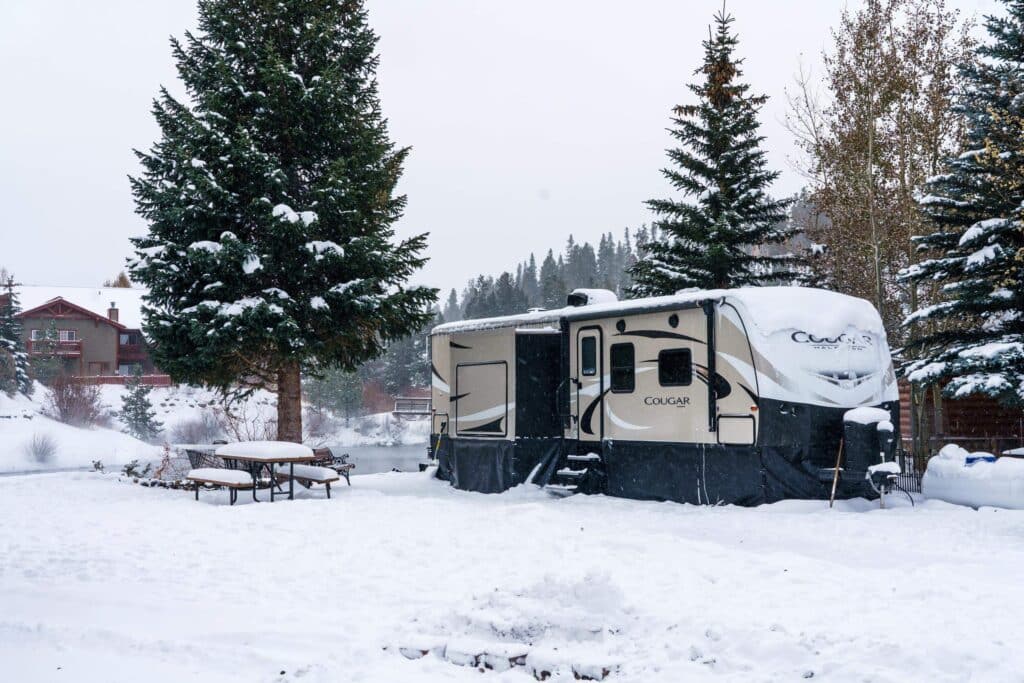
Although winter RV camping is certainly possible in a 4-season RV, most owners store their campers for the majority of the season. That’s why every new RVer either needs to schedule winterization service or create their own RV winterizing kit before the temperatures consistently dip below freezing.
Winterizing means preparing your RV’s plumbing, tanks, and water lines to withstand freezing temperatures. It typically involves draining the system and adding non-toxic RV antifreeze to prevent cracked pipes or damaged fittings.
Even if your RV only partially hibernates during the winter—meaning you might take it out of storage for a quick winter getaway—you’ll need to winterize your RV when it’s not in use. So, here’s the essential gear you’ll need to build a winterization kit for your RV.
Key Takeaways
- Winterization is essential for protecting an RV’s plumbing, tanks, and water lines from freezing damage, typically involving draining the system and adding non-toxic RV antifreeze before temperatures drop.
- Core winterizing kit items include an air compressor with blowout hose or plug, RV-safe antifreeze with a hand pump or pump converter kit, a water heater bypass, and fuel stabilizer for motorhomes.
- Additional winter care—like washing and waxing the RV, using dehumidifiers, full covers, tire covers, and optional upgrades such as heated water hoses or RV skirting—helps preserve both the interior and exterior during storage or cold-weather camping.
Staples of a Good RV Winterizing Kit
From blowing out water lines to protecting the RV’s exterior from winter weather, every RV winterization kit should start with these basics.
Air Compressor
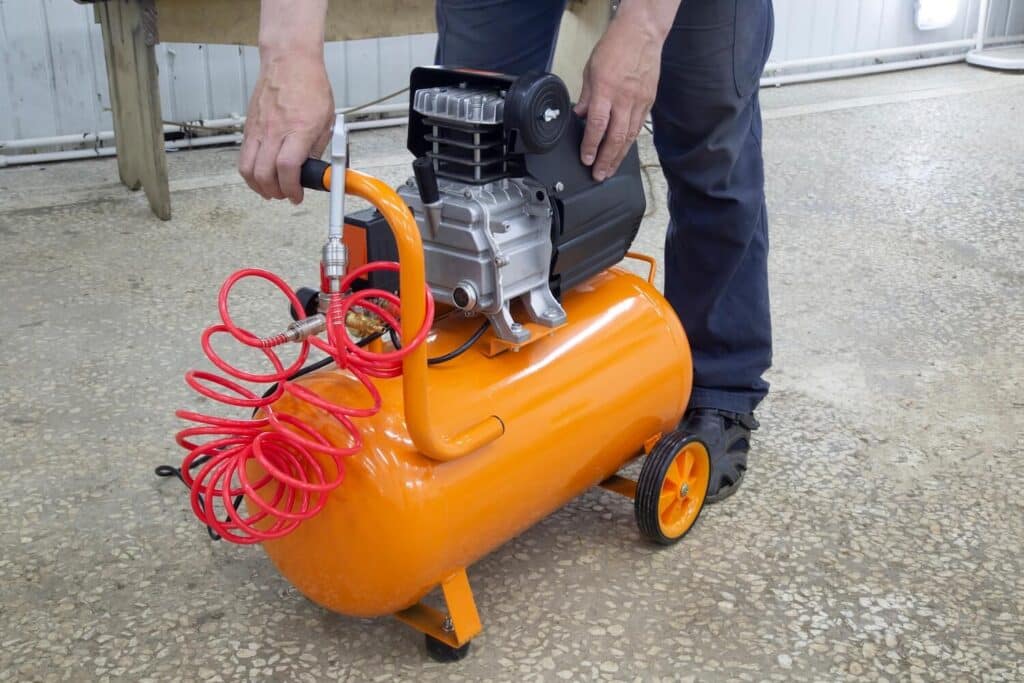
Proper RV winterization begins with removing water from the fresh water tank and all plumbing lines. Many owners invest in an air compressor to help purge water from the lines. While low point drains on the lines and tank will handle the majority, gravity alone isn’t enough to complete the job. Forcing air through the lines will ensure a dry system.
However, you’ll want a compressor with an adjustable pressure setting to avoid damage. The maximum pressure you should use when blowing out water lines is 30 to 40 PSI. Anything more can cause damage to fittings, fixtures, or plumbing lines themselves.
Blowout Hose and/or Plug

That air compressor you just picked up won’t be of much use without the proper blowout hose or plug adapter to connect it to your RV’s plumbing system.
The process for using this winterization tool is simple: connect it to your RV’s city water inlet and hook up the air compressor to the other end. Set the compressor to the recommended safe pressure and turn it on. One by one, open each faucet (hot and cold) to flush the lines, including indoor and outdoor showers, as well as the foot flush on most RV toilets.
For a more comprehensive explanation of this process, watch the video below.
RV-Safe Antifreeze

If winter weather is the villain, frozen pipes are its most dangerous tool when it comes to your RV’s health. And while removing water from your plumbing lines offers basic winterization protection, a more complete solution involves adding RV antifreeze before the temperatures drop.
RV-safe antifreeze is specifically formulated to protect water lines, but it’s not the same as automotive antifreeze. RV antifreeze is safe for use in the common materials used for RV plumbing lines and fittings, unlike standard automotive-grade solutions that should be avoided.
RV Winterizing Hand Pump Kit

Speaking of antifreeze, the next question that most new owners will ask is, “How do I add RV antifreeze to my water lines?” A hand pump kit can be a great starting point if you’re looking for a budget-friendly solution.
This kit allows you to pump antifreeze directly from the bottle into your RV’s city water connection. However, you may need an assistant to open faucets and flush levers to ensure antifreeze circulates throughout the system as you pump.
Water Pump Converter RV Winterizing Kit
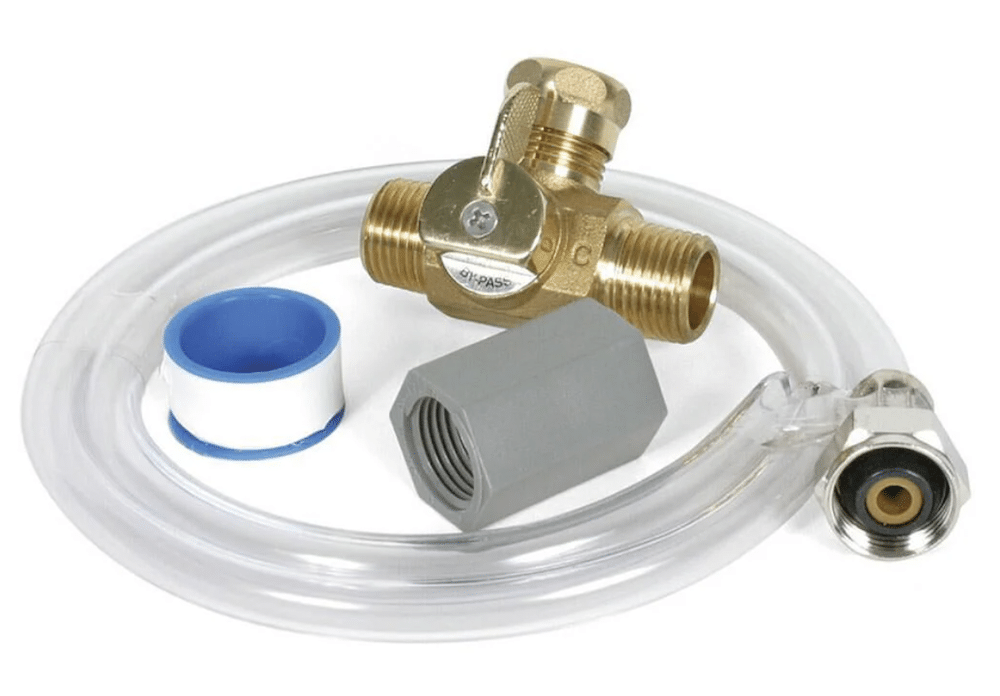
As an alternative to the hand pump, a winterization kit allows you to install a winterization bypass line upstream of your water pump. This kit T-connects into existing plumbing lines and includes a flexible hose for easier winterization. With it installed, the flexible hose is placed into an antifreeze bottle.
Turn on your water pump to draw antifreeze from the bottle and circulate it through the system as you open faucets to ensure complete distribution throughout the system. Of course, it requires more installation than the hand pump, but it also turns adding antifreeze into an easier, one-person job.
Additional Considerations
Depending on your RV, you might also need these items for your winterizing kit:
Quick Turn Water Heater Bypass Kit

For RVs with more traditional tanked water heaters, many experienced owners will bypass the heater before adding antifreeze. This is because adding antifreeze to the heater can cause damage to the anode rod, fittings, and other components. Plus, it will require an additional six to 10 gallons of RV winterization fluid.
For tanked water heaters, a bypass kit installs a valve to prevent antifreeze from entering the tank once it has been drained of water. This will protect the heater’s tank and also save you money on antifreeze every time you winterize your camper.
Technician Tip: Bypassing isn’t necessary for tankless water heaters, as many manufacturers actually recommend adding a small amount of antifreeze to them to protect them from freezing temperatures.
Fuel Stabilizer
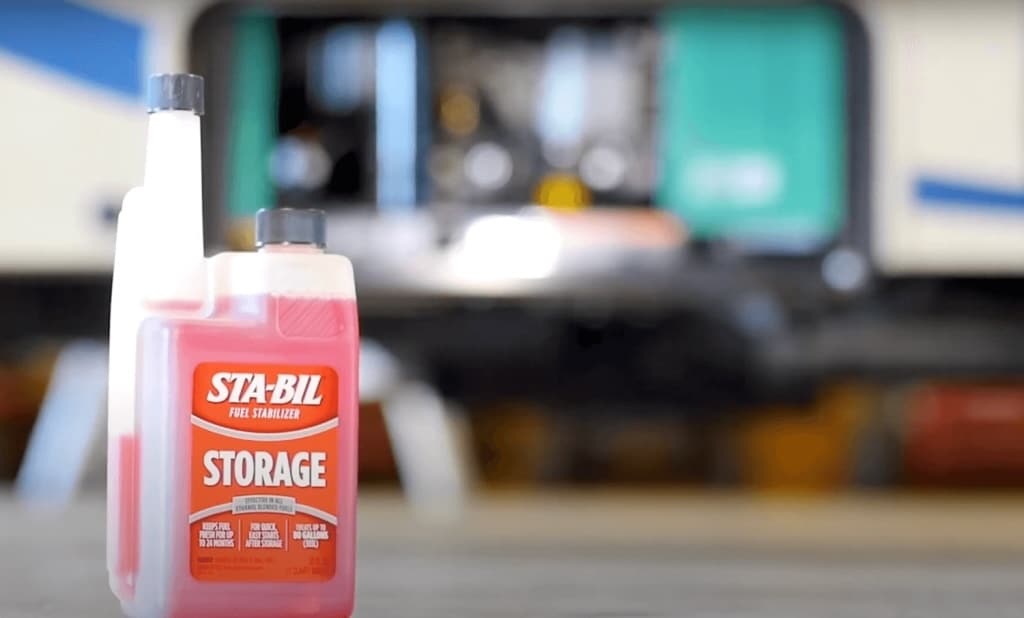
A fuel stabilizer is a smart addition to your kit if you own a motorhome. This liquid is added directly to your RV’s fuel tank to prevent fuel degradation, along with slowing the formation of gum, varnish, and rust. On average, fuel begins to degrade after approximately 60 days, and as it does, it increases the likelihood of fuel system clogs and other issues when you start your RV again.
Have Your RV Winterized By an Expert
The right gear to winterize your RV will give you peace of mind that your camper is ready to handle Mother Nature’s cold shoulder. However, if you’re uncomfortable winterizing your camper on your own, use the link below to schedule winterization at a Camping World near you.
Other Winter Care & Cleaning Essentials
While not traditionally considered part of the winterization process (i.e., protecting plumbing lines), these items will help ensure more comprehensive protection of your camper throughout the winter.
Wash and Wax
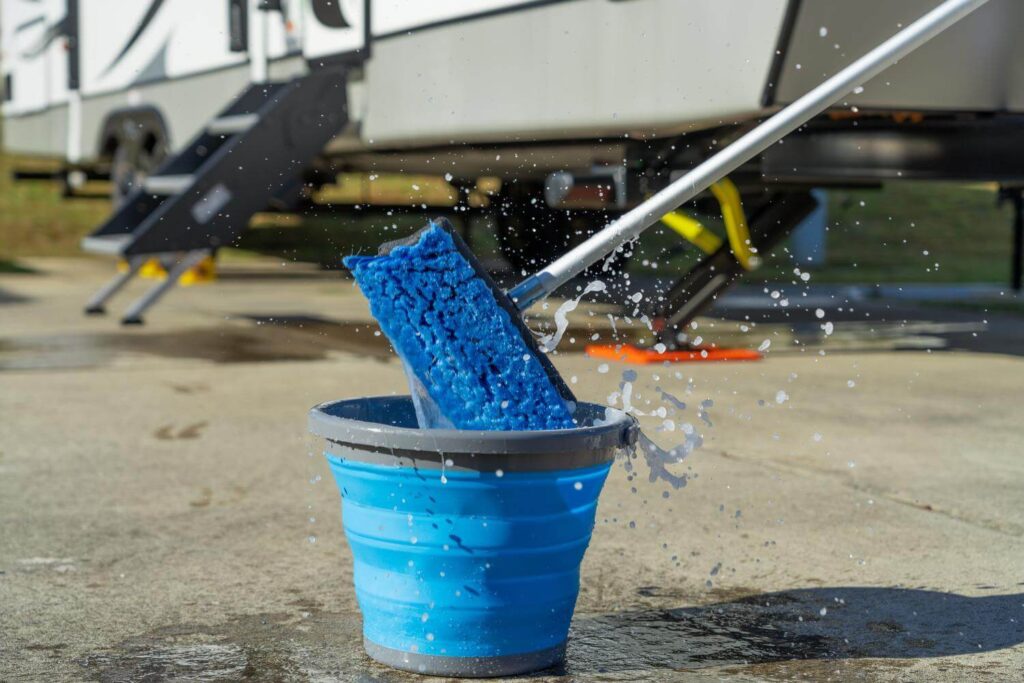
We shouldn’t put our things away dirty, and the same goes for our RVs. One of the best ways to protect your RV’s exterior over its lifespan is to keep it clean, especially before storing it for the winter. Pick up a quality wash and wax, and avoid leaving dirt and other potentially chemical contaminants your RV picks up on the road to wreak havoc on the exterior all winter.
Air Dehumidifier
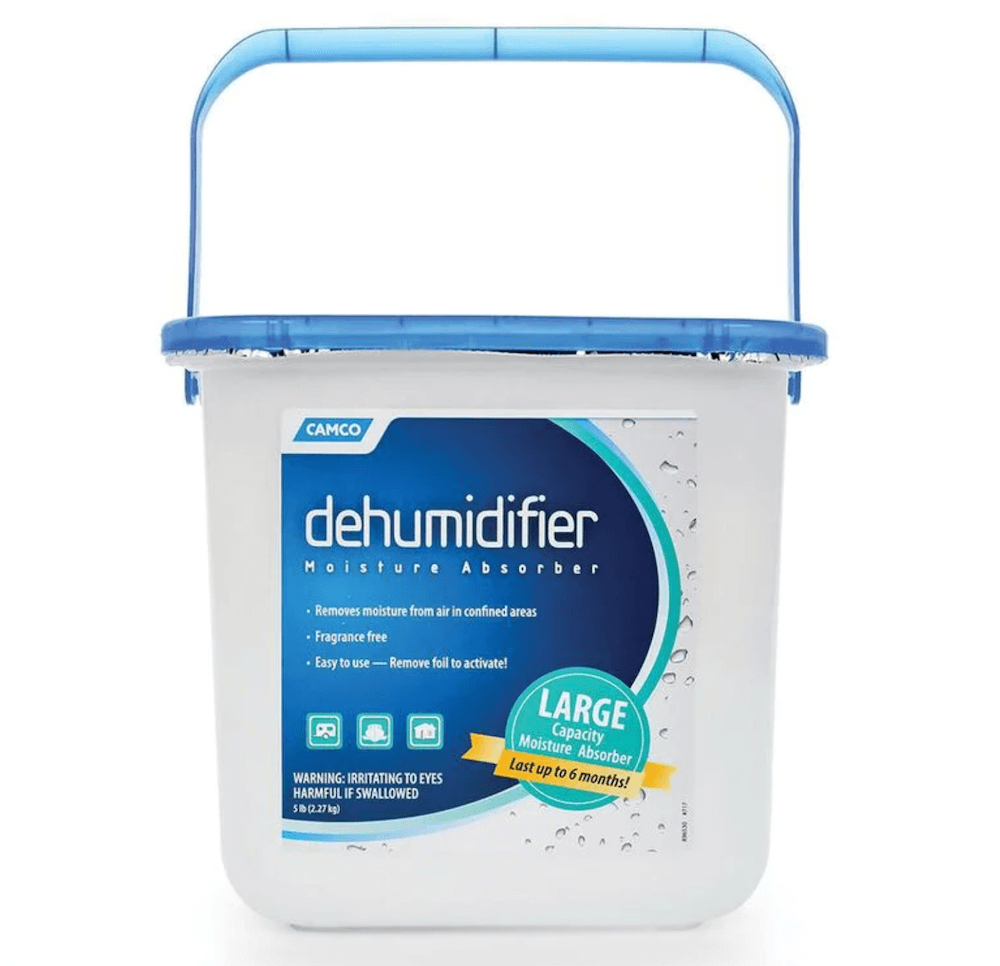

Images by Camping World
Moisture buildup inside your RV can lead to mold and mildew growth when it’s in storage. That’s why many RVers open their cabinet doors and drawers, placing dehumidifiers throughout their camper to collect moisture and prevent condensation. These small additions to your winterizing routine can go a long way towards ensuring you don’t find mold and mildew when you open your camper in the spring.
Full RV and Trailer Covers

With your RV washed and winterized, the best way to protect the exterior from sun and moisture degradation during storage is to use an RV cover. These come in various sizes to suit different RV types, but our guide to choosing the right cover for your camper can help you find the perfect fit for your RV.
RV Tire Covers
Even if you install an RV cover, most don’t extend protection to your tires. Protecting the foundation of your camper from UV exposure and other contaminants requires finding the best tire covers for your RV’s tire size. It’s an additional investment, sure, but it’s much more cost-effective than a tire replacement or the additional repair expenses that often come with damage from a tire blowout.
Nice-to-Haves for Winter RV Camping
Although these products aren’t 100% necessary to winterize your RV, they can provide further protection or help you camp more comfortably through the winter—or even during late fall or early spring.
Heated Drinking Water Hose
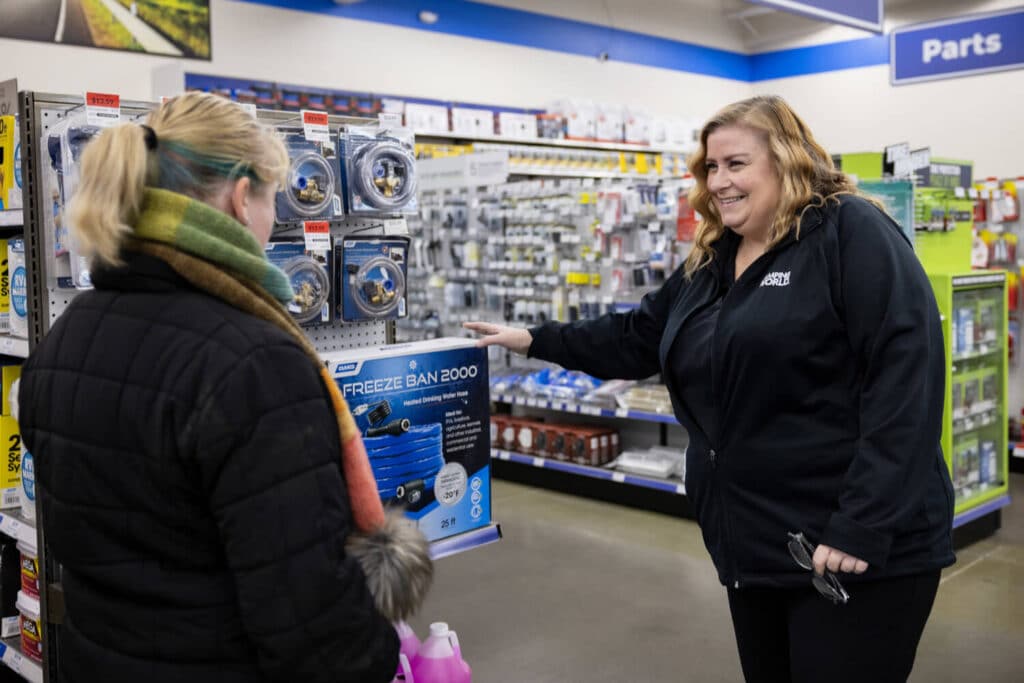
If you plan to pull out the RV for winter camping, you’ll need a heated water hose to supply running water from a campground water source to your RV. A quality insulated and heated drinking water hose for RV winter camping is made with chemical-free materials and includes a 120VAC plug to supply power to the electric heating element that runs along the length of the hose, inside a protective leather sheath.
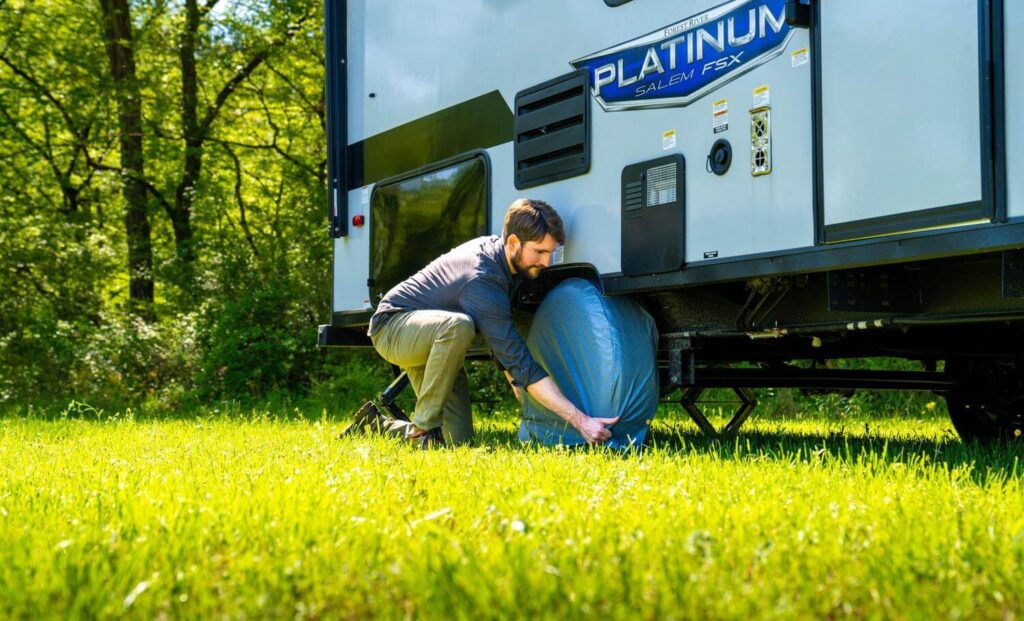
RV Skirting
For stationary winter camping and additional protection for the underbelly in storage, some owners will install skirting as their final winterization step. RV skirting provides added insulation of the air space beneath your RV, helping to keep critical components like plumbing and holding tanks from freezing.
Use these additional links to learn how to protect your RV from extreme weather and temperatures:
- What to Know About RV Antifreeze
- Guide to RV Storage
- How To Winterize an RV Generator
- RV Tankless Water Heater Winterization Guide
Is there anything we didn’t mention that you’d add to your RV winterizing kit? Let us know in the comments below!


I have a 2025 Forest River Salem 27RK, it has a on demand water heater. The instructions say to use nontoxic anti-freeze to winterize the trailer, but not to put nontoxic antifreeze in the water heater. What do you use in the water heater and how do you get it in, there is no bypass on the heater, and you can’t get to it from inside of the unit.
Hi Joe!
This article on tankless water heater winterization might be useful: https://blog.campingworld.com/learn-to-rv/how-to-winterize-an-rv-tankless-water-heater/
Let me know if you still have any questions after checking that out!
My 2022 Cougar 33RLI doesn’t have a water pump bypass kit installed. The pump is in an awkward spot beside the sofa. I would wonder if the reason it didn’t come with a kit installed is because there is an easier way to get rv antifreeze to the pump. Any idea’s?
Hi Mike!
Here are a couple articles that might help:
https://blog.campingworld.com/learn-to-rv/how-to-winterize-your-rv/
https://blog.campingworld.com/learn-to-rv/everything-you-need-to-know-about-rv-antifreeze/
Let us know if you have any follow up questions!
Is it possible to stay in an RV for whole cold and snowy winters at a time? How can an RVer be able to have constant water (and hot water) flowing into an RV without freezing in the hose? And do RV water heaters work good in cold winters?
Hi Joey, yes, you can do it. You’ll need to insulate water hoses (and possibly sewer hoses) and ensure your holding tanks stay warm enough to keep from freezing. It’s definitely doable at full hookup campsites. There are special heating elements you can add to hoses and tanks and using some plumbing insulation can do wonders. A space heater in the basement of the RV is doable, too. Still, if the temperature drops far enough, you could have issues.
If you’re without hookups camping during the winter is still possible, but you’ll likely be out there for shorter periods of time.