
The beginning of the camping season is the perfect time to assess the condition of each distinct part of your motorhome or trailer before hitting the road. Knowing how to dewinterize your RV properly goes beyond removing RV antifreeze from your waste and plumbing systems. Depending on the region, you may dewinterize your RV at different times, primarily once the threat of sub-freezing temperatures has passed. In some cases, RV dewinterizing may happen multiple times if you have early-season trips, with the proper RV winterization process happening to keep your plumbing protected between trips.
According to many RV technicians, proper RV dewinterizing is the most neglected point of RV ownership.
A little time, effort, and investment go a long way, and we can’t overstate the importance of dewinterizing an RV properly. You can do many of these tasks at home, but your local Camping World Service Center can help. Before breaking out of winter storage and packing for a spring trip, thoroughly dewinterizing an RV is essential.
Key Takeaways
- Comprehensive Dewinterization Process: Properly dewinterizing an RV involves inspecting and servicing key systems, including electrical, propane, tires, fresh water, and holding tanks, to ensure everything is functional and safe for the upcoming camping season.
- Step-by-Step Maintenance Guide: The process includes checking safety devices, inspecting major RV systems (electrical, propane, and tires), flushing antifreeze from plumbing, cleaning and restocking the interior, and thoroughly inspecting and washing the exterior.
- Professional Assistance Available: While many tasks can be done at home, complex system checks—such as electrical, LP gas, and water systems—should be professionally tested. Camping World Service Centers offer preseason maintenance services for RV owners who prefer professional assistance.
How To Dewinterize Your RV
Save this post for step-by-step guidance on how to dewinterize your RV each spring.
Start with a Basic Inspection & Safety Checks
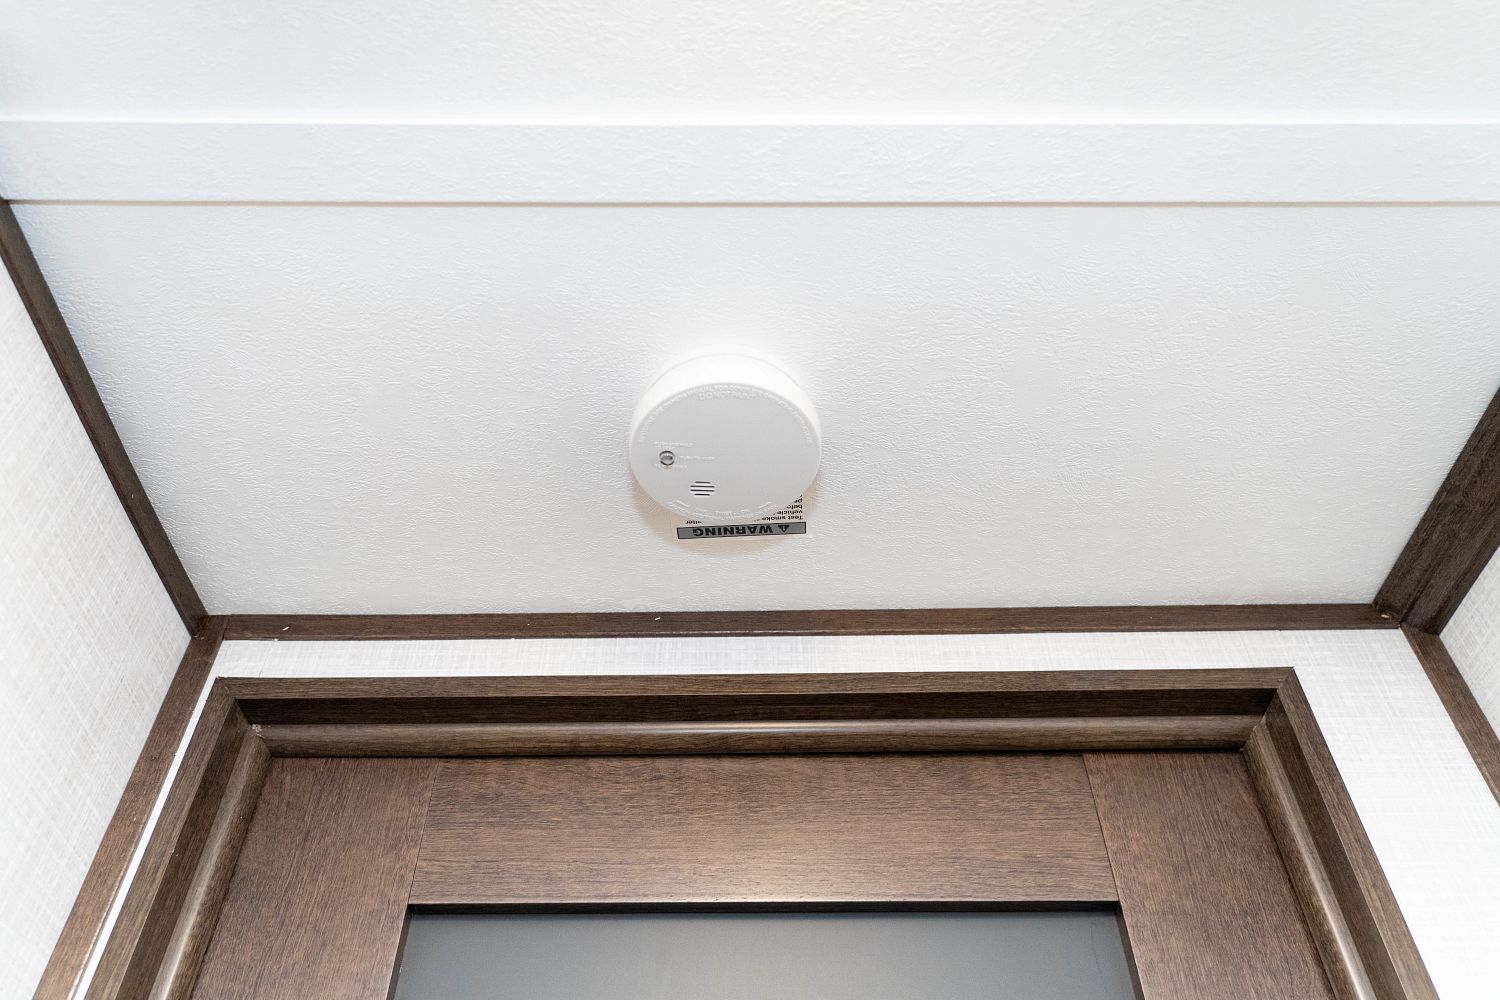
Do this early to allow time to schedule any necessary maintenance before your spring camping trip begins. Take time to inspect your fire safety systems. Ensure the carbon monoxide detector, smoke alarm, LP detector, and fire extinguishers are all in working order. Consult the manuals for each device for testing and inspection criteria.
Service the Major RV Systems
Your next step when learning how to dewinterize your RV is inspecting the major systems:
Technician Tip: The checks below will help you perform a basic walkthrough of your RV each spring. But even if each appliance and system appears to function, it may not be performing at its best.
Your 12-volt DC and 120-volt AC electrical, LP gas, and RV water systems should be professionally tested before each new season of use. These tests are complex and require specialized tools, and they are NOT a DIY task. Camping World often offers specials on these important preseason tests.
Electrical System Checks
These basic electrical system checks can be performed without expensive tools when you dewinterize your RV. If you’re having any electrical issues, we highly recommend contacting an RV service center to have the system diagnosed.
- Visually inspect battery connections. If the terminals are corroded, be sure the shore power is disconnected, and you wear safety goggles and latex gloves when cleaning them off.
- Charge RV batteries and check battery fluid levels. Charge the battery and/or add distilled water as needed.
- Check generator air filter (if equipped) for nests and ensure it doesn’t need to be replaced.
- Prime generator. Generator manufacturers recommend running the unit for a specific amount of time to warm up and for a specific amount of time under load, even when it is not being used. This will keep oil in the top end to prevent dry starts and fresh fuel in the carburetor, pump, and fuel lines. Please perform this simple task to avoid fouling the carburetor and/or pump and dry rotting the fuel lines.
- Run generator to operating temperature, shut it off, and then check the oil level.
- Test appliances on the electric setting.
Propane System Checks
Your RV’s propane system delivers fuel to your propane-burning appliances that keep the interior warm, heat your water for dishes or showering, or allow you to cook a hot meal. Here’s how to check your propane system to dewinterize your RV:
- Ensure all propane appliances are turned off (furnace, stove, oven, refrigerator, water heater).
- With a flashlight, inspect the RV’s exterior for the water heater, refrigerator, and furnace. Remove debris from burner tubes and look for insect nests in the intake/exhaust tubes. If compressed air is available, blow out the RV.
- Inspect your propane lines to be sure the seals and hoses aren’t cracked.
- Check propane levels. Refill your LP container(s) to 80% of full capacity.
- If everything looks okay, open the valve on the container(s) all the way. You can check for leaks by using a soapy water solution around the valves and looking for bubbles.
- If possible, test all propane appliances to setpoint multiple times. Each appliance will cycle on and off based on thermostat settings. Allow them to run through a few cycles to be sure they will not fail on your first camping trip. Don’t just turn them on and presume they are fine after a few seconds.
- Check your carbon monoxide detector and propane safety alarm. Consult the owner’s manual for each device for proper testing criteria.
RV Tire Checks
If you’re just learning how to dewinterize your RV, don’t overlook your RV tires. They’re the foundation of your trailer or motorhome and their condition is essential to ensuring your safety during the upcoming camping season. Here’s how to check your RV tire’s condition:
- Check RV tires (and the spare) for proper inflation when they are cold (i.e. have been sitting for at least three hours.
- Inflate tires to the recommended tire pressure (PSI) from your RV’s manufacturer rather than the tire manufacturer, as that recommendation is based on your camper’s weight and cargo carrying capacity (CCC).
- Inspect tires for cracks, cuts, scrapes, bulges, or bumps along the sidewall. Anything suspicious warrants a trip to your service center for a professional opinion.
- Check tread depth for each tire. A minimum of 4/32” is recommended for safe RV travel. Tires with tread depth under 4/32” will provide poor traction in rain, snow, mud, or other slippery conditions.
- Repack RV wheel bearings. This should be done annually and may require installing new wheel bearing seals.
Study everything you need to know about RV and trailer tires. If your tires need replacement, set up an appointment to install new tires.
Dewinterize Your Fresh Water System and Holding Tanks
If you use non-toxic RV antifreeze to winterize your fresh water system, you’ll need to drain and flush it from the plumbing system. Do this with the following steps:
- If removed, re-insert the low-point drain caps or plugs.
- Put the anode rod (Suburban water heaters) or drain plug (Atwood water heaters) back in. If your anode rod wasn’t removed, replace it now.
- Repressurize the water system using either a hose or filling the fresh water tank and turning on the water pump.
- Open faucets, showerheads (indoor and outdoor), and the toilet to flush out the antifreeze in the system.
- Turn off the water pressure, remove the low-point drain caps, and turn the water pressure back on to flush out the remaining antifreeze from the water lines.
- Turn off the water pressure and replace the low-point drain caps.
- Change the valves on the water heater bypass to “use” mode. This means closing the bypass valve and opening the hot and cold valves.
- Check the operation of your water pump and city water hook-up and test all valves, including faucets, outside shower, and toilet.
After draining and flushing, sanitize your RV fresh water system with a proper bleach dilution or a solution like Aqua Pure. Follow the instructions on the container, but you can also consult the video above.
Inspect Interior and Restock RV Essentials
Don’t forget the RV essentials when dewinterizing your RV. These supplies are vital for enjoyable camping trips, and these checks will help you avoid uncomfortable surprises on your first RV shakedown trip of the season:
- Thoroughly clean the interior from ceiling to floor, using only RV-safe interior cleaning products.
- Drain dehumidifiers (or replace disposables), if applicable.
- Check inside cabinets and under sinks for signs of pests or rodents. If you discover signs, find the source and use insect and rodent-repellent solutions before adding any new food items to the pantry.
- Check the water filtration system and install new filter media. Never reuse filters from a previous season, as they may have been contaminated.
- Go through your camping supplies and restock the essentials.
Inspect and Wash Your RV’s Exterior
Now it’s time to inspect your RV’s exterior before you give it a thorough cleaning to conclude your RV dewinterizing checklist. You want your RV to look good just as much as you want the systems to function for your spring camping trip. Here’s a checklist for inspecting and cleaning your RV’s exterior:
- Perform a thorough RV walkaround. Check the condition of the windows, window seals, paint, latches, doors, door seals, compartments, and all exterior components.
- Climb up safely and inspect the roof. Look at seams along the edges and around all roof vents, antennas, A/C units, etc.
- If you find any cracks in the caulking or missing sealant, remove the old sealant and replace it.
- Wash your RV from roof to tires using a soft bristle brush and an RV-friendly exterior cleaner. Don’t forget the awnings. They are exposed to all weather conditions and rarely see sunlight on their underside, making them prone to mildew. Use an RV cleaner for black streaks that have formed if your RV was left uncovered.
- Rinse well and dry completely. Leave RV awnings extended for a few hours to dry fully before retracting. Use a soft towel to dry windows to prevent spots.
Don’t Want to Dewinterize Your RV Yourself?
Take the time to run these checks and perform necessary maintenance, so your spring camping season is a success. Then, all you’ll need to do is pick a location and head out for an epic spring break camping trip.
But if you don’t have time to dewinterize your RV yourself, reach out to your local Camping World Service Center. Our trained technicians are happy to help you get your RV prepped for another exciting season of RV adventures.
Now that you’ve learned the basics for dewinterizing an RV, and where you can find services for RV dewinterizing near me, explore additional resources for RV maintenance and spring camping:
- RV Spring Cleaning Tips
- RV Maintenance Checklist
- Must-Have RV Tools and Maintenance Supplies
- Camping Supplies for Fun Spring Camping
Do you have any questions about dewinterizing an RV water system? Let us know in the comments below!



Where is the hot water heater by pass valve located in a 2024 Mallard 210rb?
The bypass valve should be located on the cold water inlet of your water heater. But depending on the plumbing design in your unit, you have multiple valves on the plumbing entering and exiting your water heater (usually one on the cold water inlet and one on the hot water outlet).
Let us know if you have any follow up questions!
How do you hook up your 50 Amp to a regular house plug (120)
Hi Jimmy,
You’ll need the appropriate power adapter, but you should be cautious that you won’t enjoy full use of a 50 amp RV as intended when plugged into a 120-volt AC outlet, just like you wouldn’t if using an adapter to connect to a 30-amp outlet. This means restricting the use of high-draw appliances like your air conditioner and microwave.
That said, here’s a link to help you search for a compatible RV power adapter.
Let us know if you have any follow up questions!
How much does it cost for Camping World to dewinterize your travel trailer?
Hi Marsy,
You’ll need to contact your local Service Center for a quote on this service. Here’s where you can find the location closest to you and find their contact info: https://rv.campingworld.com/rv-service-maintenance#js-anchor-locations
No shower since 7/5/21? Wow, glad I am not around you! Please stay down wind.
The video is not quite chronologically correct. You’ll want to flush all the anti-freeze through the faucets “before” turning the by-pass valves to regular use otherwise you end up with a bunch of anti-freeze in the hot water tank.
10 mins after my hot shower i turned on the hot water in my bathroom sink and no water came out!! But i have cold flow on cold side!! We have checked the bypass valves they are closed, we have drained water heater and refilled, water enters the tank of the water heater but idk if its flowing out cuz no water will come from any faucet in the camper!! Please help its been 2 days and i really want a warm shower
Hi George!
You are indeed correct on that order. The water heater bypass valves should remain closed until the pink RV antifreeze has been rinsed out.
Thanks for noting that!
Check for a blocked shower head.