All boaters should understand marine electronics like depth sounders, fixed GPS navigation systems, and fishfinders. To help you locate verdant fishing grounds, you’ll also need to know how to install a fishfinder on your boat.
The installation instructions vary based on the model you’re installing. Your manufacturer will provide the best information on the best mounting and installation practices. But let’s explore the basic tips for installing boat fishfinders.
Tools and Materials Needed to Install your Fishfinder

Many fishfinders come with a mounting kit that includes the basic hardware you’ll need. In addition to that hardware, gather these tools:
- Philips head screwdriver
- Power drill and appropriate bits
- Wire stripper
- Wire fish
Depending on the model you’re installing, you may also need these materials to complete the installation:
- Zip ties
- Marine adhesive or sealant
- Heat-shrink tubing
- Crimp and terminal electrical connectors
- Clamshell fitting
- Silicone sealant
How to Install a Fishfinder on a Boat
The step-by-step process for how to install a fishfinder:
Step 1: Choose Your Location
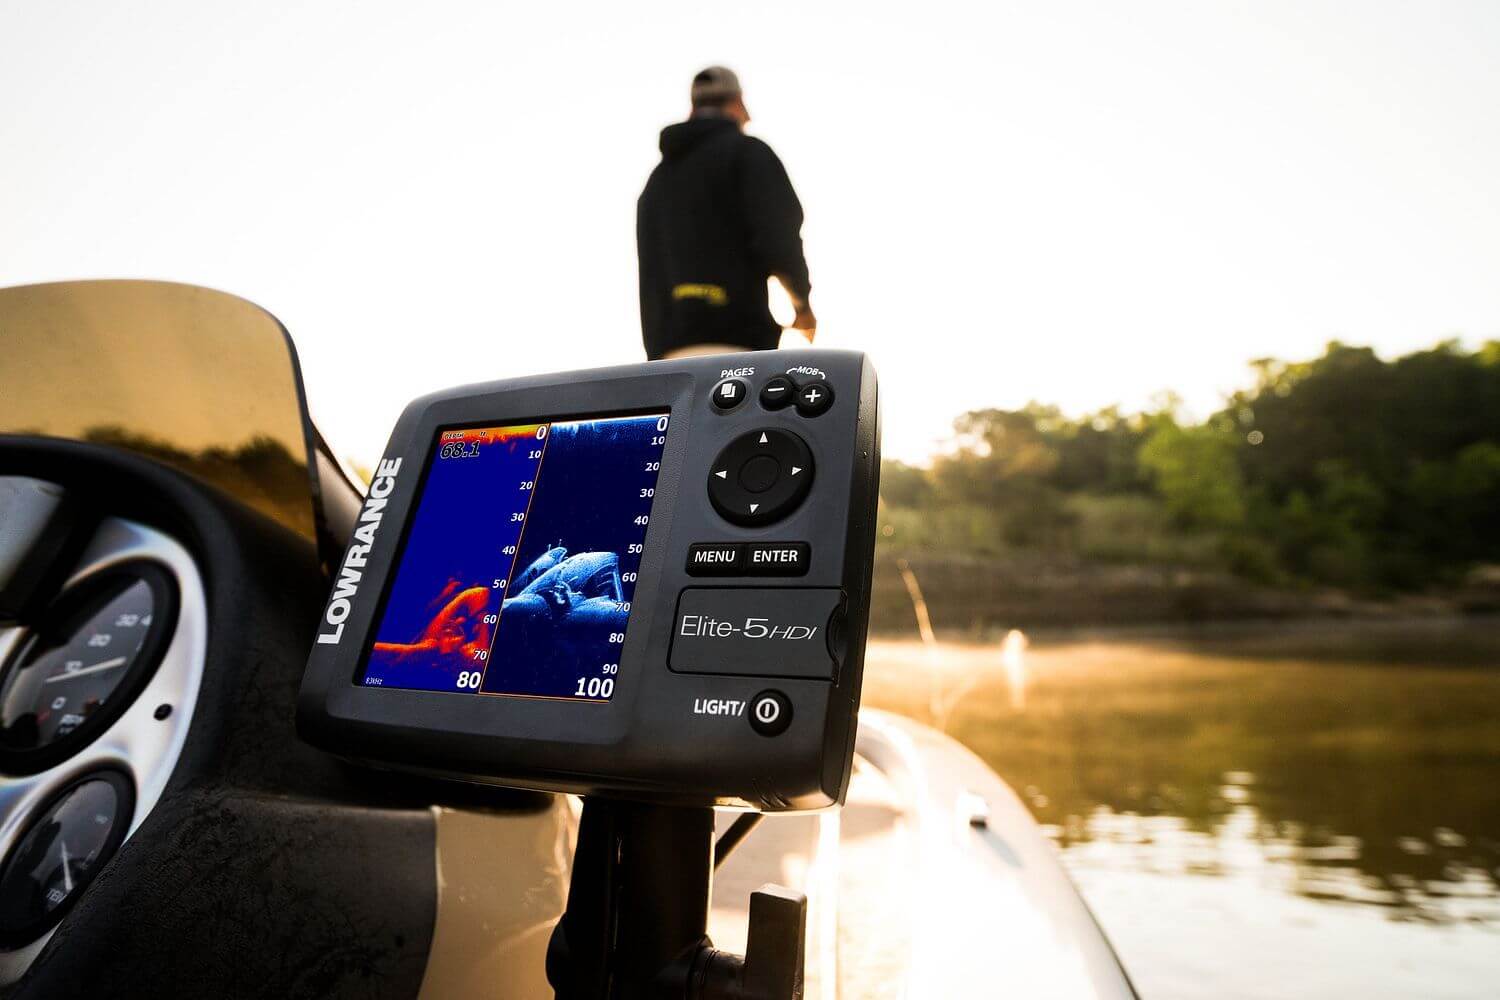
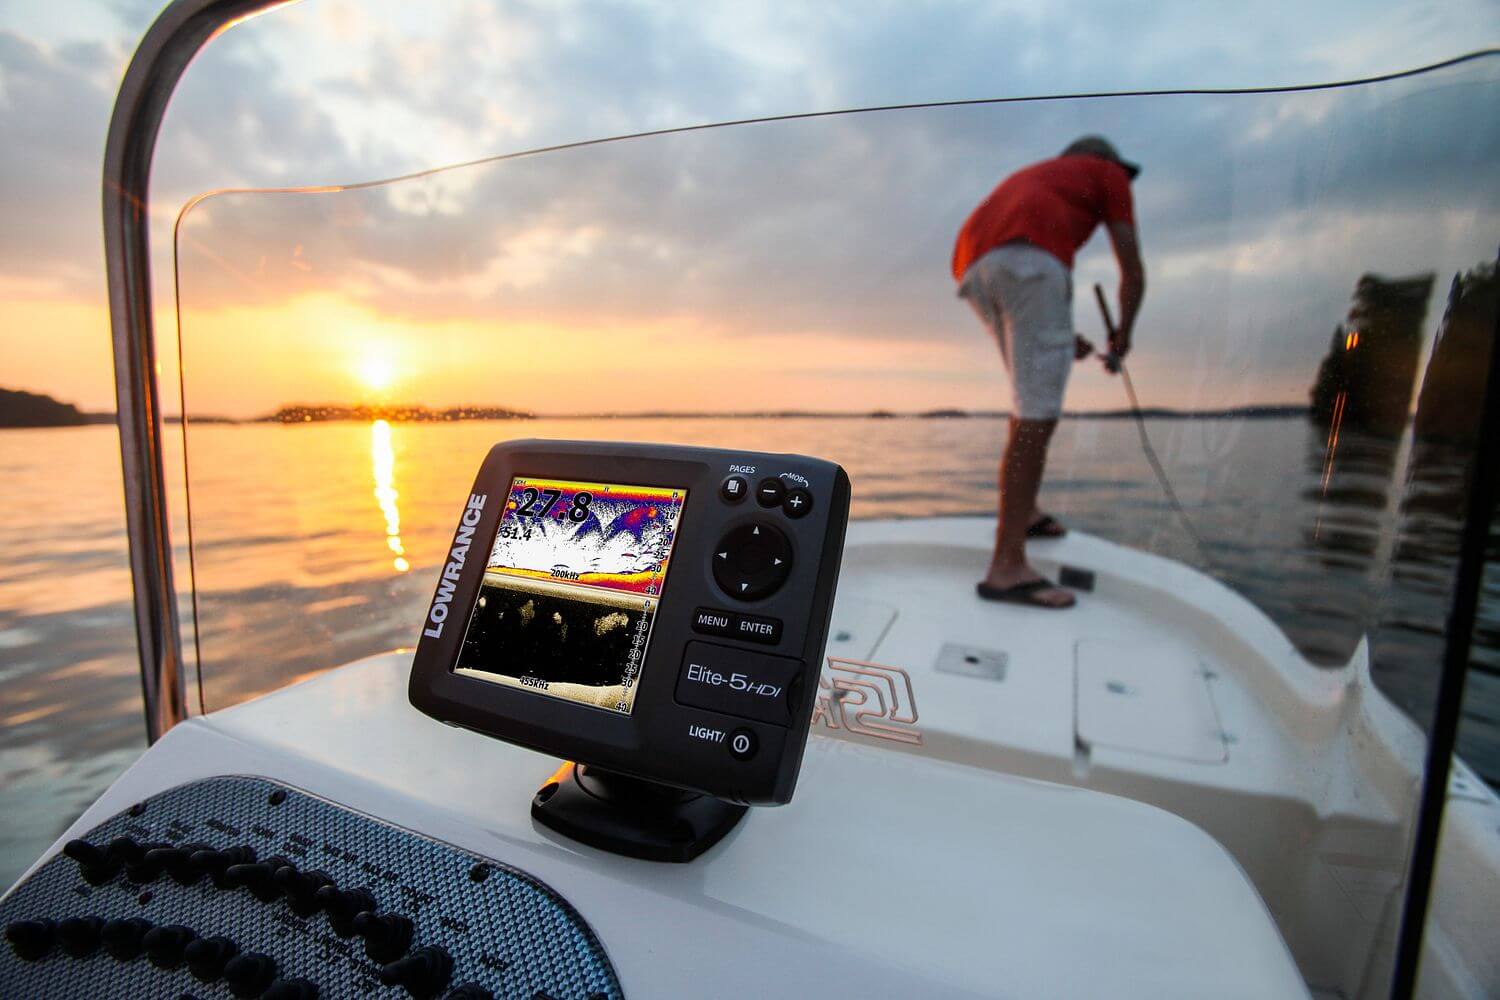
The most logical place for your fishfinder is somewhere you can easily view it from the captain’s chair. However, your ability to install an aftermarket fishfinder where you can see it will depend on your boat’s cockpit design.
When choosing your fishfinder’s location, balance accessibility with security. It should be easy to view and protected by your boat’s windshield, reducing the potential for damage from splashing water and wind.
You should also choose a location with no obstructions under the helm that you could damage when drilling the mounting holes. The fishfinder should have enough clearance to tilt or turn to its complete ability without hitting other cockpit instruments.
Step 2: Secure the Mount

Most fish finders are secured to your boat using a binnacle mount. If yours is designed to be flush-mounted, consider hiring a professional rather than risking damage to your boat’s console.
To install a binnacle mount, start by locating your boat’s fuse block and ensuring there are terminals available to connect your fishfinder to power. The American Boat and Yacht Council (ABYC) stipulates a maximum of four terminals per stud.
Most binnacles come with a mounting template, but you can also use the binnacle itself as a guide to mark your mounting holes with a pencil. Drill out your mounting holes, being careful to run the drill at full speed because drilling at slower speeds is more likely to splinter or chip your boat’s gelcoat finish.
You’ll also need to drill a hole directly underneath the binnacle to run the electrical wires to your fuse block. The hole must be large enough for the wires to fit through easily. Before you drill, set the binnacle in its proposed location and ensure plenty of clearance for the wires to pass through without being bent or compressed.
Once that looks good, you can drill the center hole and then use the silicone sealant to run a bead around the base of the mount and each drill hole. Set the binnacle in place and dab the end of each bolt with silicone sealant before running it down and securing it with locking nuts.
Step 3: Install the Power Leads

With your mount in place, it’s time to wire it up. If you pick a smart location, the power leads will be the perfect length to reach your fuse block. If not, you’ll need to lengthen or shorten the leads as needed.
For lengthening, consult your manufacturer’s recommended gauge to ensure you have the proper color-coded, tinned copper wire. Your connections should be made with crimped connectors protected by heat-shrink tubing (never solder wire-to-wire connections).
Safety tip: Never remove the manufacturer’s inline fuse when lengthening power leads. Doing so can fry your unit and will void your warranty.
Your power leads should be pushed under the helm, leaving no wiring exposed outside. As you run wires to the fuse block, secure them every 18 inches with zip ties to remove any slack that could get caught or pulled by your activity.
For fuse blocks with male spade terminals, crimp a female spade connector to the end of each power lead and protect it with heat-shrink tubing. For fuse blocks with screw-type terminals, you’ll need appropriately sized ring connectors.
For now, however, leave the leads disconnected as you finish the rest of the installation.
Step 4: Mount the Transducer

This part gets tricky, and you’ll need your boat safely trailered before proceeding. Standing behind your boat’s transom, you’ll want to identify a location for the transducer. Your ideal location should be an area on the deepest part of the hull as possible.
The mounting location must also be free of strakes, through-hull fittings, and any other objects that could interfere with the smooth hull moving toward the bow. Mounting the transducer with objects in front of it will create turbulence and decrease your fishfinder’s performance.
With your spot picked out, place the transducer bracket up against the transom. Adjust it to hold the transducer’s face horizontally, so it sits about an eighth-of-an-inch below the hull. Mark the location of the bracket’s mounting holes with a pencil.
Your next step is to run the transducer’s wires up to the helm before you mount it to avoid pulling the wires and compromising the efficacy of the sealant holding it in place.
Unless your boat previously had a transom-mount transducer, this is where you’ll need the wire fish to pull the transducer wire and plug through. Pull all the wire up to the helm, coil up any extra wire, and secure everything with zip ties.
Safety tip #1: Avoid cutting transducer wires. Your new plug connections will add electrical resistance and reduce your fishfinder’s performance.
Safety tip #2: Don’t bundle transducer wires with VHF cable or your engine’s wiring harness. It will cause electrical interference and reduce your fishfinder’s performance.
With your wires running, drill the pilot holes for mounting your transducer bracket. Coat the mounting screws and transom holes with marine adhesive/sealant before holding the bracket and screwing it in. Don’t worry about overdoing it with the adhesive/sealant; it’s essential for keeping water out.
Step 5: Finish and Connect to Power
The final step in how to install a fishfinder return to the binnacle mount and seal off the wiring hole using a grommet or silicone sealant. Cover the hole with a clamshell fitting to protect the wires from water ingress.
Next, disconnect your marine battery and connect your power leads to the fuse block. Then, plug the power and transducer wires into the back of the fishfinder and connect the battery to test the fishfinder’s operation.
Final Fishfinder Tips and Considerations

Your installation is now 99% complete, but here are a few things to consider before heading to the nearest boat ramp:
- Ensure the transducer sealant is completely dry. This can sometimes take up to seven days, but it must be 100% dry to prevent water intrusion.
- Transom-mount transducers often lose functionality at high speeds. If your unit provides reliable readings at speeds up to 30 mph, you’ve installed it well.
- Be ready for adjustments. Most transducer brackets can be adjusted in ⅛” increments. If readings are unreliable (or unavailable entirely) once your boat gets onto plane, you may need to raise or lower the bracket to improve performance.
- Protect your fishfinder. Some manufacturers provide a cover, but they usually only protect the screen. Invest in a full cover to protect your fishfinder when it’s not in use.
Once again, the exact process for installing a fishfinder will differ according to your manufacturer’s instructions. Once you know how to install a fishfinder, this job shouldn’t take more than 1-2 hours before you’re ready to grab your fishing rods and hit the water to test your new fishfinder.
Do you have any tips on how to install a fishfinder on a boat? Share them in the comments below!


Attach the transducer to the boat’s bottom or starboard transom side, 0.25-0.5 inches above the bottom and away from the motor to prevent damage from waves and debris.
I really enjoyed this article. I was about to do a couple things wrong when installing my new fish finder. I was going to zip tie my cables to my motor cables but I’m not going to do that now! This my first installation of a fish finder and now I have confidence that I will install it properly!! Thanks for the great tips and instructions!!
You’re very welcome Alex!