On its surface, RV roof leak repair is a simple, two-part job: find where the water is entering your RV, then fix it correctly. The catch is that leaks can travel. Water entering through a seam above the slide-out may appear as a stain above the dinette. Most owners should learn how to do basic surface sealant work. Leave the rest to a pro: membrane damage, soft roof decking, and leaks you can’t locate. Waiting makes the damage worse. Call the manufacturer or an RV repair center if you’re unsure.
How To Find an RV Roof Leak
Finding an RV roof leak begins inside. A two-step approach — interior mapping and exterior inspection — is the most reliable way to confirm where water is entering and assess the extent of the damage.
Step 1: Check the Interior First
Start by inspecting the upper edges of the walls where they meet the ceiling, looking around ceiling vents or light fixtures, and checking along the edges of doors, windows, and slide rooms. Water stains, bubbling ceiling and wall material, a musty smell, or soft spots in the ceiling or walls all indicate potential water intrusion. Note the location of each symptom so that you know where to search on the RV’s exterior.
Your RV maintenance checklist should include an interior leak check after every trip, especially following heavy rain.
Step 2: Inspect the Roof Surface, Seams, and Accessories
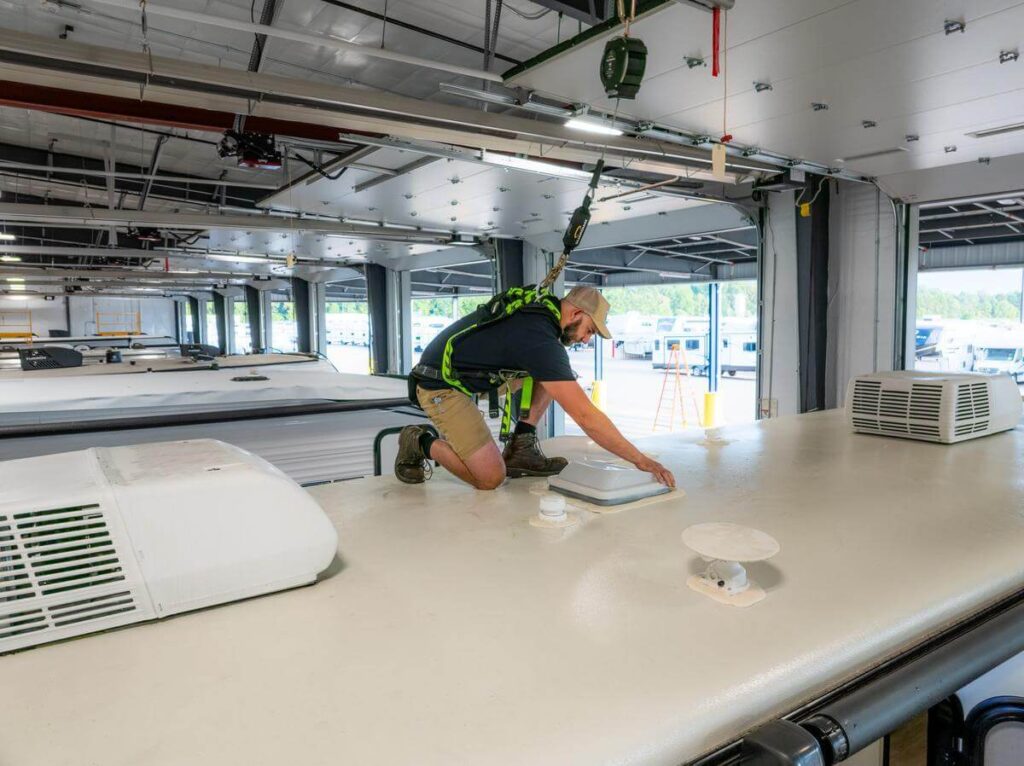
Once you’ve mapped the interior, use a platform ladder to inspect the related exterior areas. The most common RV roof leak entry points are:
- Around roof vents, antennas, skylights, and A/C units. Lap sealant shrinks, cracks, and separates from the flange over time. A/C leaks may be unrelated to roof sealant or membrane issues. Learn what to do when an RV AC is dripping water inside.
- Roof seams and transition molding where the roof membrane meets the sidewalls.
- Screw heads and fasteners around any roof-mounted accessory.
- The roof membrane itself. Look for cracks, tears, punctures, or areas where the membrane has separated from the substrate.
Section by section, run your hand lightly across the roof membrane. A soft or spongy feel indicates moisture has penetrated below the membrane, which is usually a sign of more serious damage. Check for chalking on rubber roofs by rubbing the surface: if your hand comes away white and chalky, the membrane has oxidized and may need a full roof coating vs sealant spot repair.
Note every gap, crack, or missing section of sealant, not just those you think are the most likely to be causing your leak. While your goal is to fix the immediate roof leak, this is also the perfect time for preventive maintenance.
Disclaimer: Getting on an RV roof or using a ladder is done at your own risk. Roofs can be slick, uneven, or structurally weak, and a fall can cause serious injury. Use proper fall protection, a stable ladder on level ground, and never work alone or in wet or windy conditions. If you are uncomfortable with heights, have mobility limits, or suspect soft decking, stay off the roof and hire a qualified technician.
Optional Step 3: Use a Water Test to Confirm the Entry Point
If the exterior inspection doesn’t reveal an obvious source, you might try a controlled water test. However, introducing more water into an area you already know is leaking can further compound the issue. If you’re unable to locate the source of the leak, your best bet is to have it inspected by a certified RV technician.
That said, here’s the idea behind the water test:
Use a garden hose to run water over small sections of the roof while someone monitors inside for active dripping. Work section by section, running water over each section for 1-2 minutes before moving on to the next. When your observer spots active dripping, stop and mark the corresponding section of the roof. This test shouldn’t be rushed, because misidentifying the entry point leads to a misplaced repair. But it should also not be completed lightly if you have the time and means to have it professionally inspected.
Technician Tip: In a controlled water test, simulate rainfall, not a pressure washer. Use a light, shower-like stream. Hard, direct spray can force water into seams and worsen existing damage.
How To Fix an RV Roof Leak
Once you’ve confirmed the source, most RV roof leak repairs follow the same sequence regardless of the roof material: prepare the surface, apply the appropriate repair material, and reseal every penetration in the affected area. The specific products you use vary by roof type — EPDM, TPO, fiberglass, and aluminum each require compatible materials — but the process is consistent.
Technician Tip: This roof repair process is for leaks caught VERY early and where you’re confident the water hasn’t caused any structural damage. The recommended steps to take when DIY roof repair isn’t enough are documented below.
Surface Prep
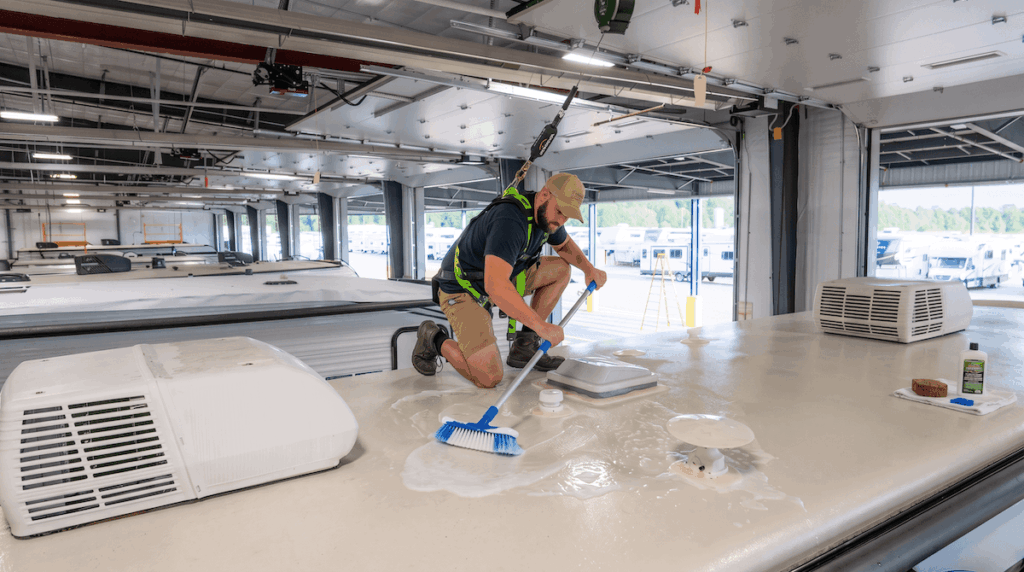
Sealant applied over dirt, moisture, oxidized membrane, or old caulk residue won’t bond correctly. Instead of adhering and creating the desired seal, it will lift, crack, and reopen within a season. Inadequate surface prep is the cause of most failed RV roof repairs.
Before applying any repair material:
- Clear away debris, leaves, and loose material.
- Wash with an RV-safe roof cleaner. Avoid petroleum-based solvents on rubber membranes, which degrade EPDM and TPO.
- Use a non-marring plastic scraper to remove all old, cracked, or lifting sealant. Never apply new sealant over old. For hard-to-reach areas and crevices, the Scrigit Tool is a great option.
- Rinse thoroughly and allow the surface to dry completely. Moisture trapped under the new sealant will commonly cause repeat leaks.
- For rubber roofs, wipe the cleaned area with a compatible rubber roof cleaner to remove oxidation and improve adhesion before applying any sealant.
The surface should be clean, dry, and free of residue before you open a tube of sealant.
Technician Tip: Dampen a clean, lint-free cloth or paper towel with 91% or 99% isopropyl alcohol. Wipe down the specific seams or areas you plan to seal. Allow the alcohol to flash off and dry completely (usually just a minute or two). Apply your lap sealant or repair tape right after the alcohol dries, so dust and airborne grime do not settle back onto the clean surface.
Patching by Repair Type: Sealant, Tape, and Membrane Patches
The right repair method depends on the nature and size of the damage.
Sealant repairs are appropriate for cracked or missing lap sealant around accessories — antennas, roof and plumbing vents, solar panel mounts, and seams. Match the sealant chemistry to your roof material. Silicone-based sealants are incompatible with EPDM rubber and will prevent future adhesion. For EPDM and TPO rubber roofs, use a butyl or acrylic-based lap sealant formulated for rubber membranes. For fiberglass, use a flexible, UV-stable sealant rated for that substrate, such as the Geocel ProFlex RV Sealant.
The full product guide for every roof type lives in our best RV roof sealant guide, including when to use self-leveling vs non-sag sealants.
Repair tape is effective for small tears, punctures, or seam separation on rubber and metal roofs. Tape repairs require the same surface prep as sealant repairs. After prep, press the tape firmly into place and run a bead of self-leveling sealant along any exposed tape edges to prevent water from working its way underneath. Many products are compatible with EPDM, TPO, PVC, metal, and fiberglass surfaces.
Membrane patch kits address larger tears or punctures in the roof membrane. These are roof material-specific, and the patch must be bonded to a fully clean, dry surface with the correct adhesive for the membrane type. Any hole in the roof membrane should ideally be assessed by a professional, as tension in the membrane will continue to pull at a patched tear, reopening it over time and allowing water damage to persist.
If your roof needs more than a single patch, a full preventative reseal of the entire perimeter and all penetrations might be required. Here’s how to reseal your RV roof from start to finish.
Technician Tip: Each patch kit is slightly different; follow the manufacturer’s installation instructions.
Resealing Penetrations After the Repair
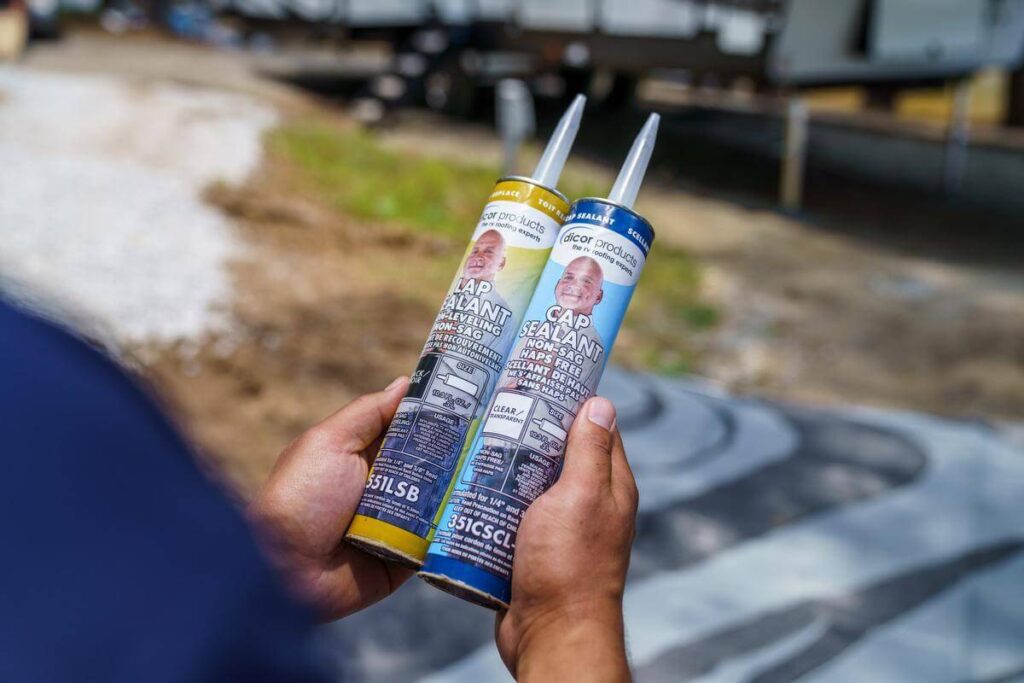
Every roof-mounted accessory in the affected area should be resealed before the repair is complete. To be diligent, this can extend to all vents, antennas, solar panel mounts, and any exposed fasteners on the roof. Stripping all old sealant and properly resealing around all roof accessories will give you added peace of mind, especially if your initial inspection found multiple points of failure.
Apply self-leveling lap sealant in a continuous bead around each accessory flange — typically 1.5 to 2 inches wide — covering the flange edge and any exposed fastener heads. Our RV roof vent installation guide details the correct sealing technique. Don’t leave gaps, as water will find the shortest path back in.
When DIY RV Roof Repair Isn’t Enough
Surface sealant repairs and tape patches are appropriate for identified, accessible entry points with no underlying structural damage. But there are situations where more sealant is not the answer, and where continuing to patch delays a repair that becomes more expensive with every rain.
Get a professional assessment if you find any of the following:
- Soft or spongy areas on the roof
- Delamination on interior/exterior walls
- A leak you can’t locate
- A repair that keeps reopening
- Visible sag or deflection in the roof surface
What Professional RV Roof Repair Involves

A professional roof assessment starts with a thorough and complete roof inspection — not just of the area where you think the leak is occurring. Trained technicians check seam integrity, membrane condition, all penetrations, and transition molding. Interior walls and ceiling panels are inspected for delamination and framing damage beneath the surface.
Repair work typically involves removing failed sealant from all affected penetrations, addressing any structural framing damage before the surface is closed, applying material-specific membrane patches or replacement sections where needed, and completing a full reseal of all penetrations in the repair zone.
Camping World’s certified technicians are trained on all major RV roof types — EPDM, TPO, fiberglass, and aluminum. If you’re seeing any of the structural warning signs above, or you can’t locate the source of an active leak, a professional inspection is significantly less expensive than the alternative.
FAQs
DIY repair with the correct materials is reasonable for surface-level damage, such as cracked or missing sealant around a vent or seam, or a small and accessible tear in the membrane. However, soft spots in the roof, delaminating interior walls, structural framing damage, or a leak you can’t locate all require professional repair. Patching over structural damage allows water intrusion and increases repair costs.
The most common causes of roof leaks, typically stemming from a lack of preventive maintenance and routine inspection, are failed lap sealant around roof-mounted accessories (vents, antennas, and skylights), seam separation at the transition molding along the roof edges, cracked sealant at screw heads and fasteners, and UV degradation of the roof membrane over time. Most RV roof leaks originate at penetrations and seams, not through an otherwise intact membrane.
A well-prepped DIY sealant repair can last 1-3 years, depending on UV exposure, temperature extremes, and how often the RV is used. A professional membrane repair with correct surface preparation and material-specific roof repair products will typically last longer and is backed by a service warranty. Semi-annual roof inspection and touch-up resealing is the most effective long-term prevention strategy.
For product recommendations matched to your specific roof type, see our best RV roof sealant guide.
Have questions about roof repairs or maintenance? Good Sam Elite members can call the Good Sam Technical Support hotline at 844-649-4700 for questions and maintenance tips.
Have you dealt with an RV roof leak? Tell us where it was hiding and how you tracked it down in the comments below.