Over the life of your RV, there’s a chance you’ll need to replace the seal around the base of your toilet at some point. Why? Because over time and with use, this seal breaks down, causing leaks and waste system issues.
Replacing this seal, called a flange, is certainly one of those RV maintenance tasks you can do yourself. We’ll show you how.
Reasons For RV Toilet Flange Seal Replacement
The most common reason you would replace a toilet flange is if you’re installing a new toilet in your RV. Once the old toilet is removed, it’s best to install a new floor flange seal at that time. While you could theoretically place a new toilet on an old flange seal, we don’t recommend it.
Another reason for replacing the flange seal on an RV toilet is that you’re suffering from a leak that’s coming from the base of the toilet. To identify that the flange seal is really the culprit, however, you’ll need to start by emptying your RV’s holding tanks.
Leaks around the base of an RV toilet can also be caused by an overflowing black water tank. That’s why it’s important to drain the tank and test to see if leaking is still occurring before determining that you absolutely need to replace the floor flange seal.
If your tanks are empty, a bad flange seal could cause a leak around your toilet’s base when flushing. But if your toilet bowl is simply not holding water, you may need to replace the flush ball seal.
Fortunately, knowing how to operate and maintain an RV toilet will reduce the chances of having to replace a flange seal. A little toilet TLC goes a long way, but if you know your flange seal is on its way out, here’s how to remove and replace it.
How To Find An RV Toilet Flange Seal Replacement

Before you do anything, consult your RV owner’s manual for proper toilet removal and seal replacement procedures. This will also tell you the model number you’ll use to find a compatible replacement seal.
When finding a replacement seal, you must use a seal made by the original equipment manufacturer (OEM). This will usually be a flexible seal made out of foam.
Dometic and Thetford are the two most popular RV toilet manufacturers. So here are a couple of links to flange seal replacements for some toilet models from those brands:
DO NOT USE A BEESWAX SEAL. Once they harden, these seals can’t flex with your RV, making them likely to crack and cause leaks.
With this process, it’s also possible that the flange itself is cracked and needs to be replaced. It’s impossible to tell that before you remove your toilet, however. So if you want to be safe, acquire a flange seal and a new flange, so you’re ready to put everything back together when it’s time.
What You’ll Need to Replace Your Toilet Flange Seal
In addition to your replacement parts, these are the tools you’ll need for this task:
- Adjustable wrench
- Newspaper or old towels
- Toilet cleaning brush
- Rubber gloves
- Paper towels or rags
- Flashlight
How To Remove Toilet Flange Seal From RV
The first half of this task requires removing the toilet and the flange seal. Follow these steps to do so safely and efficiently:
Step 1: Empty Holding Tanks
We mentioned this above, but it’s worth repeating. You don’t want to work on an RV toilet with a full black water holding tank below it unless you want to deal with unpleasant odors the whole time.
Here’s a quick video if you’re unsure of the best practices for emptying RV holding tanks.
Subscribe to the Camping World Tutorials YouTube channel and never miss a video.
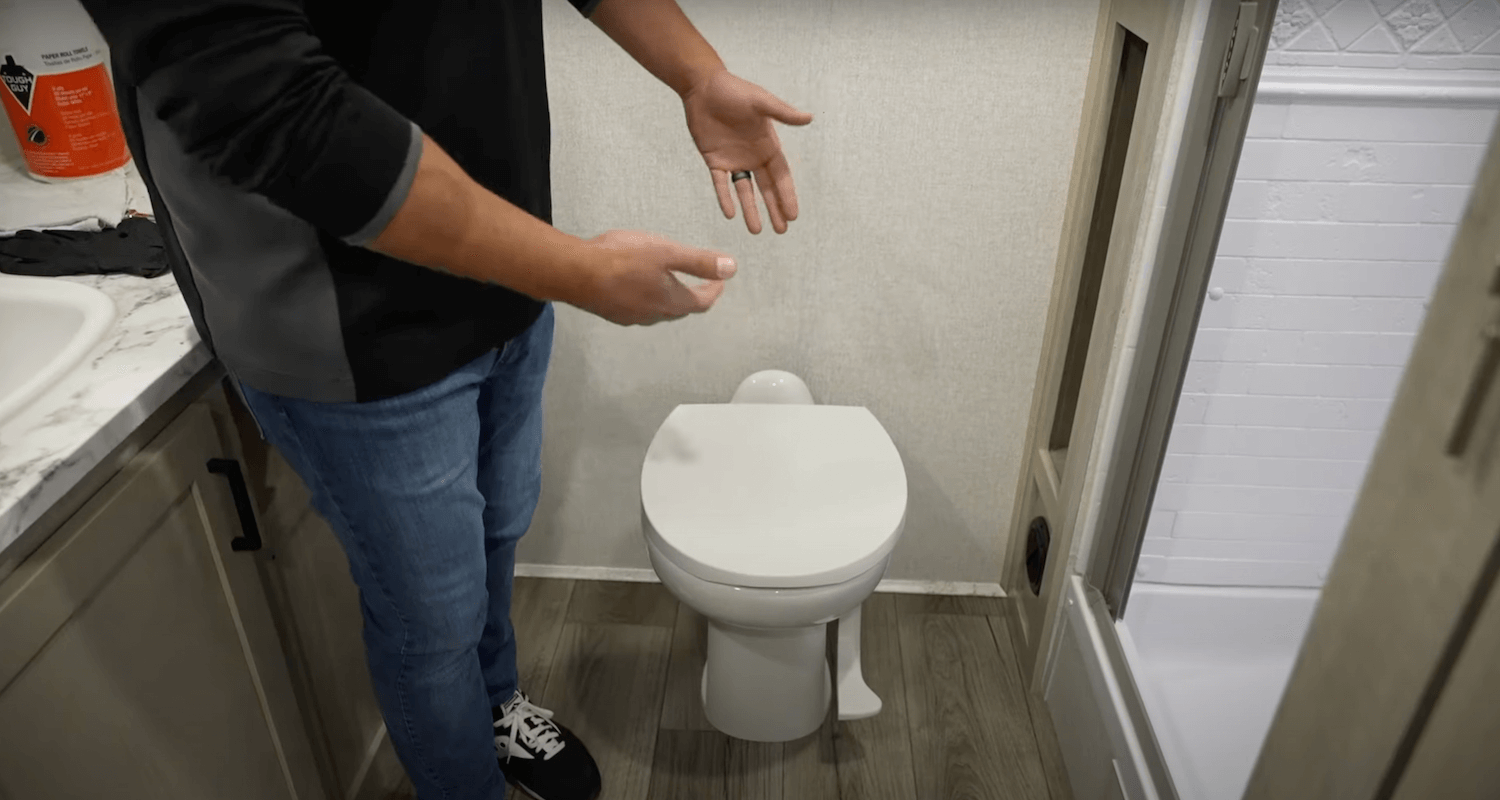
Step 2: Prep the Space
It’s a good idea to lay down towels or newspaper on the floor of your RV bathroom before removing your toilet. That way, you have something to absorb any water that leaks, and you have a safe place to set your toilet down when you remove it.
Step 3: Clean the Toilet
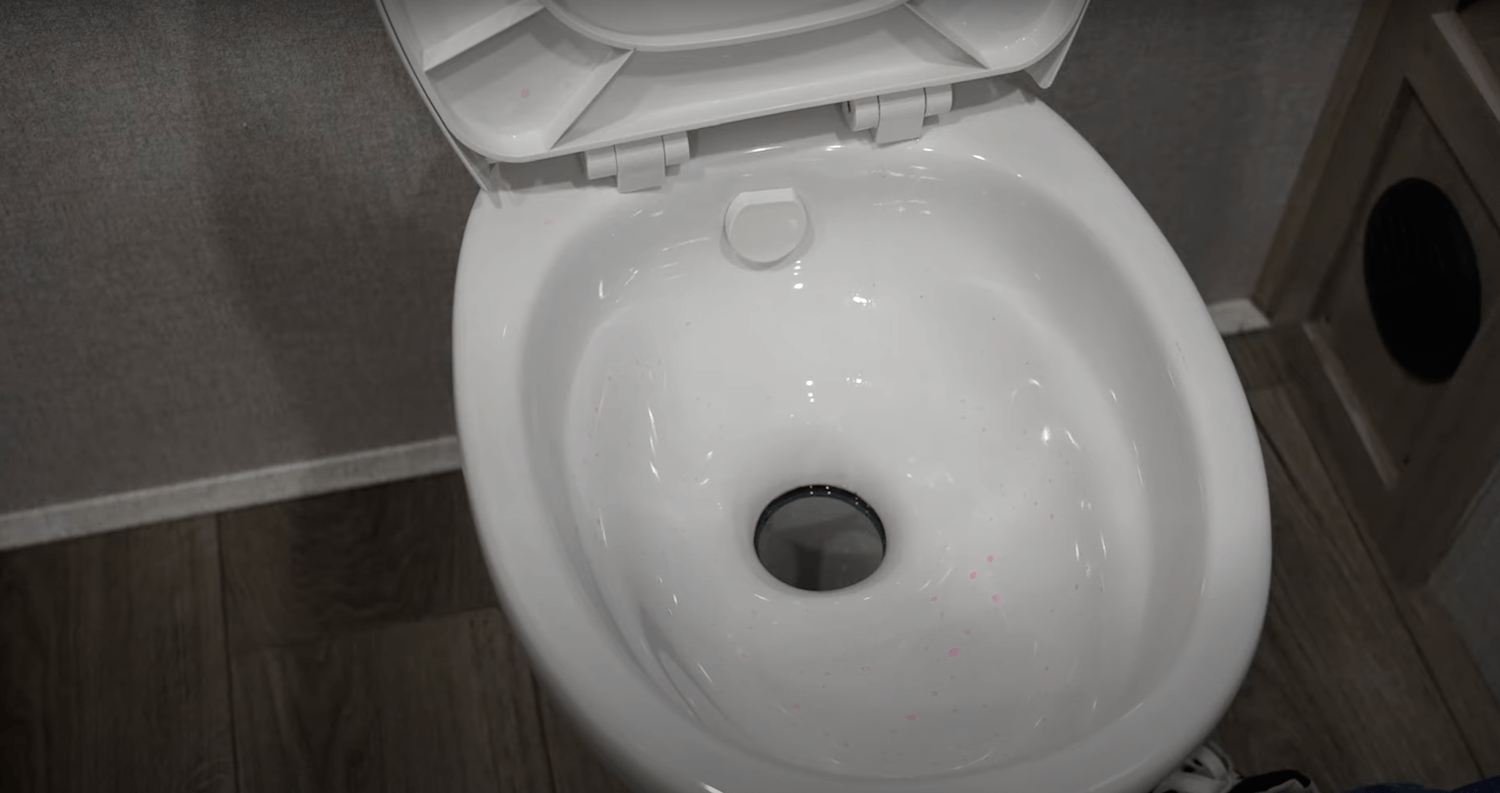
Now you can put on your rubber gloves and clean your toilet bowl. Use a toilet bowl cleaner that’s specifically made for RVs. Make sure you open the ball valve and clean down towards the base as much as possible with your toilet cleaning brush.
Step 4: Drain and Disconnect
Turn off your RV water pump and disconnect from city water, if applicable. Then drain all the water out of your toilet bowl by depressing the foot pedal completely.
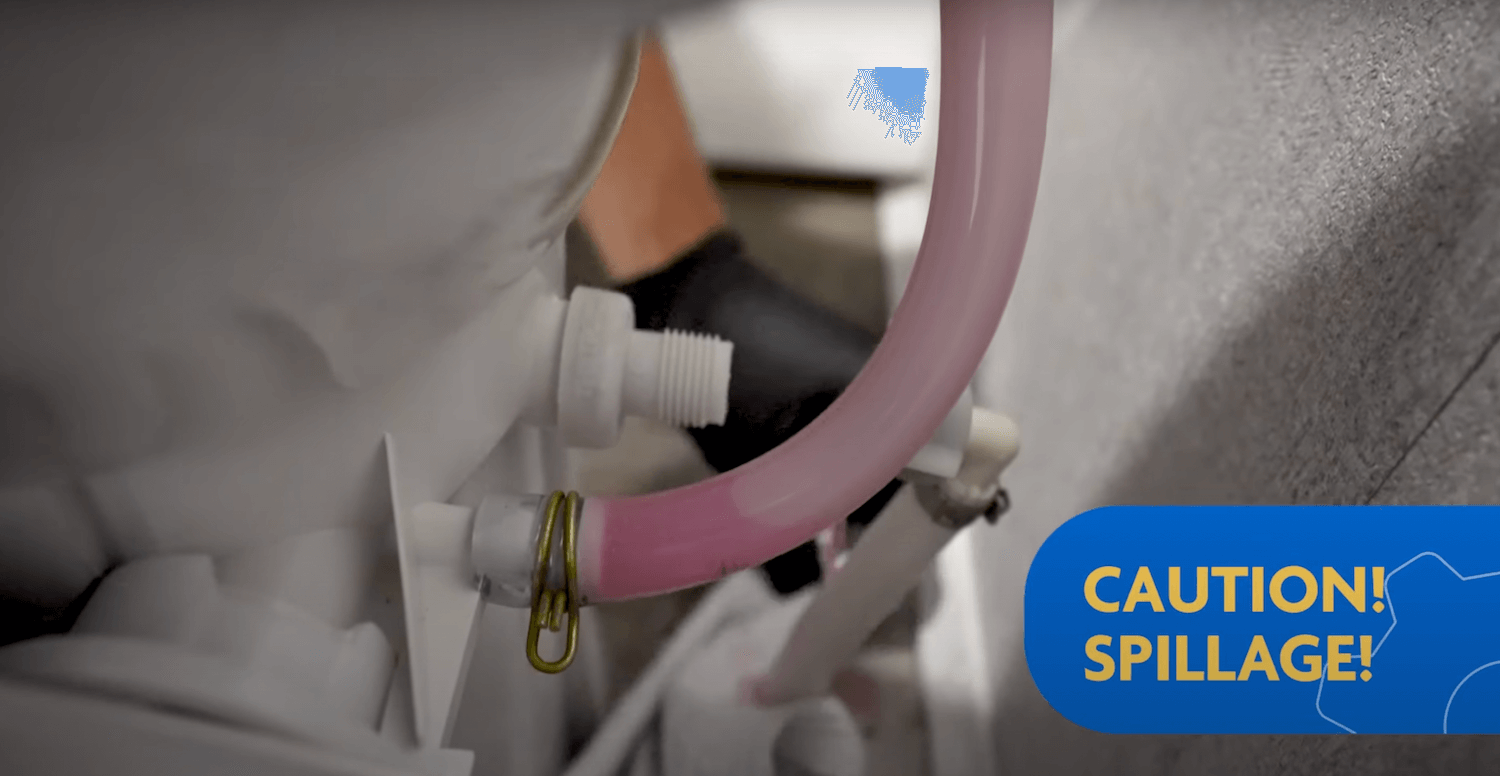
A water line supplies clean water to your toilet’s flush mechanism at the back of the toilet. You’ll need to unscrew this water line from your toilet before proceeding. Be aware that a little water may remain in the line.
Keep an extra towel underneath to absorb any water that leaks. Once this line is removed, prop it up so that gravity doesn’t cause any further leaking.
Step 5: Remove The Toilet
This step requires a few subtasks. So let’s break them up:
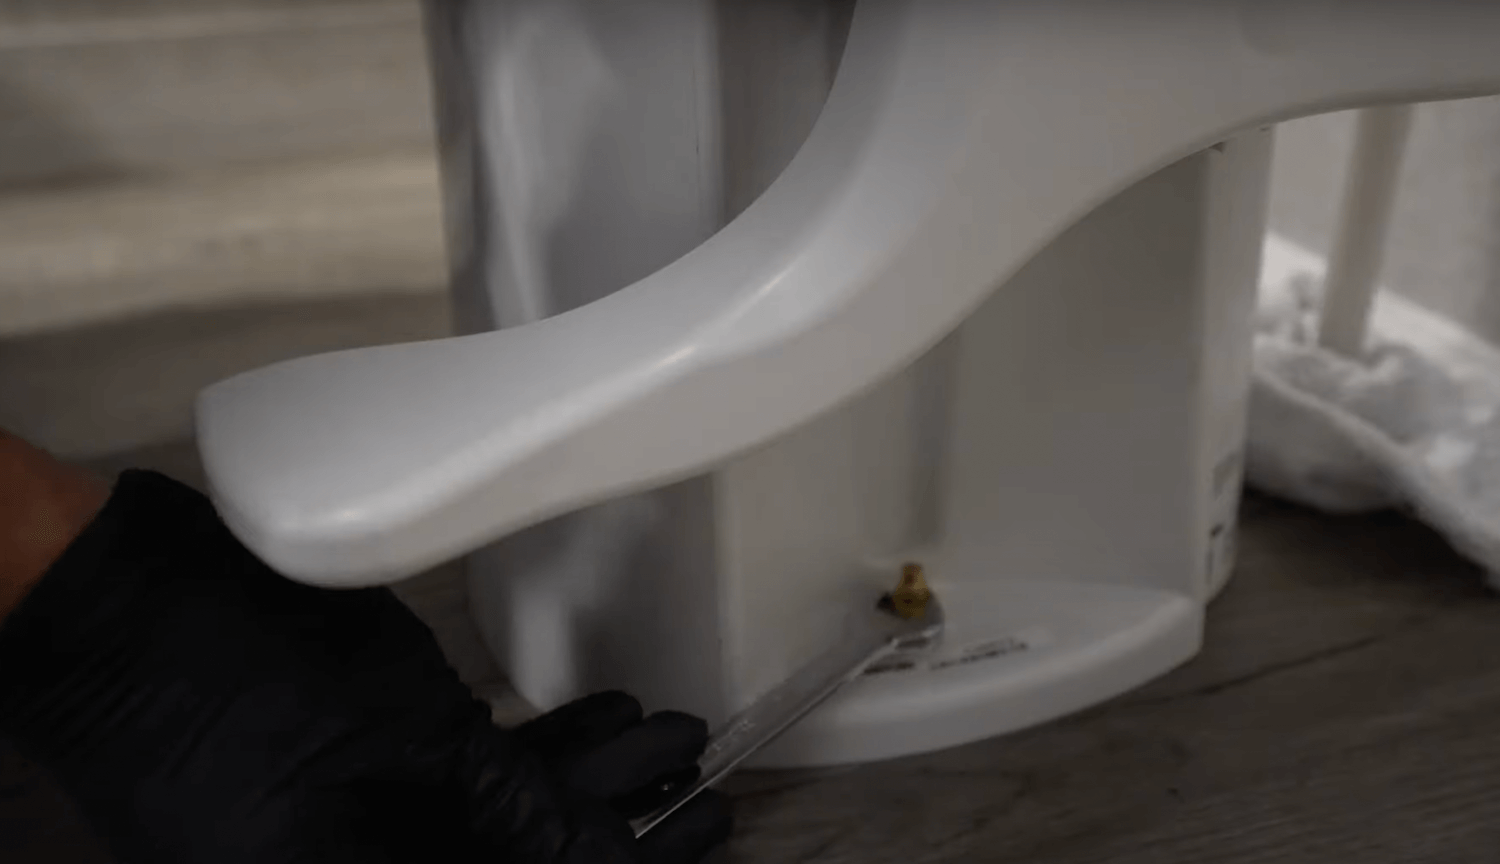
Remove the Shroud
Some RV toilets have a shroud around the base. This shroud will need to be removed for you to gain access to the two flange bolts that hold the toilet in place.
Remove Bolt Caps
Bolt caps are small plastic caps that protect the heads of the flange bolts. These can be removed by hand.
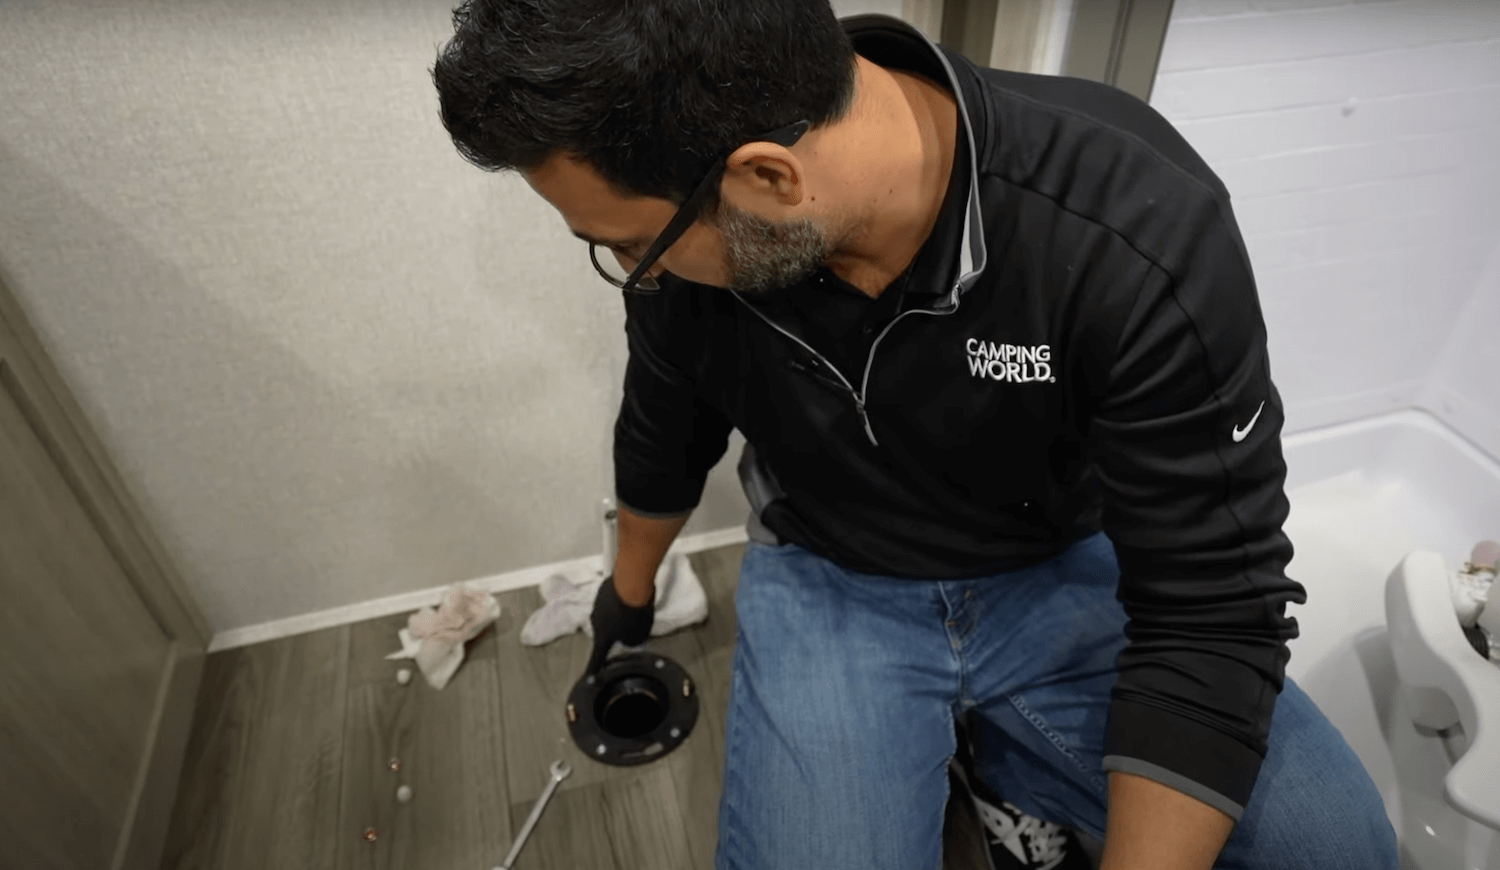
Remove Nuts
Use your wrench to loosen the nuts securing the flange bolts. Once loosened, you should be able to spin them free by hand. If a nut doesn’t loosen or the entire bolt spins, you may have a cracked or broken flange, which would require cutting the bolt to remove your toilet.
Alternatively, try spraying WD-40 or another penetrating oil on the nuts and letting them sit for a few minutes before attempting to loosen them again. If you think you’ll need to cut the flange bolts to remove your toilet, we recommend contacting an RV service professional before proceeding.
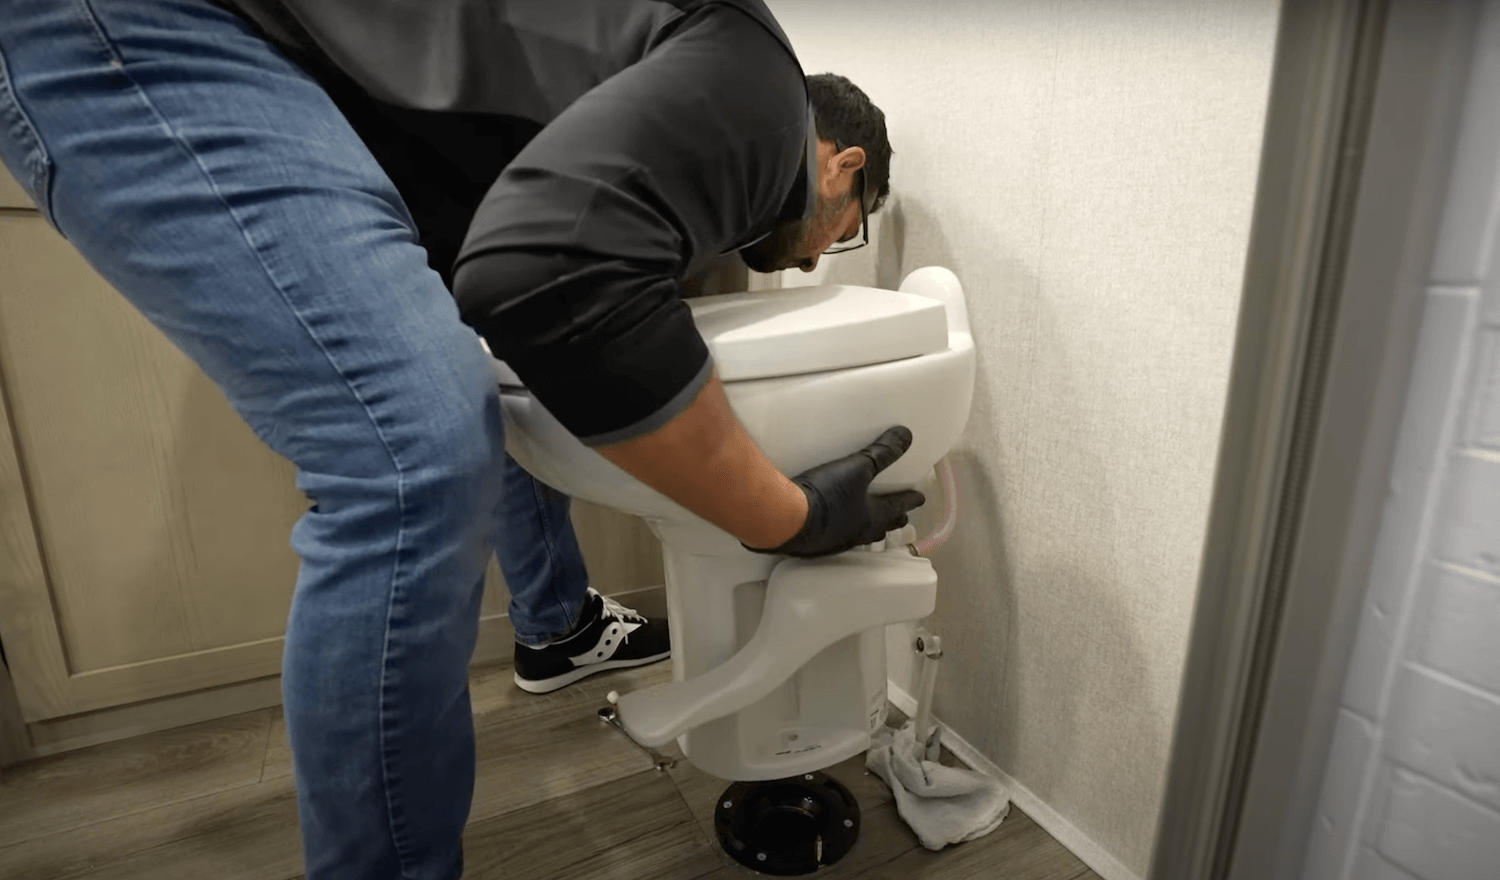
Remove Toilet
Lift the toilet up and off the flange seal until it’s clear of the bolts. You may need to gently rock the toilet back and forth to break the old seal. Then you can turn it over and set it on the newspaper or towels.
Inspect Bolts and Nuts
Check the condition of the flange bolts and nuts. If rusted, replace them with stainless steel or yellow dichromate bolts made for your toilet’s model. Consult your owner’s manual for part information. Or, if you’re installing an entirely new toilet, it should come with a new set of nuts and bolts.
Step 6: Remove Old Flange Seal
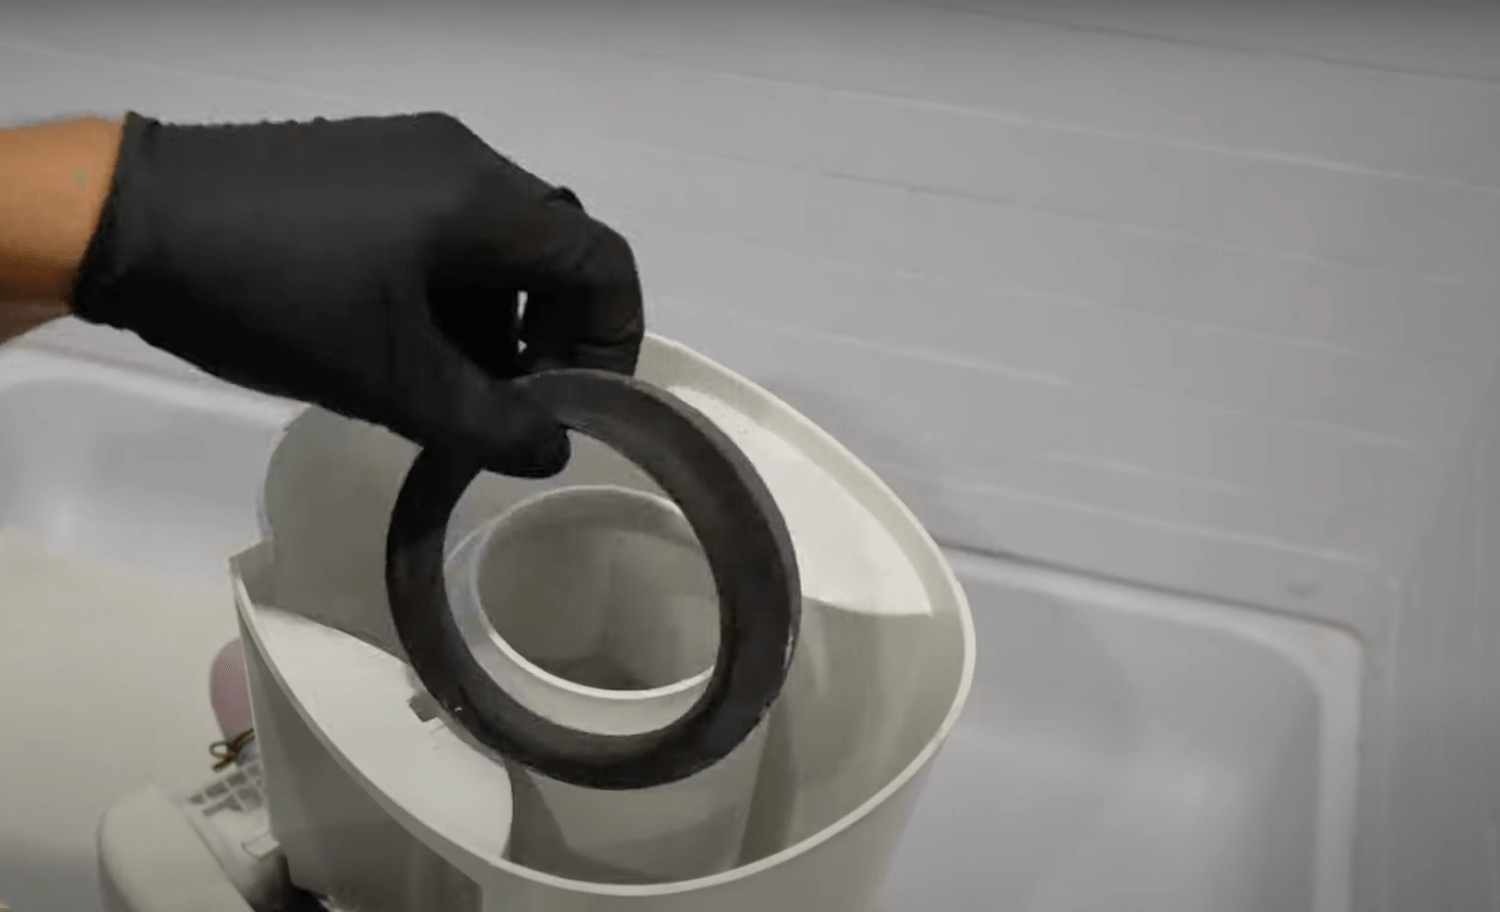
Now, remove the old flange seal and throw it away. The seal may remain stuck to the flange on the floor. Or, it may lift off the flange and remain stuck around the toilet’s base.
How To Replace An RV Toilet Flange Seal
Now that you’ve disposed of your old floor flange seal, here are the steps for installing a new one and putting everything back together.
Step 1: Clean The Flange and Toilet Base
Take this time to clean up the flange and the base of your toilet. Use an RV-friendly toilet cleaning solution and paper towels to remove as much residue as possible.
Step 2: Inspect Flange and Black Tank
Once the flange is clean, inspect it carefully to ensure it isn’t cracked. If it is, you’ll need to replace it as well. Shop flanges and other holding tank fittings at Camping World.
This is also a good time to grab your flashlight or headlamp and peek down your black water tank. Look for cracks, dislodged parts, or anything else that might be causing issues.
If you removed your toilet and didn’t find anything wrong with the flange or the flange seal, this is the time to identify other issues that could be causing leaks around the base of your toilet.
You can also take this opportunity to use your toilet cleaning brush to clean down into that tank. When you’re satisfied that nothing looks out of the ordinary, proceed.
Step 3: Install a New Flange Seal

Open your flange seal replacement and read the instructions. They should verify the side with the lip that should be facing downwards. Align that side with the flange and press it into place.
Step 4: Replace the Toilet
This step also requires several of its own steps, but it can be useful to have a second set of hands to help you put your toilet back on. Let’s break it down:
Install Bolts
Make sure the bolts are in place in your flange. Some may need to be rotated to proper alignment to prevent them from shifting as you install the toilet.
Align Toilet with Bolts
Turn your toilet back over and align the holes in the base with the flange bolts. This is where having a helper comes in handy. Set the toilet straight down onto the bolts and gently press it down onto the new flange seal.
Inspect the base of the toilet to ensure it’s flush with the floor. Run your fingers around the base to double-check. If the flange is pinched, the toilet will sit crooked, and you also risk damaging the replacement flange seal. If something doesn’t feel right, lift the toilet and realign.
Install Nuts, Bolt Caps, and Shroud
Hand-tighten the flange nuts on both bolts as far as you can. Then, use your wrench to tighten them alternately until they are snug and the base of your toilet is flush with the floor. Don’t tighten them too much, as this can crack the flange or the base of your toilet. Once the nuts are snug, replace the bolt caps and the shroud around the base.
Step 5: Reconnect the Water Line

Your last step in reassembling an RV toilet is reconnecting the water line. This should hand tighten until snug.
Step 6: Test Your Work
Before removing the towels, test to ensure your toilet is operating normally again. Turn on the water pump. Check behind the toilet to ensure water isn’t leaking from the line at the back.
Then, fill the toilet bowl and flush it several times. Check for leaks around the base and behind the toilet. If you notice leaks at any point, turn off your water pump immediately and inspect your work. If leaks persist, contact your nearest Camping World RV Service Center.
Where To Dispose of an Old RV Toilet
To finish this process, you’ll need to dispose of your old toilet and associated parts. While things like flange seals and rusted bolts can mostly go in your regular trash or recycling, your toilet may require special treatment depending on your municipal guidelines.
Please don’t throw your old RV toilet into the dumpster at the closest campground you can find. Contact your local landfill or recycling center to inquire about best practices for disposing of an old RV toilet in your area.
Check out some of these other great articles about RV toilets:
- Need to Fix RV Toilet?
- Replacing An RV Toilet
Have you replaced the floor flange seal on your RV toilet before? Let us know what worked, or didn’t work, in the comments below!
If you’re still learning the ins and outs of RV maintenance, check out our downloadable RV ownership and maintenance booklet!


