SURPRISINGLY, OUR TECHNICIANS OFTEN tell us that failing to properly charge RV batteries regularly leads to many owners replacing batteries more frequently than they should. So, let’s discuss how to charge RV batteries during RV trips and while your camper is in storage.
Key Takeaways
- Charging Methods: RV batteries charge via a running engine, shore power, generator, or solar panels (built-in or portable). Each setup requires proper connections, and lithium batteries may need a DC-to-DC charger for safe charging.
- Solar & Storage Tips: Solar charging efficiency depends on sun exposure, panel cleanliness, and positioning; it is recommended to double panels and keep a backup generator. During storage, maintain a full charge, check at least every three months, and consider removing batteries to prevent parasitic drain.
- Battery Chargers & Timing: Use a charger with correct settings for your battery type, disconnect cables for safety, and monitor charging closely. Charge times vary by battery type, depth of discharge, and charger output.
Easy Ways To Charge
There are three primary ways that your RV battery almost automatically charges. Your house—AKA coach—battery, or batteries, will charge when connected to:
- A running vehicle engine
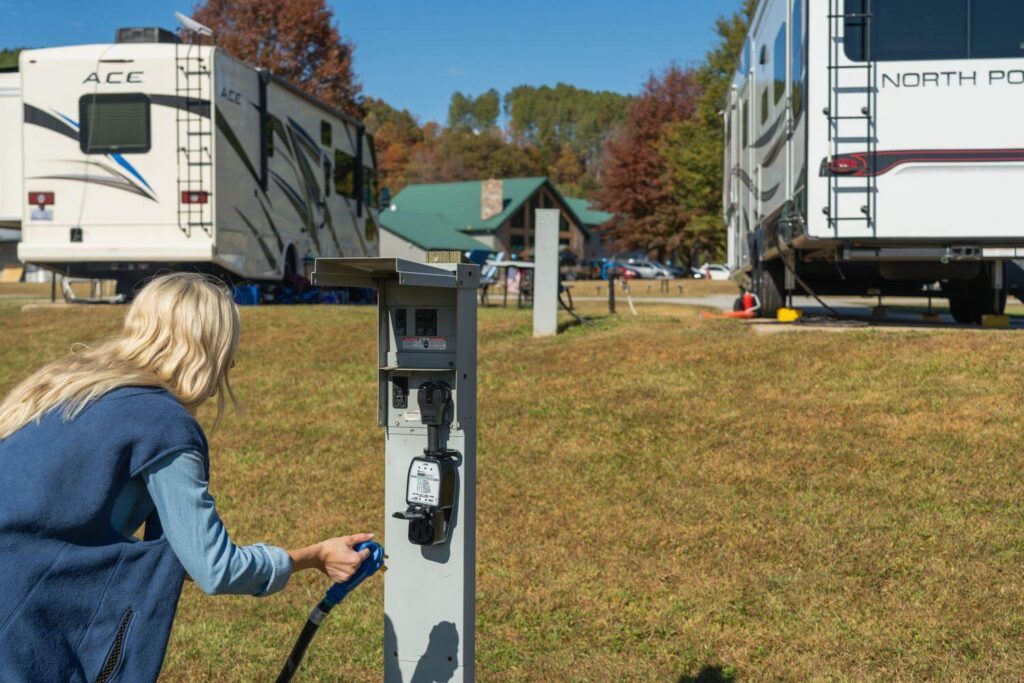
- A shore power connection
- An onboard or portable generator
When charging via a running vehicle engine, systems differ slightly for towable vs motorized campers. When you start a motorhome’s engine, the engine battery is automatically charged, and some charge the house battery via the alternator. However, you’ll need to consult your owner’s manual to be sure.
When you tow a camper, the battery is charged when the vehicle is plugged into the trailer via a 7-way connector and the engine is running.
When you plug your camper into a properly rated shore power connection—30 amp vs 50 amp—the converter transforms AC to DC to recharge your RV battery. The same happens when you start an onboard generator or plug your trailer into a portable RV generator.
Technician Tip: If the house battery has been replaced with a lithium model, a DC to DC charger may be required to avoid damaging it with an improper charge current from the alternator, converter, or stand-alone charger.
But what about solar?
How To Charge an RV Battery with Solar
While not all RVs include solar as a standard feature, it’s becoming increasingly popular. There are two primary ways that modern RVs are built to harness solar energy for recharging batteries.
- Built-in solar panels
- A port for portable—briefcase-style—solar panels
Both methods require panels, a charge controller, and the proper wiring to transfer energy captured from the solar panels to be stored in your battery.
If you have an RV with built-in solar panels, the system is essentially designed to capture solar energy and recharge your battery automatically. In some cases, these systems are built with a solar disconnect switch that must be in the proper position to allow energy captured from the panels to be transferred to your battery.
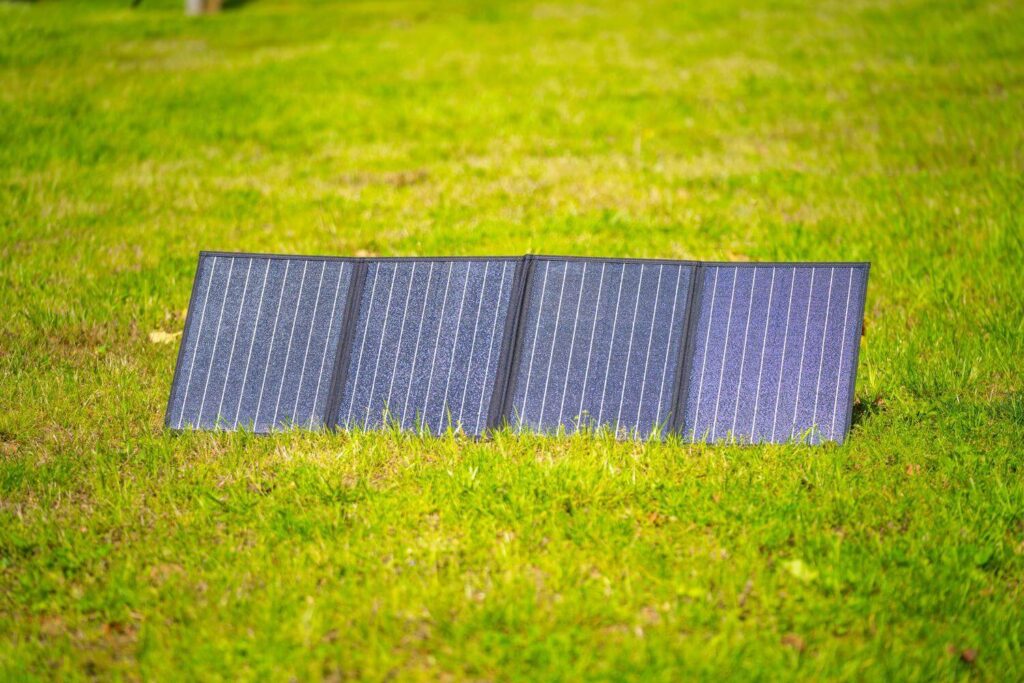
RVs with a solar port—AKA solar on the side—are designed for plugging in folding solar panels for additional battery charging capability. These panels must be set on the ground or a table next to the RV and require the correct plug to be compatible with the port.
The tricks to maximizing the solar panel efficiency are campsite selection and panel position. Solar panels require direct sunlight to charge RV batteries; even the most efficient panels only convert roughly 20-25% of direct sunlight into usable electricity.
In an ideal setting, panels are kept extremely clean at all times and repositioned hourly to maximize current flow. While it’s always smart to consider the angle of your panels to the sun and hours of daylight with direct sun exposure, hourly repositioning is unrealistic for RVs with built-in solar panels. This is one reason some boondockers prefer briefcase-style solar panels that can easily be repositioned to maximize their efficiency throughout the day.
Technician Tip: The likelihood that you will get the full-rated panel output to the charge controller all day long is pretty much zero, so double up on the panels at least. For times when you cannot rely on solar, it is essential to have a portable dual-fuel inverter generator to keep the batteries fully charged.
How To Charge RV Batteries With a Battery Charger
When your RV is in storage, lead-acid and AGM batteries should be kept at a 100% state of charge (SOC), while lithium batteries should be kept (at least) at 90% SOC. If following the advice below, most RV owners will need to check and recharge their batteries at least every three months.
Batteries left in an RV will experience parasitic discharges that can run the battery to zero volts in as little as a day or a week. This destroys most batteries quickly.
Technician Tip: A fully charged lead acid, AGM, or gel cell battery is fairly safe from freeze damage down to -10°F, but it will freeze at 32°F if it is discharged and will be ruined. Lithium batteries are not to be used below 35°F to prevent damage.
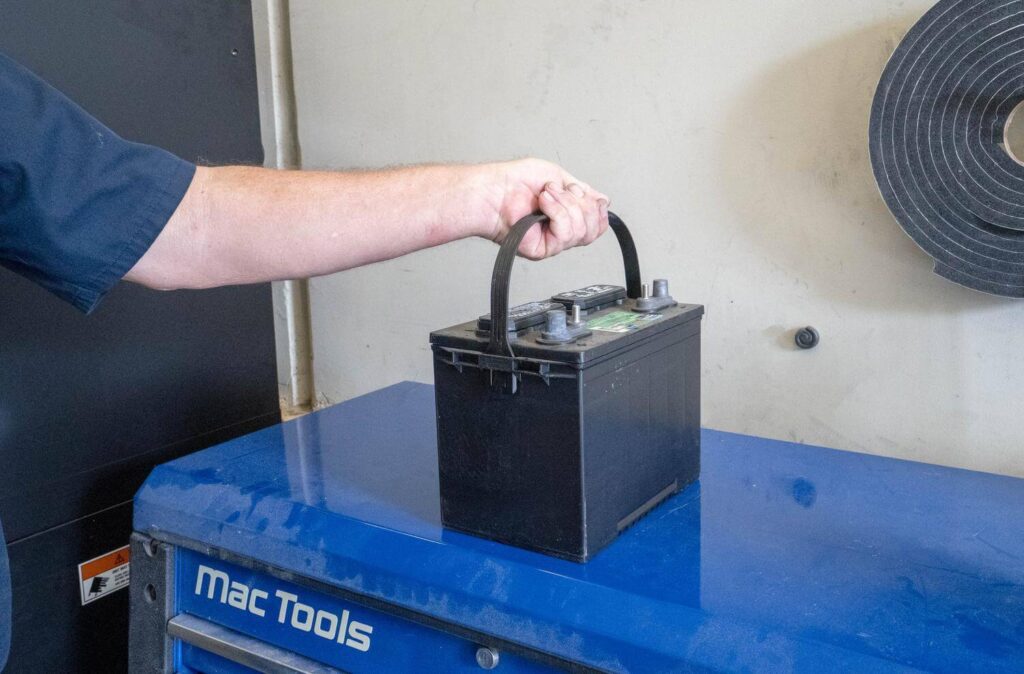
For those storing their camper for an extended period, removing the battery and storing it in a cool, dry place (like your garage) keeps it nearby for regular charge checks. But when you notice the DC voltage dropping below those thresholds, it’s time to use a battery charger. Luckily, the process is fairly simple:
- Ensure the battery is fully disconnected and thoroughly clean the terminals, especially if you notice corrosion.
- For lead-acid batteries, always check electrolyte levels before charging. Only add distilled water, and ensure the level is above the metal plates, but far enough below the opening to allow for expansion during charging.
- Connect the charger’s positive clamp to the battery’s positive terminal and the negative clamp to the negative terminal.
- Turn on or plug in the charger and set the correct voltage and battery type (must match battery type exactly).
- Monitor the charging progress every 30 minutes, checking for state of charge, temperature, unusual sounds or smells, and leaking.
- Turn off or unplug the charger when the battery reaches 100%. Most batteries require about four hours to complete a full charge cycle (on an automatic charger with 20 amp max output).
- Disconnect the negative clamp and then the positive clamp.
Technician Tip: You can also use a charger when your battery is still mounted on or in your RV, but you must remove the positive and negative cables to do so safely. They must then be reconnected after the battery is charged.
How Long Does It Take to Charge an RV Battery?
How long it takes to charge your RV battery will depend on factors like battery type and charge capacity, the output of your converter or battery charger, and how drained the battery was—AKA depth of discharge (DoD).
On average, lithium RV batteries charge faster than lead-acid or AGM batteries, and lead-acid batteries have a specific charge curve, or rate, (i.e., bulk, absorption, and float) that impacts charging time.
At its simplest, you can calculate how long an RV battery might take to charge by subtracting DoD from Amp-Hour Rating and then dividing the result by your charger or converter’s output amperage.
Consider a 100Ah battery at 50% DoD charged at a 10 amp output: 100-50 = 50Ah / 10 amps = ~5 hours charging time.
Use these additional resources to maintain or replace your RV battery:
- Guide to RV Battery Maintenance
- How Long Do RV Batteries Last?
- Do You Need a Lithium RV Battery Upgrade?
What questions do you have about how to charge RV batteries? Let us know in the comments below!


