Especially as a new RV owner, you might wonder whether you can handle winterization yourself. Or whether it’s best to trust it to a professional. The question isn’t which one is better. It’s which one is right for your rig, your experience level, and your situation this season. Here’s a breakdown of professional RV winterization vs DIY, along with a framework to help you decide.
Can You Winterize an RV Yourself?
Most RV owners can successfully DIY winterize their rig, and many do it every season without issue. Using a siphoning kit to draw RV antifreeze through the plumbing system is a straightforward process once you understand your RV’s layout. With the right supplies and a couple of hours, it’s well within reach for the average owner.
That said, “can you” and “should you” are different questions. DIY winterization works for owners who know where their low-point drains are, how to properly bypass (or winterize) the water heater, and which appliances in their rig need separate attention. Owners who are less certain about any of those things are at higher risk of a missed step. And in winterization, a missed step can cost significantly more than what it would have cost to have it done professionally.
Who Should DIY and Who Should Go Professional
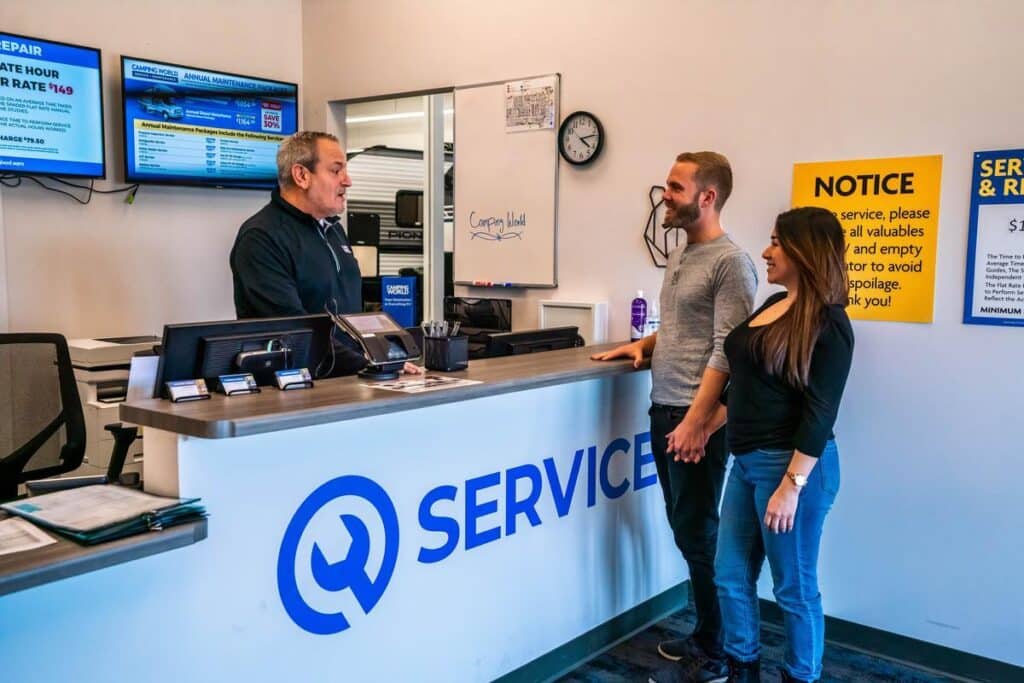
The decision comes down to your RV’s systems and your confidence level.
DIY is the right call when:
- You’ve winterized this RV before and know where everything is.
- You understand the specific winterization instructions from your water heater’s manufacturer.
- You have the right supplies and 2-3 hours to do it without rushing
- You’re comfortable locating and operating all drain points, bypasses, and fixtures
- Your RV doesn’t have additional water-using appliances beyond the basics
Professional service is the right call when:
- You’re new to RVing and unfamiliar with your plumbing layout. The first season in a new rig is the highest-risk season for a missed step.
- Your RV has complex additional systems. A dishwasher, ice maker, washing machine, outdoor kitchen, or multiple bathrooms each add steps.
- You want a documented service record. If something is missed and damage occurs, you have a documented service record and recourse.
- You’re short on time, and the risk of rushing isn’t worth it. A hurried DIY winterization is more likely to have a missed step than a carefully done professional service.
- You’ve experienced freeze damage before and want a certified technician to verify the job.
Neither list is a judgment on the owner. A capable, experienced DIYer belongs in the first column. A first-year owner who lacks the time or supplies to do the job right belongs in the second. And even the most capable owners may seek professional winterization services for time’s sake.
How Long Does RV Winterization Take?
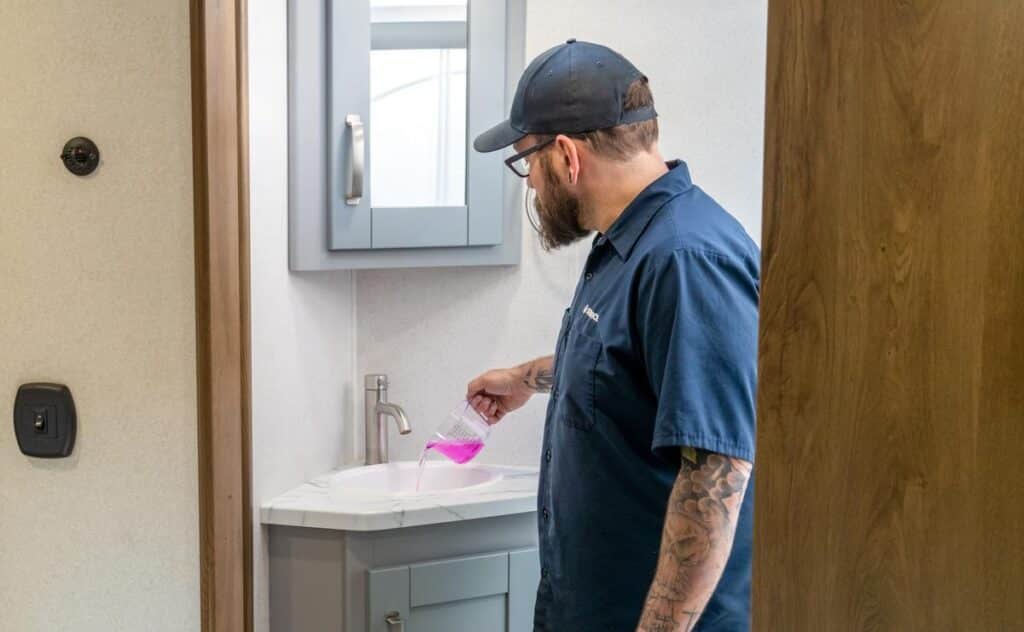
The time commitment varies significantly with experience, the size of your plumbing system, and other factors.
DIY timing:
For owners who know their system well, using a siphoning kit to add antifreeze to the water system typically takes 1-2 hours. First-timers should plan for 2-4 hours if you’re consulting the owner’s manual as you go, locating drain points for the first time, or working through a multi-bathroom or appliance-heavy RV. For larger motorhomes or rigs with additional systems, add 30-60 minutes per appliance or system that requires its own winterization.
Professional service timing:
A professional winterization appointment at a Camping World Service Center typically takes 1-2 hours. Drop-off and pickup logistics may add time, so confirm the process and estimated turnaround with your nearest service center when you schedule.
The scheduling variable that matters most:
Fall is the busiest season for RV winterization service. Appointment slots at most service centers fill quickly as temperatures drop and camping season winds down. Select Camping World service centers offer a “drive-through” winterization service lane during peak season.
The owners who schedule in September and early October don’t scramble in late October. If you’re planning to go professional, book 3-4 weeks before your target date.
For a breakdown of what professional winterization costs, see our RV winterization cost guide.
DIY Winterizing Mistakes to Avoid
These are the steps where owners most frequently run into trouble. Use them as a pre-winterization education, not a reason to be intimidated:
- Using automotive antifreeze instead of RV-safe antifreeze. Automotive antifreeze is toxic and will contaminate your potable water system. Always use pink, non-toxic RV antifreeze.
- Forgetting to bypass a tank-style water heater before adding antifreeze. Without the bypass, antifreeze fills the water heater tank, wasting several gallons and potentially leaving the actual plumbing lines unprotected. It will also damage the water heater’s anodic coating, leading to premature failure.
- Missing low-point drains, external faucets, or outdoor showers. Every water outlet needs to run pink before you’re done. Walk the exterior of the rig systematically.
- Not removing inline water filters before pumping antifreeze. Antifreeze can degrade certain filter media. Remove filters before winterizing, then install a fresh filter in spring after flushing.
- Overlooking water-using appliances. An ice maker, dishwasher, washing machine, or outdoor kitchen sink each has its own water supply line that needs to be winterized.
- Incomplete water heater drain. The anode rod needs to come out, and the pressure relief valve needs to be opened to let air in. Without both steps, residual water can remain in the tank, fittings, and/or valves.
Making the Call: A Quick Decision Guide
If you’re still on the fence, use this as your final tiebreaker:
If you’re new to this rig or unsure about your plumbing layout, trust a professional this season, or at least until you have time to learn your system.
If you’ve done it before and know your system, DIY winterize with confidence. Have your supplies ready before temperatures drop.
If your RV has a tankless water heater, review your manufacturer’s winterization guidance carefully, and consider professional service to ensure the heat exchanger and mixing reservoir are properly protected.
If your rig has additional water-using appliances, go professional. And if you don’t, make sure you carefully follow the manufacturer-specific winterization steps for each appliance (in addition to the main process).
If it’s already late in the fall and you’re short on time, go professional. Rushed DIY winterization is the most common cause of missed steps, which can lead to unwanted repair bills in the spring.
Frequently Asked Questions
Winterization doesn’t require heavy manual labor, but you will be kneeling down and getting back up, crawling under the RV, going in and out of the steps, and performing other physical activities repeatedly. Your success will depend more on how well you know your RV than how closely you follow the process. Understanding where your bypass valves and low-point drains are, which appliances need attention, and what the finished result looks like (antifreeze running pink from every fixture)is critical. Owners who are comfortable reading their owner’s manual and methodically working through the steps rarely find DIY winterization difficult. Those who run into trouble are usually the ones who rush, skip the manual, or overestimate their familiarity with their rig’s layout.
The core supplies are ethanol-free propylene glycol RV antifreeze, a water heater bypass kit if one isn’t already installed in your RV, a siphoning kit or hand pump to draw antifreeze into the plumbing lines, and a socket wrench for the water heater drain plug or anode rod.
For a full breakdown of each item, read our RV winterizing kit guide.
Any water left in the system after an incomplete winterization will freeze when temperatures hit 32℉. A missed low-point drain, a water heater that wasn’t fully drained, or a faucet line that didn’t run pink can each leave enough moisture behind to crack a fitting or damage a component during a sustained freeze.
Learn more in our article on what happens if you don’t winterize your RV.
If your indoor storage maintains temperatures above freezing throughout the winter, your plumbing isn’t at meaningful risk, and winterization may not be necessary. Confirm with your storage facility what their minimum temperature guarantee is. However, leaving an RV unwinterized puts it at risk in the event of a power outage or a failure with the facility’s heating system. In these events, a winterized RV would still be safe. If your indoor storage is an unheated garage, barn, or storage unit, the ambient temperature inside will track closely with outdoor temperatures during cold snaps. Unheated indoor storage does not protect your plumbing system, so you should winterize as you would for outdoor storage.
You should winterize your RV at the end of your season and WELL BEFORE the first sustained freeze in your area. You don’t need to re-winterize during the winter as long as the rig stays in storage. In spring, de-winterization flushes the antifreeze from the system and gets the plumbing ready for use again.
For guidance on target winterization dates by region, see our article on when to winterize your RV.
Once antifreeze is in the plumbing lines, the water system isn’t safe to use as normal. Running the water pump or connecting to city water will push antifreeze through your fixtures. If you winterize and then decide to take a trip before spring, you’ll need to flush the antifreeze from the system (de-winterize), use the RV, and then re-winterize before putting it back in storage. Learn the full RV de-winterization process.
Technician Tip: Dewinterizing in freezing temps can still result in freeze damage, even in a 4-season RV. It is possible to camp in a winterized RV by using bottled water instead of the faucets, dishpans instead of the sink, and portable toilet bags with silica gel crystals as liners for your toilet. The dishpan water and toilet bags can be properly disposed of outside the RV. You will essentially be “dry camping”.
For the complete step-by-step process, see our guide to winterizing your RV.
Are you a committed DIYer, or do you prefer to leave winterization to a pro? Tell us your approach in the comments below.