YOUR RV MIGHT NOT BE OUTDATED, but your camping days in a rig might be numbered if your RV fridge isn’t working. While you should always inspect your fridge to ensure it can’t be fixed before ripping it out, we’re here to learn how to replace an RV refrigerator if a fix isn’t an option—or you simply want to upgrade!
Key Takeaways
- Choosing and Replacing an RV Fridge: When replacing an RV refrigerator, it’s essential to match the new unit to your RV’s cutout, electrical or propane system, and storage needs. Proper installation—especially for LP gas models—requires precise sealing, solid mounting, and professional gas leak testing.
- Removal and Installation Process: Safely removing an old fridge involves disconnecting power and propane, securing support for its weight, and carefully sliding it out. Installing a new fridge requires prepping the area, making electrical/LP connections, testing functionality, and securing it with proper mounting hardware.
- Repair vs Replacement Costs: Simple issues like overloading can often be fixed, but damage like refrigerant or ammonia leaks may require complete replacement. New RV fridges range from $400 to over $6,000, with labor costs varying widely based on the complexity of the swap.
Choosing a New Refrigerator

Whether upgrading or replacing a broken RV refrigerator, your new model must match your RV. It must fit in the existing cutout unless you plan on carpentry work. While some carpentry work is possible, these essential factors must be addressed when replacing an RV refrigerator:
- LP units must fit perfectly, and all openings to the interior of the RV must be gas-tight to prevent dangerous CO leaks.
- Absorption refrigerators must have 1″ or less from the cooling unit to the wall to promote proper airflow pathways.
- There must be zero clearance on the bottom, sides, and top of the absorption refrigerators to function properly, so any spaces must be insulated or blocked with baffles.
- The mounting screws for the new refrigerator must engage truly solid cabinet components and not just flimsy filler strips added by the installer.
- A proper LP gas test must be performed by a professional immediately following the installation of an LP refrigerator before it can be run tested.
In addition, the new RV refrigerator must match your electrical and/or propane system, depending on your previous refrigerator type. It must also offer the storage space and usable features you want, such as split fridge-freezer compartments or a dual-swinging fridge door.
Some are personal preferences, and others are imperative to finding a compatible fridge replacement.
Start here to find the best RV refrigerator replacement.
How To Remove an RV Fridge
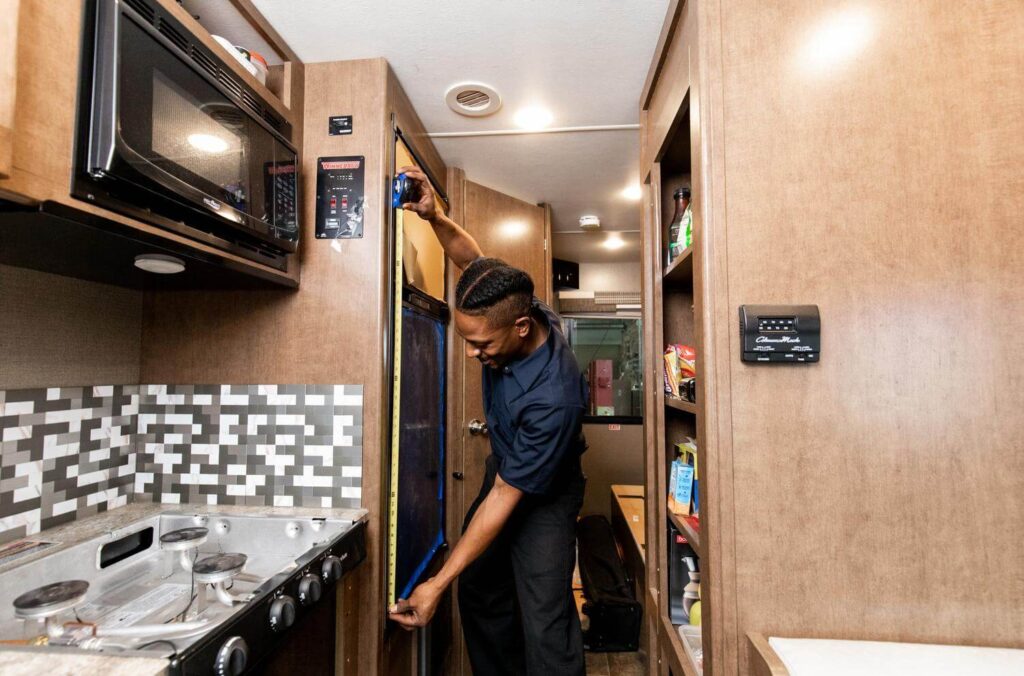
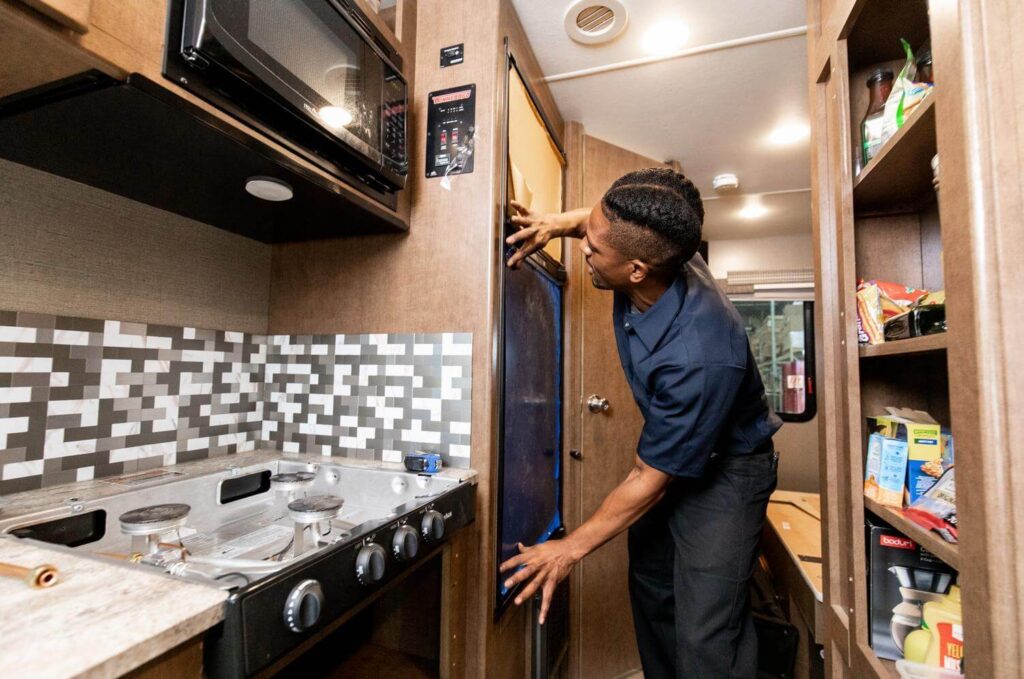
Regardless of your replacement RV refrigerator choice, you still have to remove the old unit before installing the new. First, ensure it will fit through your RV’s entry door once disconnected.
Technician Tip: Always check the dimensions for your model on the manufacturer’s website and compare them to your measurements of the door opening so you know if it will fit or if you will be removing doors and hinges from the fridge. Sometimes, a window or windshield may have to be removed to make the refrigerator swap and then reinstalled afterward. At that point, it would be best to take it to the professionals.
With that check complete, follow these basic steps:
- Empty the fridge of all contents and remove the exterior access panel.
- Close LP container valves, ensure you aren’t plugged into shore power, and remove the negative cable from your RV’s battery. You may also light a stove burner and let it burn out to purge excess propane from the lines.
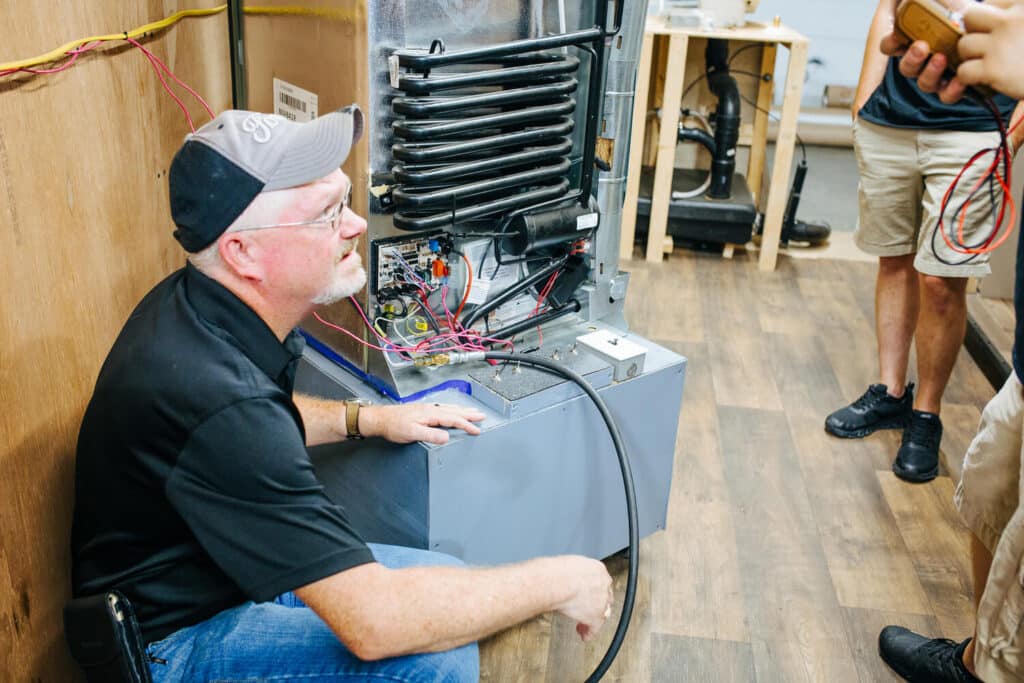
- Disconnect the fridge from power and propane. This may involve unplugging it from an AC outlet, disconnecting 12VDC wiring, disconnecting the LP line using two wrenches, or some combination of these steps, depending on the fridge type. With 12VDC wiring, ensure the system wiring is capped or taped until you’re ready to connect the new refrigerator.
- Remove all bolts and/or screws holding the refrigerator in place. Some will be accessed from the outside and others from the inside. You may have to remove smaller screws holding the interior trim or a control panel in place to access the mounting screws. Some installers will cover interior screws with tape before installing a control panel, so you may need to remove that tape to gain access.
- Use a utility knife to cut any sealant or insulating tape around the edges of the fridge.
- Prepare an area to set the fridge before pulling it out of the cutout. This could be a milk crate or a small, sturdy table. This is especially important if you are removing it by yourself, as it will be impossible to set the fridge straight down all the way to the floor. If you remove it with a partner, you may simply want to place a towel on the floor to set the fridge on once you slide it out of the cutout.
Technician Tip: If removing the fridge alone, the solid surface to support the weight is essential to prevent floor damage. As you’re leaning the fridge out of the cutout, one edge or corner will always touch first and has a good chance of damaging the floor, regardless of how much protection you lay down. Using something like a milk crate reduces the risk of damaging the floor or injuring your back.
After completing these steps, move the fridge out of your RV. You may need to remove the doors and hinges to fit all components through your RV’s entry door.
How To Replace an RV Refrigerator
Now, you have a large cutout waiting for a new RV refrigerator installation. The steps will vary if you’re swapping from an absorption refrigerator to a 12VDC compressor-driven fridge or a 120VAC residential refrigerator. We’ll discuss some of those additional considerations as we outline the basic steps for replacing your RV refrigerator.
Prep for Installation
This step could be as simple as putting towels or padding down along the path to protect the flooring as you move the fridge in. It could also involve using cardboard to help slide the fridge into your RV without damaging the floor or cabinetry and ensuring the cutout is free from dust, hair, or debris. It will also help to have that sturdy table or milk crate in place to support the new fridge’s weight as you slide it into the cutout.
However, the prep will be more complex if you swap in a different refrigerator type. Here are some examples:
- Capping an unused AC outlet if swapping to a 12V refrigerator.
- Capping an LP line if swapping to a 120VAC refrigerator.
- Terminating 12VDC wiring if swapping to a 120VAC refrigerator.
Set the New Fridge in the Cutout
The next step is sliding the refrigerator into the cutout. Start by sliding it part of the way in until the weight is supported. Part of the fridge may still rest on the table or milk crate you’ve staged outside the rough cutout.
Connect to Power and/or Propane
Before you secure the mounting hardware, make the appropriate power and LP connections. Again, this will depend on whether you’re making a straight swap or changing your refrigerator type. However, you should use your wrench to connect the LP line, plug into the AC outlet, and/or wire the new fridge into your RV’s 12VDC electrical system as needed.
Technician Tip: Before testing, most technicians will conduct a bubble test to check for propane leaks. This involves opening the valve on an LP container and using a soapy solution to check for gas leaks at the site of the LP line’s connection to the new fridge.
With electrical and LP (or just electrical) connected, test your refrigerator’s operation. Ensure that it comes on and cools on all power sources. You may need to let it run on all power sources for several hours to confirm the desired operation. This test is a smart step before securing the refrigerator’s mounting hardware.
Secure Hardware & Finish
If your new fridge works correctly, you can secure mounting hardware and finish your installation. In the best case, you’ll align the mounting holes from the old fridge, but you may need to drill new holes to secure the hardware that came with your replacement model. You may also need to shim the front or back legs to ensure the fridge is resting level in the cutout.
Technician Tip: Use the refrigerator’s designed mounting locations and drill new holes in RV cabinetry if needed. Avoid drilling into the refrigerator, as, in rare cases, technicians have reported hitting refrigerant lines and completely damaging the new fridge.
You can now replace your exterior access panel, clean up, and admire your handiwork. However, since residential refrigerators do not require the same kind of venting that is required for absorption models, you may need to close and/or insulate any exterior access vents if you swap to a 12-volt DC or 120-volt AC residential refrigerator with no LP gas.
Can My RV Fridge Be Fixed?
Several common mistakes may compromise your fridge’s efficiency, but these can be easily fixed. For instance, you may be overloading it or opening it too frequently. This will hinder its ability to maintain temperature and can add stress to the cooling mechanism, potentially decreasing its lifespan.
Other issues require professional help. If you detect signs of an ammonia leak or damage to a refrigerant line, have your fridge professionally inspected by a Camping World Certified RV Technician.
How Much Does It Cost to Replace an RV Refrigerator?
The cost of replacing a refrigerator depends on the price of the new fridge, the supplies required to swap to a different refrigerator type, and the labor required for the removal and replacement. RV refrigerators range from less than $400 for the mini fridges you’ll commonly find in smaller campers to over $6,000 for the residential-style refrigerators in luxury RVs. On top of that, you may spend another $50 to $200 on parts.
If you find an RV refrigerator installation service near you, they’ll bill for labor hours required, which can vary dramatically from case to case. A basic direct swap may take as little as 1-2 hours. However, a true residential refrigerator replacement can take up to 10 hours if the kitchen island and a picture window must be removed and reinstalled to complete the refrigerator replacement. It’s best to consult an RV service center for an estimate if you need an RV fridge replacement.
These additional resources can help you with other RV renovations or modifications:
- Upgrading RV Countertops
- How To Install a Tankless Water Heater
- Lippert RV Screen Defender
- How To Replace an Awning in an RV
Do you have any questions about replacing your RV’s refrigerator? Let us know in the comments below.


