HAVING SUPPORTED ACCESS to the storage area under your RV bed might not seem like a huge selling point at first glance. But once you’re lifting a fully made bed whenever you want something out of that compartment, you might want a little help. Enter a fairly straightforward bed lift kit install for an easier way to access the storage under your bed and save your back in the process.
From tools to prep to step-by-step pointers, we’ll walk you through exactly how to install a JR Product bed lift kit in your camper.
Key Takeaways
- Preparation and Reinforcement: Installing a JR Products bed lift kit may require reinforcing lightweight RV bed frames with wooden blocks (2×4 or 2×6) and wood glue to provide a sturdy mounting surface for the gas struts.
- Precision Mounting: The process involves measuring and marking specific locations for upper and lower brackets—typically centered 22″ back on the platform—and pre-drilling pilot holes to ensure the struts operate vertically.
- Testing and Final Security: After a temporary install, the system must be tested with the mattress in place before the hardware is permanently secured using wood glue, through-bolts, and screws driven from the top down to prevent mattress damage.
Suggested Tools & Supplies
Images by Camping World
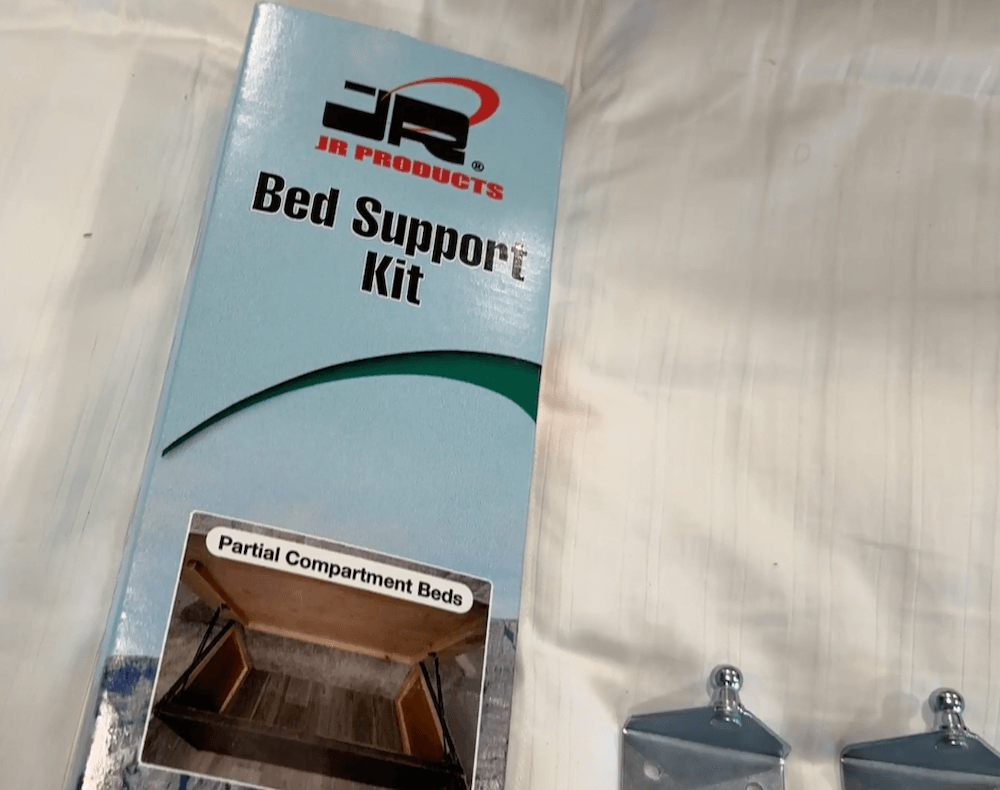
So, what do you need for this install? That starts with the bed lift kit. In this case, we’re using the JR Products standard queen size RV bed lift kit, which includes:
- 2 gas struts
- 4 mounting brackets (two upper, two lower)
- 2 blocks of wood
- All required mounting hardware
- Bed lift kit install instructions
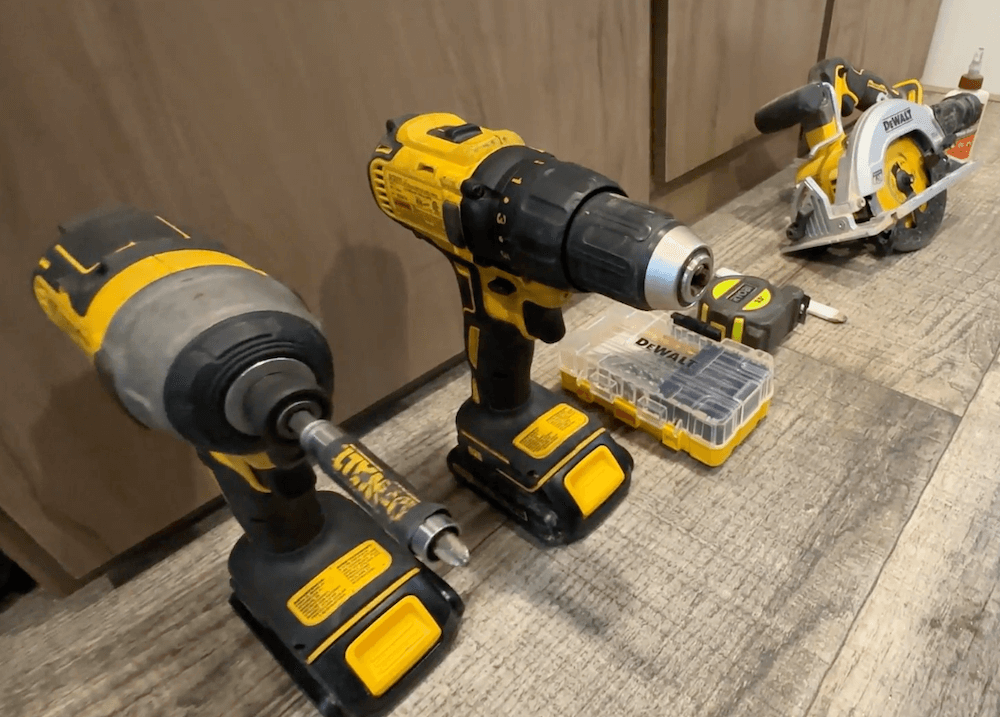
Additional supplies recommended by the camper bed lift kit manufacturer include:
- Cordless impact driver with Philips bit
- Cordless drill
- Drill bit set
- Measuring tape
- Marker or pencil
- Cordless circular saw
- Construction adhesive/wood glue
While not listed in the instructions, you’ll likely need a ratchet wrench with a ⅜” socket, a small flathead screwdriver, a towel or two, and a headlamp.
Preparing Your Bed Frame
Depending on your RV’s bed frame, you may need to reinforce it with wooden blocks, which you’ll need to secure with wood glue or additional mounting hardware. This will depend on the thickness of the bed framing used by your RV manufacturer. For lightweight builds using anything less than 2” framing, additional reinforcement will most likely be required.
Technician Tip: Consult your RV manufacturer and/or the bed lift kit manufacturer if you have additional questions about bed frame reinforcement.
If your bed frame does need reinforcement, measure the height of your bed base and cut two wooden blocks to reinforce the front corners of the bed frame for the lower brackets—we used a 2” by 6”, but a 2” by 4” should work just as well.
Mounting the Lower Brackets
With those blocks in place, remove the mattress and prop the bed platform open to maintain easy access.
Measure and mark locations for the lower mounting brackets. For this tutorial, we worked on an RV with a partial bed platform, and the kit manufacturer recommends mounting the lower brackets roughly three inches from the outside of the bed frame.
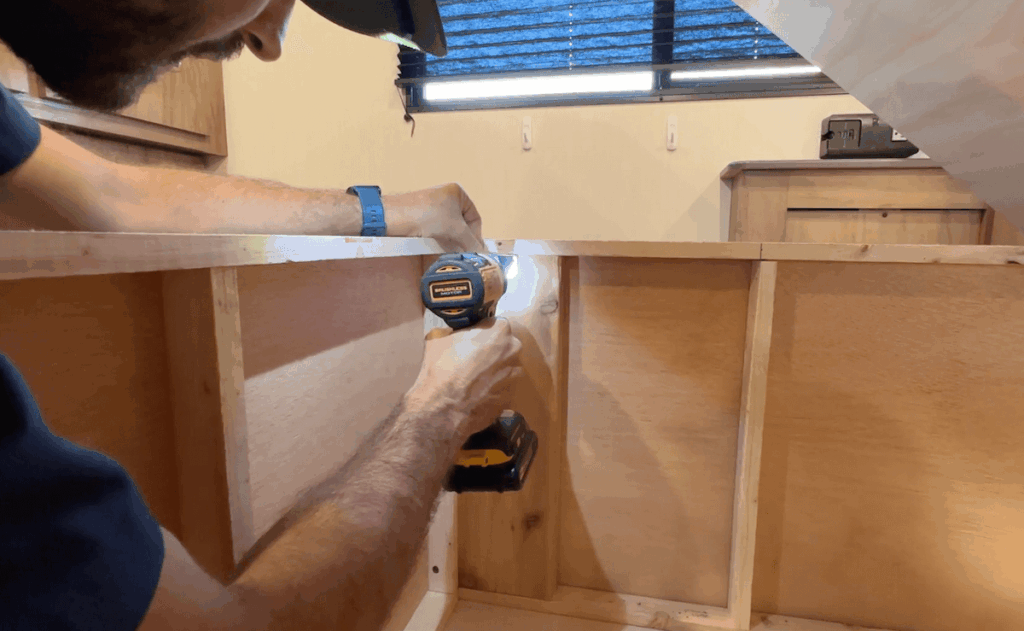
Use a ⅛” bit to drill pilot holes and mount each lower bracket using two of the supplied ⅝” screws.
Hold off on installing the remaining hardware until you’ve tested that the struts operate as expected (after a later step).
Mark Locations for Upper Brackets
Next, mount the upper brackets to the wooden blocks using two ⅝” screws for each bracket.
Attach the lower end of the struts to the lower brackets. The rod end should be facing down. Repeat on the other side.
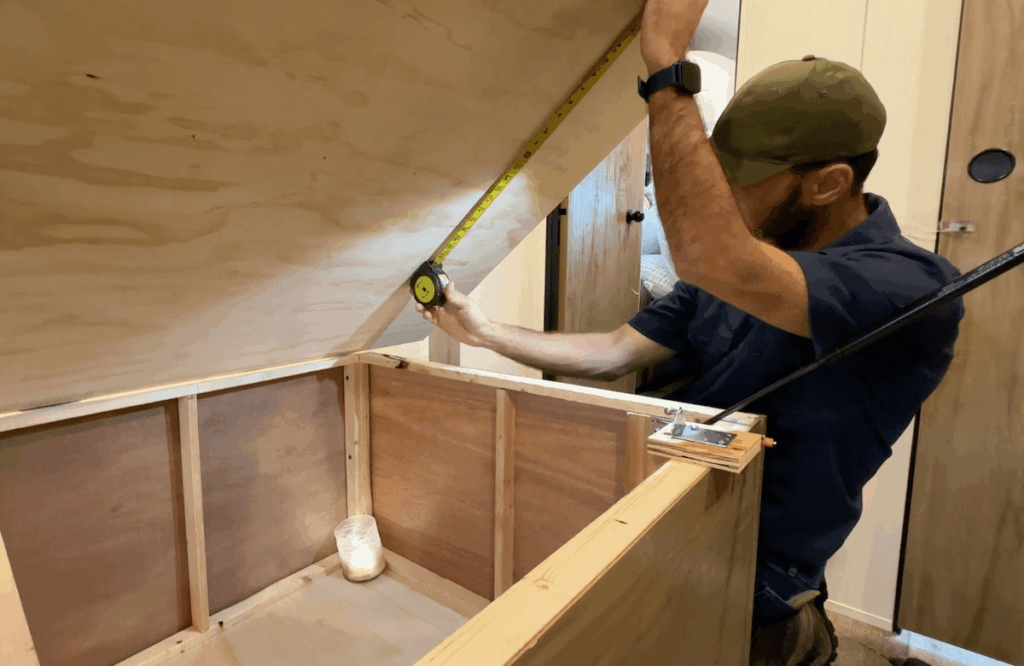
Check the bed height by measuring from the base to the edge of the lifted platform. This RV bed lift kit states that the platform should be propped so that the opening is roughly 24” tall.
Measure and mark the general locations for the upper brackets. The kit states that the upper brackets should be centered roughly 22” back from the edge of the lifted bed platform.
Temporarily Attach Upper Brackets
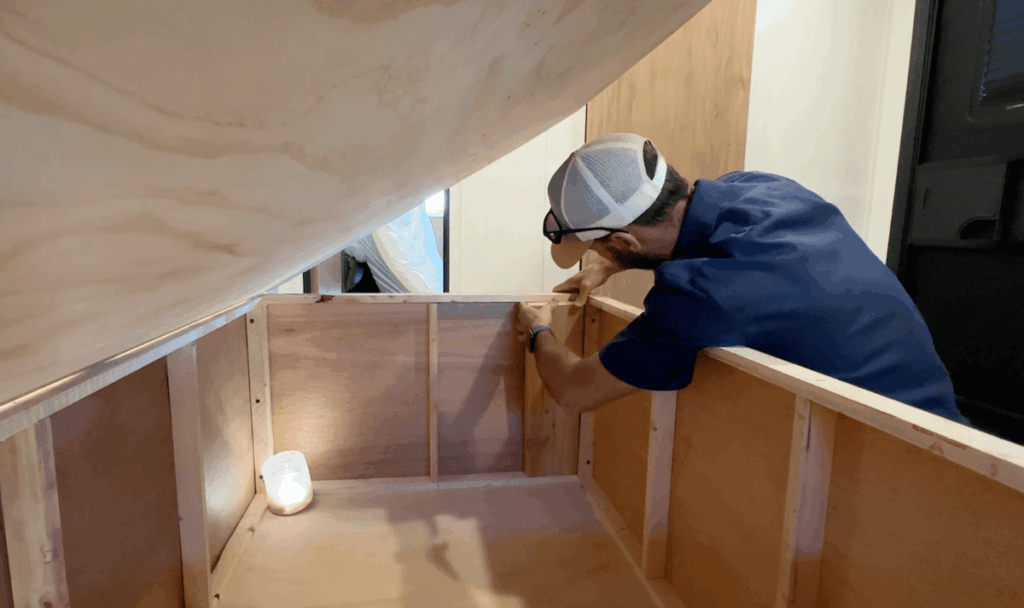
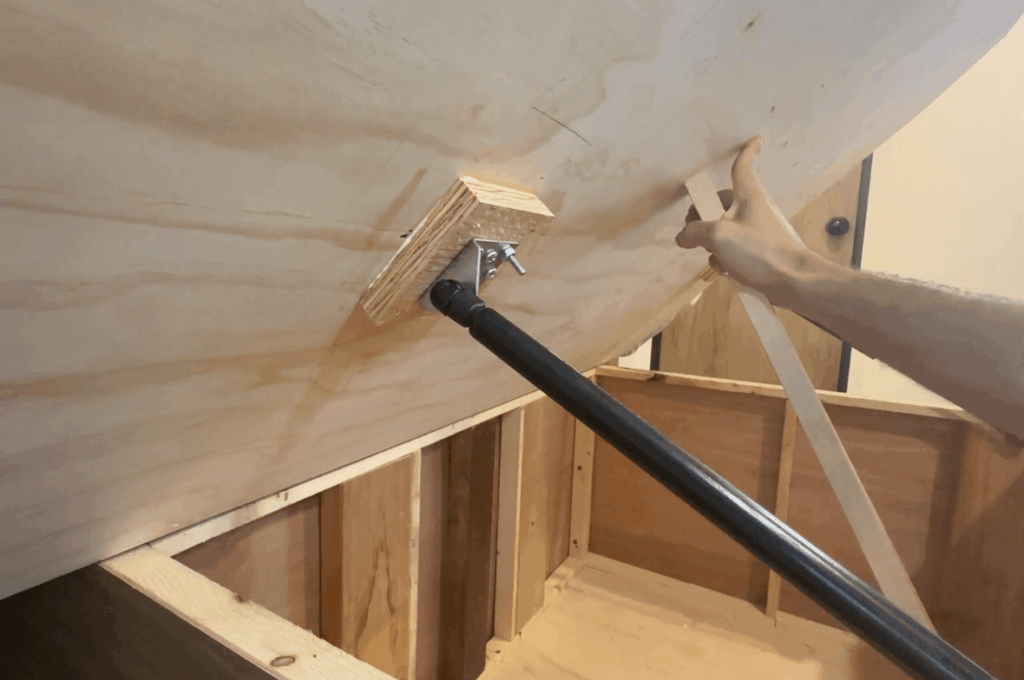
Connect the spring’s upper end to the bracket attached to the wooden block, then position the block on the underside of the bed platform.
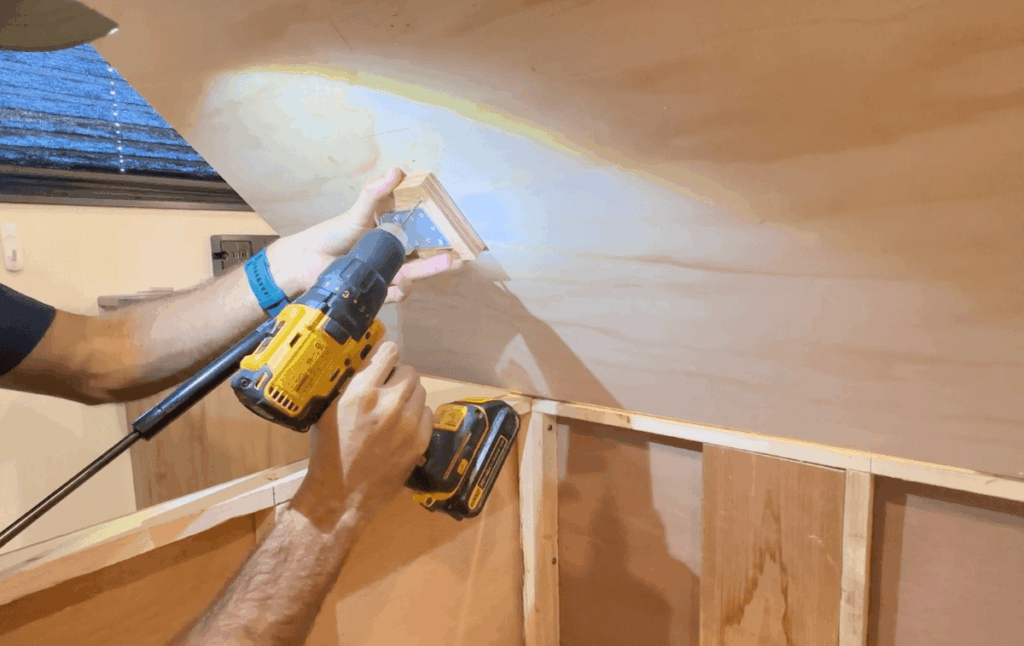
Keeping the strut as vertical as possible, drill pilot holes for mounting the blocks to the bed platform.
Use a 1.25” screw to hold the block in place before removing the strut from the block and installing three more screws from the top side of the platform. This is where you’ll need that flathead screwdriver to remove the struts from the brackets.
You can then move the one screw that held the bracket in place to the top side. This eliminates sharp screw ends from protruding vertically, which could damage the mattress once it’s replaced.
Repeat this process on the other side, then sand the top of the platform to prevent sharp edges from damaging your mattress.
Test Strut Operation
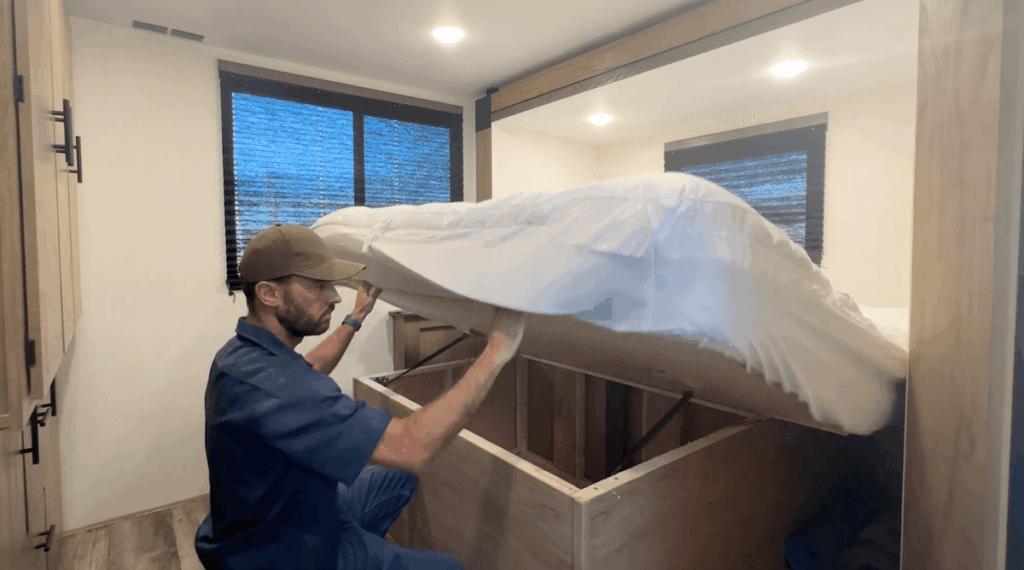
With those upper brackets temporarily secured, reconnect the struts and test them to ensure they work properly. This will require replacing the mattress, as the manufacturer recommends testing the strut operation only with the mattress in place.
We initially placed our lower brackets too low, and had to move them up so that some hardware secures to the bed frame while the rest secures to our 2” by 6” reinforcements.
Technician Tip: If you need to make adjustments, this Camping World bed lift kit’s instructions walk you through relocating the upper or lower brackets based on your use case.
Install Remaining Hardware
Once your RV bed lift kit test is successful—adjustments or not—install the remaining hardware. This starts by removing the mattress again, propping the bed platform, and disconnecting the struts from the upper and lower brackets.
Then remove the upper blocks from the underside of the bed platform, apply wood glue, and reinstall them, first with the original four screws. Keep a towel handy to wipe away excess glue as you reinstall the blocks on both sides.
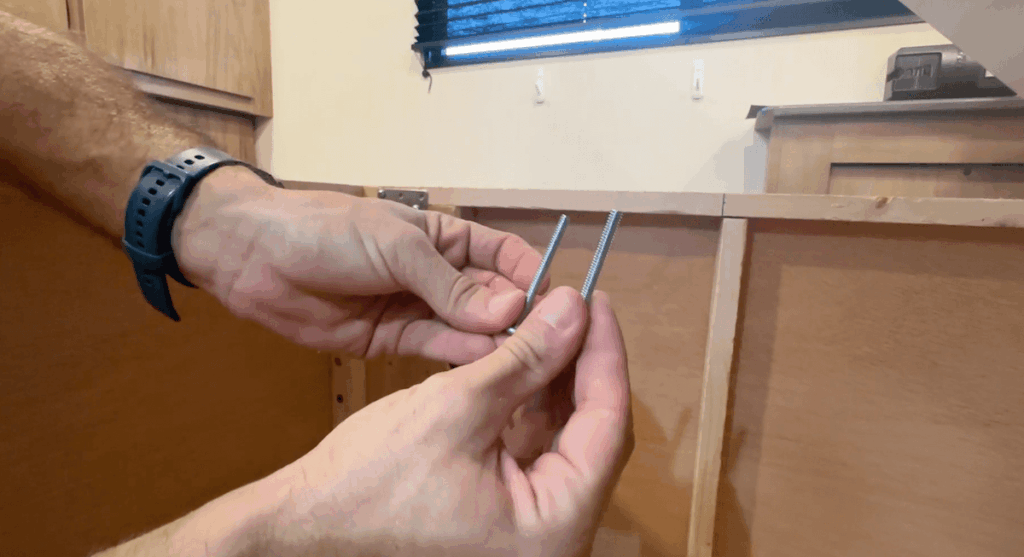
Then, install two through-bolts from the top down and three more ⅝” screws from the bottom up into each bracket. You’ll need a larger drill bit for the through-bolts—we used a 5/32” bit—and a ratchet wrench with a ⅜” socket to secure them.
We also recommend using wood glue to secure the block reinforcements in the corners of the bed frame before securing the bottom brackets. These also will require two additional through-bolts—with the heads installed from the outside—and one more ⅝” screw.
Reconnect Struts and Replace the Mattress
With all the remaining hardware installed, the final step for installing this camper bed lift is reconnecting the struts and putting your mattress back in place. You may want to give the wood glue a few minutes to set up before closing the platform and, of course, remaking your bed to your liking.
And there you have it! We hope you found these bed lift kit install instructions helpful, and you now have a bed that only requires one hand and minimal effort to access the storage beneath it.
If interested, use these links to shop bed lift kits or schedule professional installation:
Looking for other easy RV upgrades? Check out these resources:
What questions do you have about these bed lift kit instructions? Let us know in the comments below!


