IN MOST CASES, you need reliable Wi-Fi when you camp. That’s where the best RV internet options come in— whether relying on campground Wi-Fi or installing the best Starlink for RV camping. But with Starlink now offering multiple antennas and data plans, how do you choose the right setup for your needs?
Key Takeaways
- Starlink offers flexible, high-speed satellite internet options for RVers. Roam plans (50GB or Unlimited) are designed for mobile use and allow for pause service, while Residential and Business plans cater to stationary or high-demand needs.
- Multiple Starlink kits suit different RV lifestyles—from the high-performance flat dish for full-time boondockers to the portable Starlink Mini for weekenders—with varying power draws, mounting options, and ease of setup.
- Proper dish placement, often on the RV roof or a portable mount, is critical for strong connectivity, with accessories like pole mounts and Winegard products helping optimize signal and installation.
Who Should Consider Starlink for RV Use?
Starlink is an excellent RV Wi-Fi choice for anyone looking for a standalone internet solution. Many Starlink kits work with any RV, regardless of whether it’s prepped for a Wi-Fi installation. Starlink is also ideal for full-time RV campers or those who need reliable Wi-Fi to work remotely during trips.
Starlink is a satellite-based internet service that requires the purchase of equipment and a data plan. For RVers, the best part is that Starlink’s RV plans can be paused and restarted whenever you want, so you only pay for service when you actually use it.
Are There Starlink Internet Plans for RVs?
Starlink currently offers two types of internet service, Residential and Roam. Starlink’s Roam internet service plan is designed for RV use. It’s available in two tiers:
- Starlink Roam 50GB: This is the most affordable mobile plan, currently starting at $50 monthly. It offers up to 50GB of data, with an option to purchase additional data once you reach that cap.
- Starlink Roam Unlimited: This plan currently starts at $165 monthly and has no data cap.
Both plans offer countrywide coverage, in-motion use (provided there’s power to the equipment while traveling), and easy ability to pause and restart service. The Starlink app for RV travel also makes it relatively simple to change service plans anytime, with changes typically taking effect at the start of the next billing cycle. This coverage and flexibility make Starlink Roam one of the best RV internet options for seasonal travelers.
For full-time RVers who reside in a single location for much of the year, Starlink Residential may be a better choice for high-priority, more stable service in one fixed location—but it isn’t designed for mobile users.
Listed under Starlink’s Business service plans, their Land Mobility plans might be a solid choice for those with larger workloads or who need to support multiple simultaneous users. These plans come with priority network access and optional data plans of 50GB, 500GB, 1TB, or 5TB per month. However, they also come at a higher cost, ranging from $65 to $540 per month.
Top Starlink Kits for RV Camping
Here are the top Starlink kits for mobile RV internet use, from portable setups to more robust, high-performance dishes for frequent off-grid use.
Starlink Flat High Performance Kit
- Best For: High-demand RVers or frequent boondockers
- Power Draw: 75-100W (Gen 3) | 110-150W (Gen 2)
- Field of View: 140°
- Full Gen 2 Specs
- Full Gen 3 Specs
This is the best-performing Starlink antenna for RVs. The flat design is built for in-motion use when appropriately mounted and can withstand harsher weather and wider temperature ranges. It draws heavily on your battery but offers better throughput, GPS support, and broader field-of-view coverage, making it ideal for boondockers or full-time RVers camping off-grid.
Includes: Starlink flat high-performance antenna, Wedge mount, 25-meter Starlink cable, 5-meter Ethernet cable, 1.5-meter AC power cable, and Power supply.
Starlink Standard Kit

- Best For: Everyday internet usage, such as streaming, video calls, and more
- Power Draw: 75-100W
- Field of View: 110°
- Full Starlink Standard Specifications
The Standard Kit is the most budget-friendly Starlink setup. While it’s primarily designed for stationary use, it’s perfectly functional for RVers using a Starlink Roam data plan, both in-motion and when parked. However, it will only perform in motion if securely mounted and appropriately powered. Starlink’s software helps you manually orient the standard antenna for the best coverage possible.
Includes: Starlink standard antenna, Gen 3 Router, Kickstand, 15-meter Starlink cable, 1.5-meter AC power cable, and Power supply.
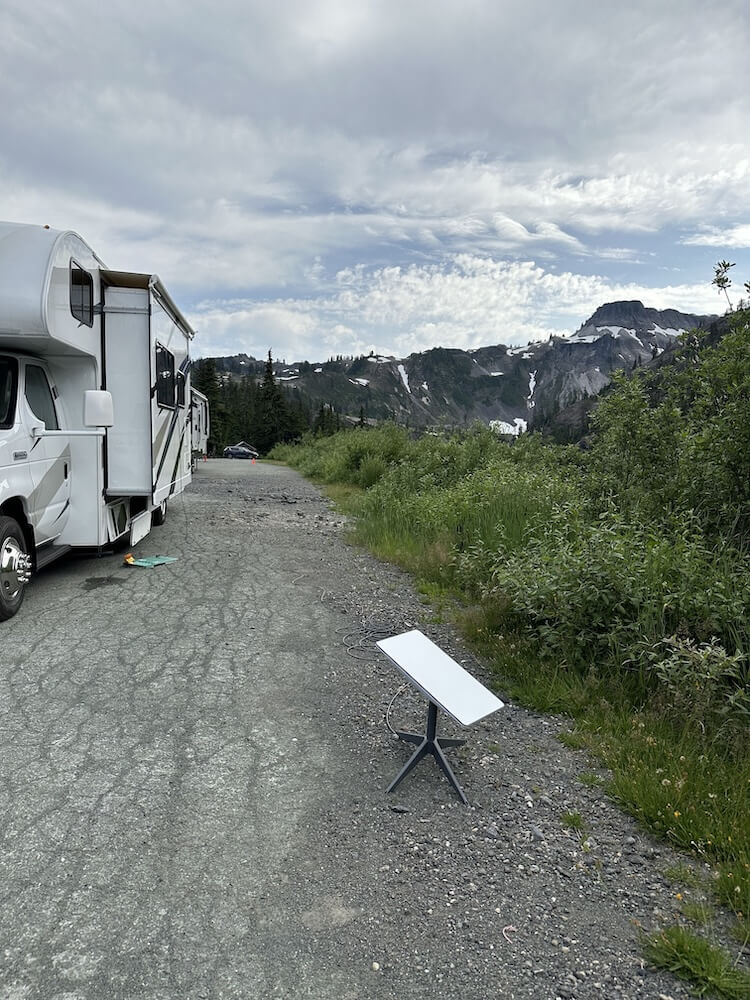
Starlink Mini
Images by Starlink
- Best For: Part-time RVers, weekenders, or travelers needing ultra-portable connectivity
- Power Draw: 25-40W
- Field of View: 110°
- Full Starlink Mini Specs
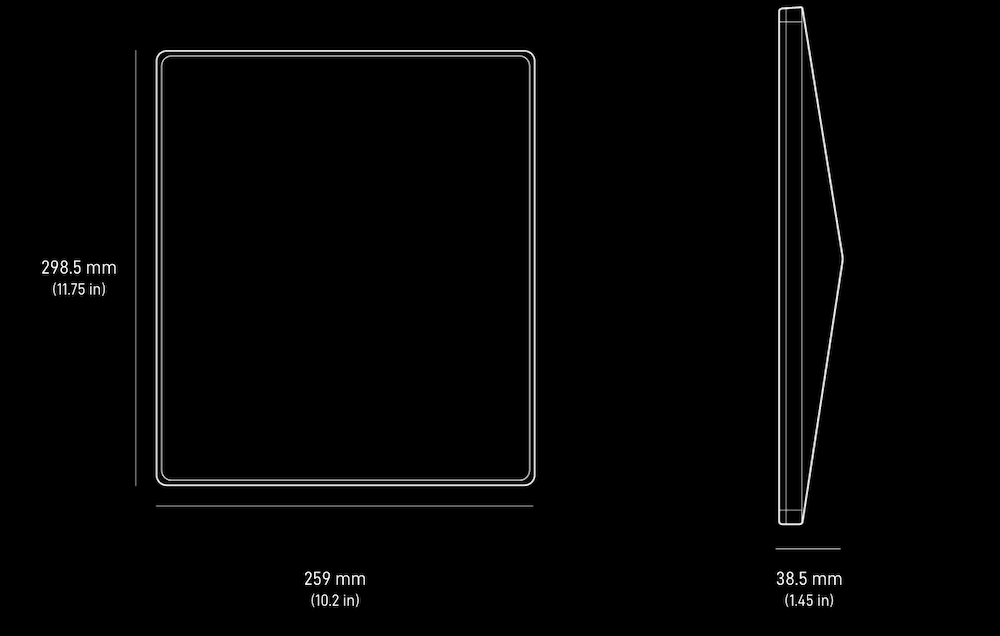
Ideal for minimalists, the Starlink Mini is a compact, portable RV internet setup with impressive speeds and easy installation. The dish is small enough to stash in a cabinet or RV storage bay, making it one of the best mobile internet options for digital nomads or vanlifers. The dish does require manual orientation, but Starlink’s app assists with finding the best sky view for optimal performance.
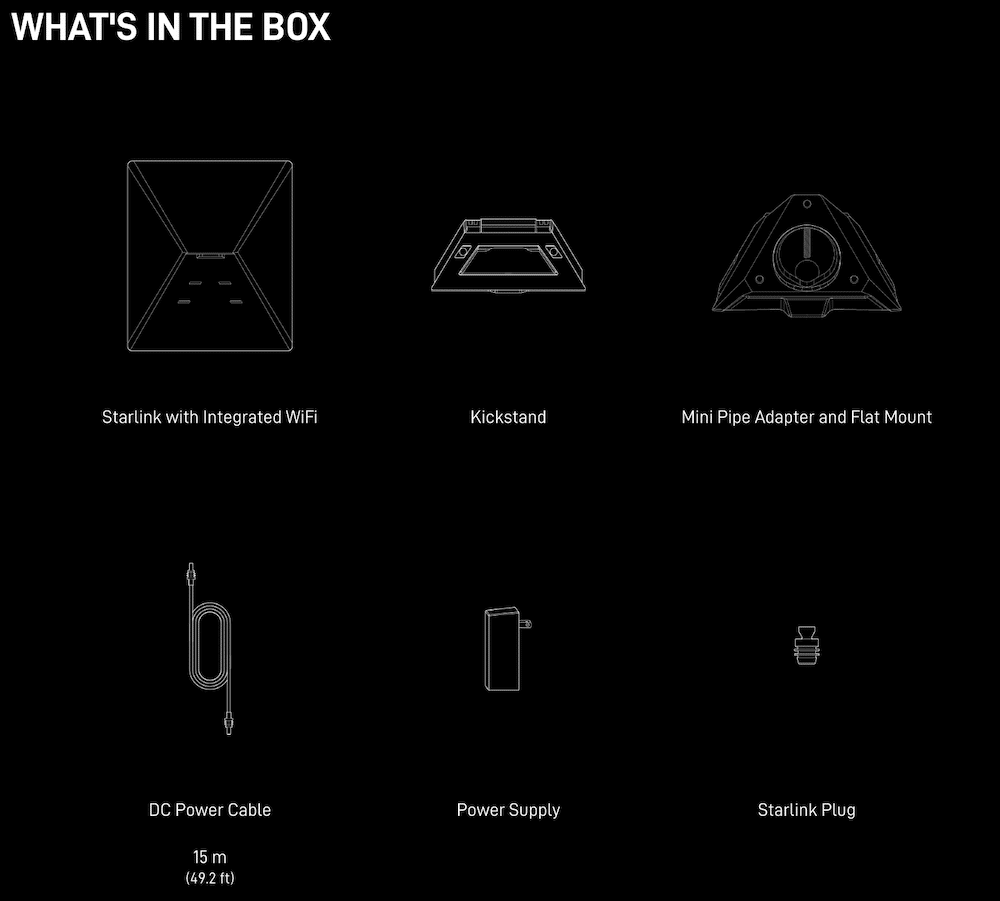
Includes: Starlink antenna with integrated Wi-Fi, Kickstand, Mini pipe adapter and flat mount, 15-meter DC power cable, Plug, and Power supply.
Starlink Standard Actuated
Images by Starlink
- Best For: RVers seeking a more straightforward setup without manual positioning
- Power Draw: 50-75W
- Field of View: 110°
- Full Standard Actuated Specs
The Standard Actuated dish features a motorized stand that automatically adjusts its angle for better signal acquisition. This plug-and-play kit is reliable and works well with Starlink Roam, although it’s not rated for use in motion.
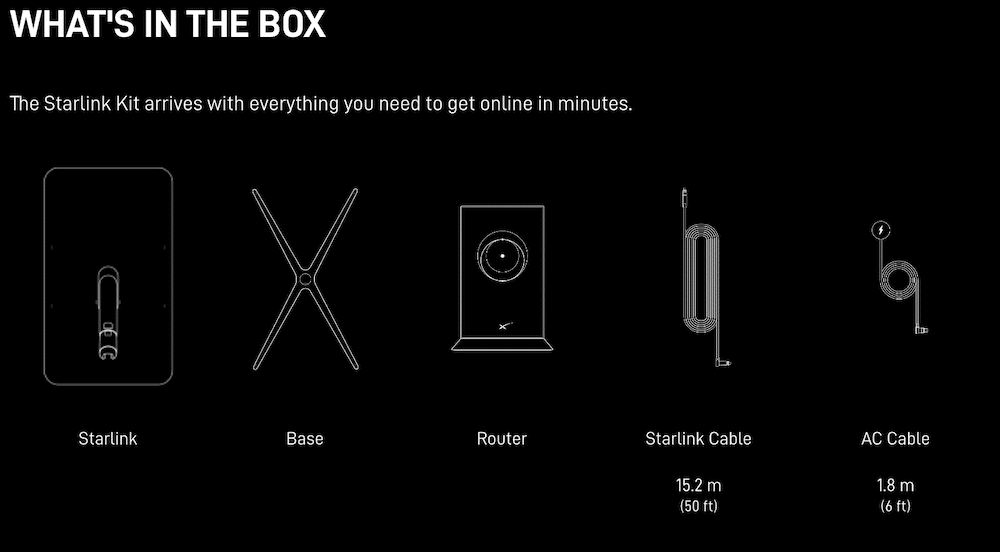
Includes: Starlink standard antenna, Base, Router, 15-meter Starlink cable, and 1.8-meter AC power cable.
Best Starlink Mounts
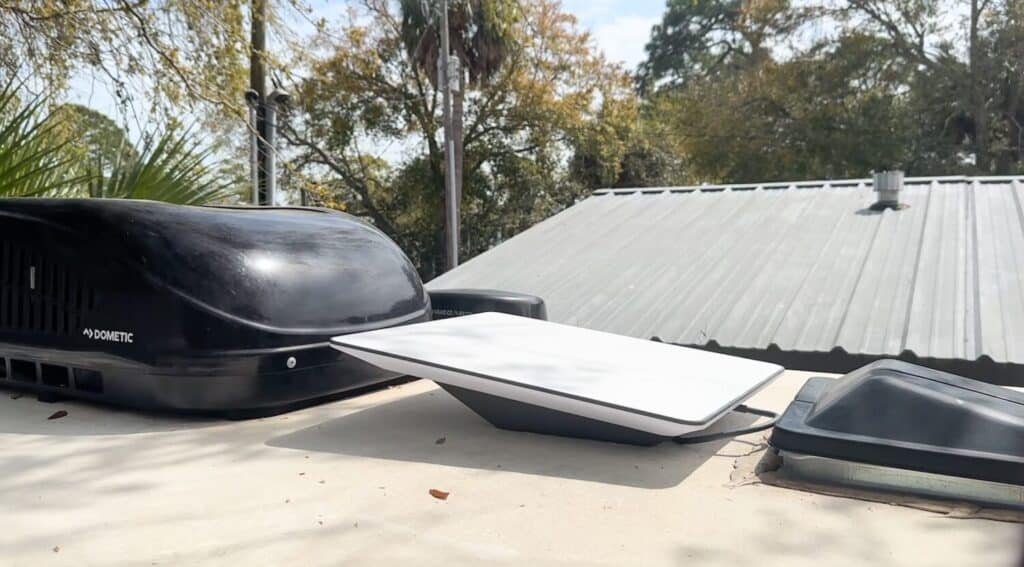
Mounting location matters for getting the best RV internet signal from your Starlink setup. A poorly placed dish can lead to frequent dropouts due to obstructions like trees, hills, or even your rooftop air conditioner.
Here are some of the best Starlink mounts for RVers:
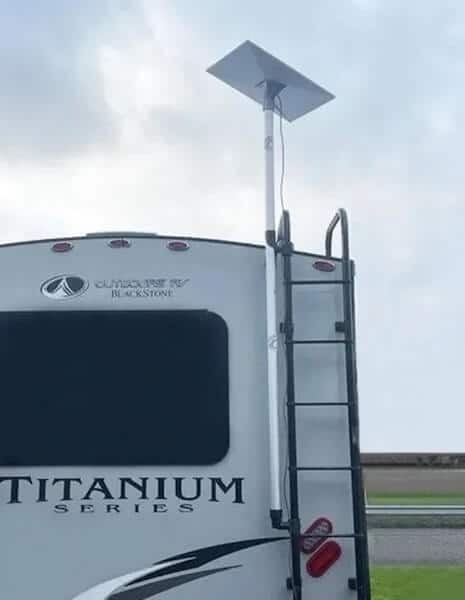
- Pole Mounts: Ideal for temporary camp setups, a pole mount allows you to orient your Starlink antenna for best performance. These mounts are easy to set up and adjust. Most RV owners will mount them to a rear ladder, provided there are minimal obstructions to the sky above your RV.
- Winegard Starlink Accessories: Winegard offers various accessories, including roof mounts, support plates, and extended cable lengths, to help you complete your Starlink RV install.
What’s the Best Place to Mount Starlink on Your RV?
The best location to mount your Starlink dish is where it has the clearest view of the sky—typically the RV roof or an elevated pole mount at your campsite. For temporary setups, keep it at least 10-15 feet away from tall objects and avoid putting it directly under trees or slide-outs.
If you’re using the Flat High Performance dish in motion, it should be permanently mounted on the RV roof using a compatible in-motion mount designed for secure, aerodynamic installation. Just remember: in-motion use requires a specific dish and proper hardware.
Many RVers prefer portable tripod or pole mounts because they allow you to reposition the dish to avoid obstructions or optimize signal strength without moving the entire RV.
Use these other resources to find the best Wi-Fi solution for your RV:
What questions do you have about Starlink for RV use? Let us know in the comments below.


What about starlink on a sailboat, even at night the boat moves. So, can starlink track with some boat movement? Sailing on all the Great Lakes between US and Canada.
Yes, Starlink will track with movement on a sailboat or any maritime ship.
The only thing that may cause interference would be obstructions (like a poor installation location or being under a bridge) and your data plan — it’s to say if you don’t have the Global Priority data plan, your Starlink may only function to approx. 12 nautical miles (roughly 14 miles or 22 km) offshore. Otherwise, Starlink is made for maritime boats as well as in motion vehicles. We recommend using the Performance models (Gen2 or Gen3) on maritime vessels.
Hope that helps!
Hi Ronald!
That is a great question. As I don’t have any direct experience to speak from, I’ve found a couple resources that you might find helpful:
https://www.whensailing.com/blog/starlink-internet-sailboat-boatlife-review
https://www.reddit.com/r/Starlink/comments/16422uh/considering_starlink_for_a_sailboat_help_me_decide/
Hope that helps!